Whether you’re a homeowner planning a renovation or a property manager overseeing multiple units, finding reliable drywall contractors is crucial. Quality drywalling can elevate the aesthetics and durability of your space, while subpar work can lead to costly repairs down the line. In this guide, we’ll explore how to identify trustworthy service providers, ensuring your drywall installation meets the highest standards.
Drywall serves as the canvas of your home or business, providing not only structure but also style. From new construction to renovations, hiring a reputable drywall company is essential for a successful project. This post will guide you through the process of finding and vetting companies, obtaining accurate cost estimates, and managing your project effectively.
By the end of this guide, you’ll be equipped with the knowledge to make informed decisions, ensuring your renovation or construction projects are executed flawlessly. Let’s get started!
Signs of Reliable Drywall Contractors
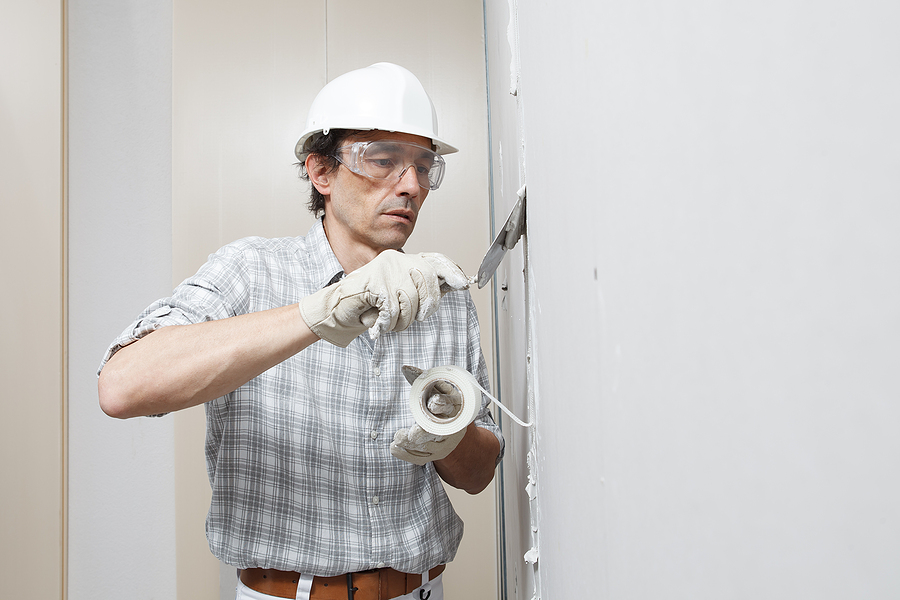
To find the right contractor, you need to know what to look for. Reputable drywall contractors exhibit professionalism in every aspect of their work. One of the first indicators is licensing. A licensed contractor has met state or local requirements, demonstrating their expertise in drywall installation.
Insurance is another crucial factor. It protects both you and the contractor in case of accidents or damages during the project. Ensure your contractor has adequate liability and worker’s compensation insurance before signing any contracts.
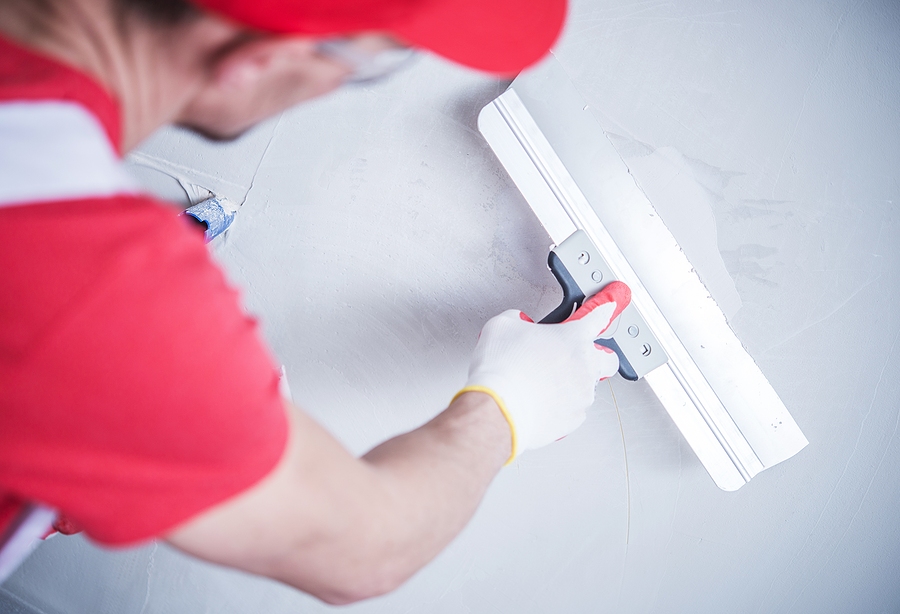
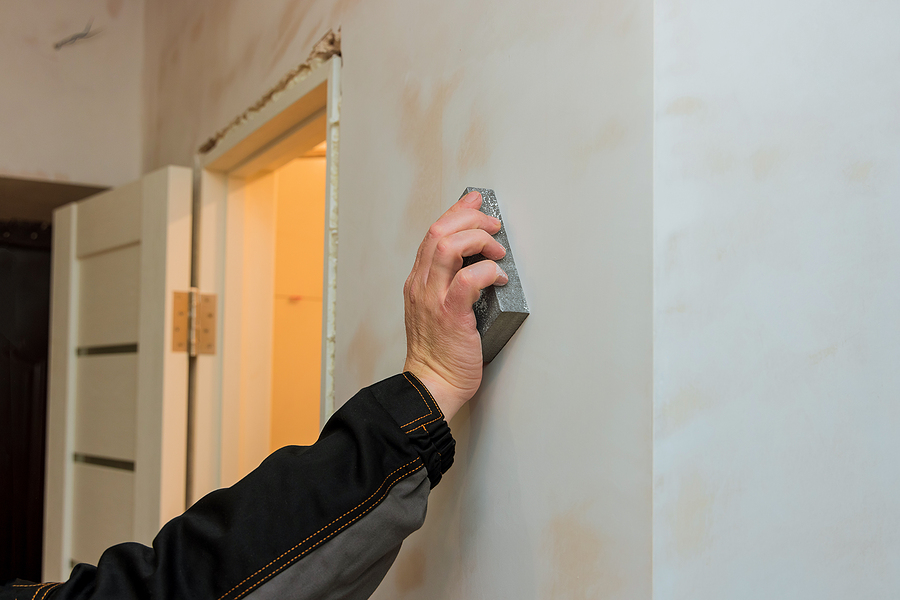
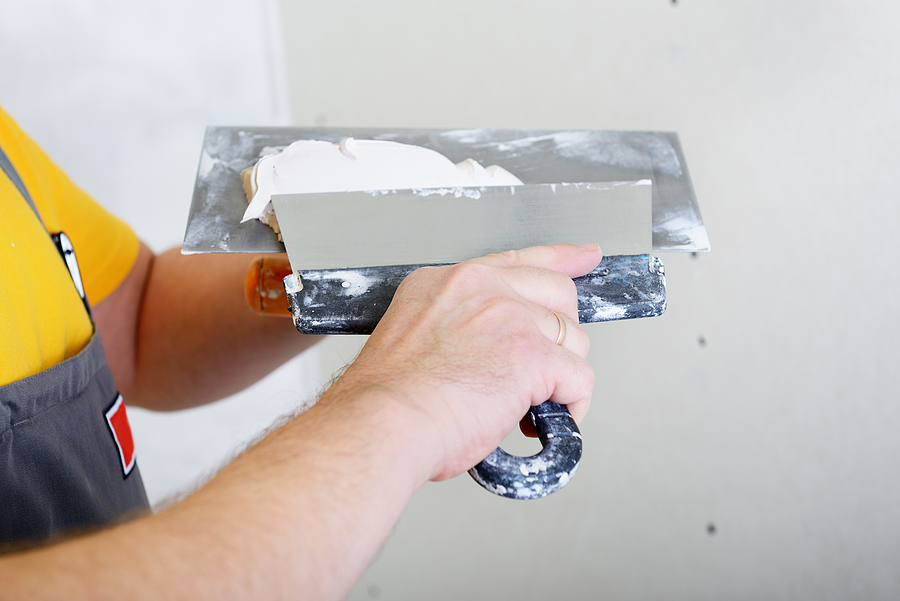
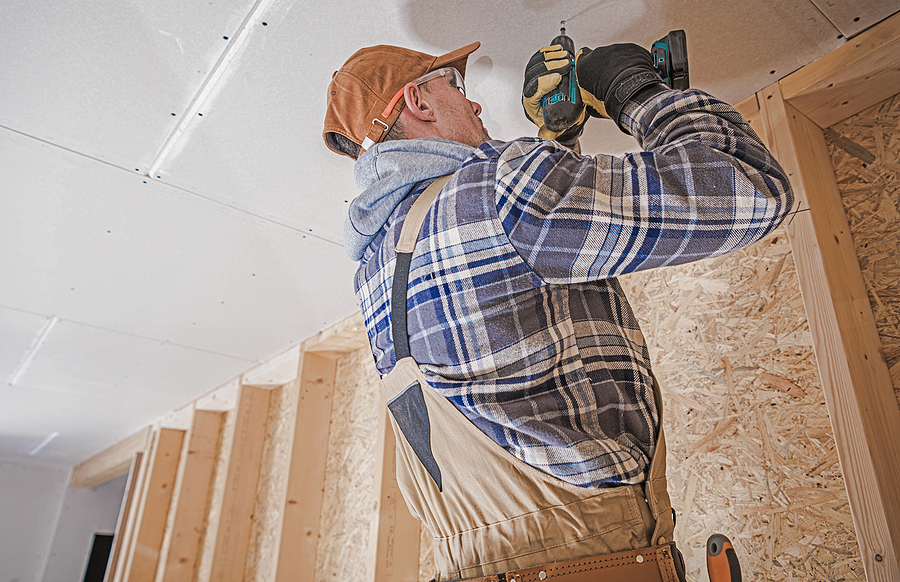
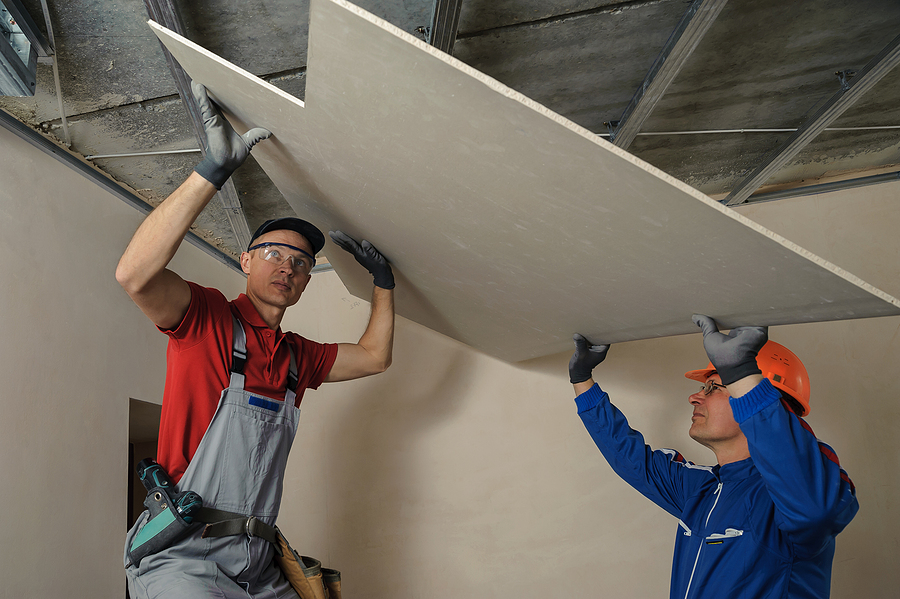
Experience matters too. Look for companies with a solid track record of successful drywall work. Experienced professionals bring a wealth of knowledge to the table, handling any challenges that arise with ease. Don’t hesitate to ask for examples of previous projects to gauge their expertise.
Finding Drywall Companies
Now that you know what to look for, it’s time to find some potential candidates. Start by asking friends, family, or colleagues for referrals. Personal recommendations often point you toward drywall repair and service companies with proven reliability.
Online platforms are another valuable resource. Websites like Angie’s List, Yelp, and Houzz offer reviews and ratings from previous clients, helping you gauge a contractor’s reputation. Pay attention to both positive and negative feedback to get a well-rounded view.
Local business directories provide a list of contractors operating in your area. These directories often include contact information and a brief overview of services, making it easier to compile a shortlist of potential drywall companies.
Talking to Potential Drywall Service Providers
Once you have a list of potential drywall service providers, it’s time to vet them thoroughly. Conduct interviews to assess their professionalism and communication skills. Ask about their experience with similar projects and how they handle unforeseen challenges.
Checking references is a must. Contact past clients to inquire about their experience with the contractor. Were they satisfied with the quality of work? Was the project completed on time and within budget? These insights can help you make an informed decision.
Verifying credentials is equally important. Ensure the contractor holds the necessary licenses and insurance. Some states have online databases where you can confirm a contractor’s licensing status, providing peace of mind before proceeding further.
Drywall Cost Estimates and Contracts
Getting accurate cost estimates is a crucial step in the selection process. Request quotes from multiple contractors, ensuring each includes a detailed breakdown of materials, labor, and additional costs. Compare these estimates to understand the market rate for your project.
Understanding the scope of work is essential. Make sure the contractor provides a comprehensive outline of the tasks involved, including timelines and specific deliverables. This clarity helps prevent misunderstandings later on.
Once you’ve selected a contractor, it’s time to sign a contract. A well-drafted contract protects both parties, outlining the project’s scope, timeline, payment schedule, and contingency plans. Review it thoroughly and clarify any ambiguities before signing.
Project Management
Effective project management is key to a successful drywall installation. Maintain open lines of communication with your contractor, discussing expectations and potential changes as the project progresses. Regular updates keep everyone on the same page.
Setting realistic expectations is crucial. Understand that delays can happen, but having a clear timeline helps minimize disruptions. Work with your contractor to adjust schedules and priorities if necessary, ensuring timely completion.
Managing the project timeline involves coordinating tasks and resources efficiently. Stay involved without micromanaging, trusting your contractor’s expertise while providing guidance when needed. A collaborative approach fosters a smooth workflow.
Red Flags and How to Avoid Them
Identifying red flags early can save you from potential headaches. Unreliable contractors may exhibit behaviors such as inconsistent communication, vague estimates, or reluctance to provide references. These warning signs should not be ignored.
Avoiding scams requires vigilance. Be wary of service providers who request large upfront payments or pressure you into quick decisions. Legitimate companies operate transparently, providing clear terms and conditions without hidden fees.
Protecting yourself involves taking proactive measures. Conduct thorough research, vet multiple contractors, and trust your instincts. If something feels off, explore other options until you find a contractor who aligns with your expectations and values.
Conclusion
In summary, finding reliable drywall service providers is essential for successful property maintenance and improvement projects. By recognizing signs of professionalism, sourcing potential businesses, and conducting thorough vetting, you can ensure your construction project or renovation meets the highest standards.
Remember, accurate cost estimates and clear contracts set the foundation for a smooth project. Effective communication and project management further enhance the experience, minimizing disruptions and ensuring timely completion. Stay vigilant for red flags, protecting yourself from unreliable drywall service providers and potential scams.
Ready to get started on your drywall project? Contact Drywall by Renso at 317-269-7319 today for expert advice and assistance. Whether it’s new construction or renovations, our Indianapolis drywall contractors make all the difference. Let’s bring your vision to life!
Related Posts:
FAQS About Drywall Repair and Installation
Should I Install Basement Drywall On My Own?
How to Spot Improper Drywall Installation