A damaged ceiling is easy to ignore—until it isn’t. What starts as a small water stain or a slightly sagging tile can quietly worsen over weeks, eventually becoming a costly structural problem or even a safety hazard. Suspended ceilings, sometimes called drop ceilings, are built to be durable, but they’re not immune to wear, water, and time.
Before calling a contractor or picking up a toolkit, there are several things worth thinking through. Knowing what to look for, what questions to ask, and what repairs actually involve will help you make smarter decisions—and avoid unnecessary expenses.
Recognizing the Signs Your Suspended Ceiling Needs Attention
Not all ceiling damage is obvious. Some problems reveal themselves gradually, and catching them early is always cheaper than dealing with them later.
Visible Damage: Cracks, Sags, and Stains
The most common signs of a troubled suspended ceiling are visible ones. Cracked or chipped tiles, water stains spreading across panels, and sagging sections of the grid are all signals that something needs attention.
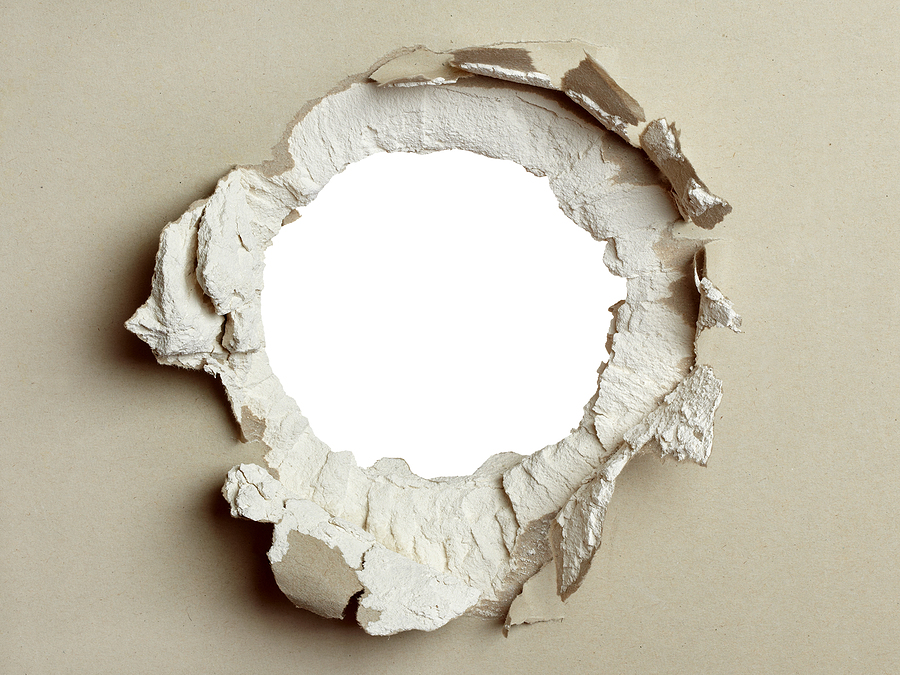
Water stains are particularly important not to dismiss. Left untreated, moisture can seep into the grid system and surrounding materials, causing more extensive (and expensive) damage. A sagging grid, meanwhile, is more than an eyesore—it can indicate a structural weakness that poses real safety risks.
Functional Issues: Acoustic and Insulation Problems
Suspended ceilings do more than just look good. They play an active role in acoustics, insulation, and even airflow. If you’ve noticed your space feels noisier, drafty, or less energy-efficient than it used to be, the ceiling could be contributing to the problem.
Damaged or misaligned tiles disrupt the acoustic properties of a room. Similarly, compromised ceiling panels can reduce a building’s insulation efficiency, leading to higher energy bills over time.
Age and Wear: The Lifespan of Suspended Ceilings
Suspended ceilings generally last 25 years or more, though their exact lifespan depends on the materials used and how well they’ve been maintained. If your ceiling is approaching or past that mark, even minor damage may be a sign that the system as a whole needs a closer look—or a full replacement.
Assessing the Damage: DIY vs. Professional Evaluation
Once you’ve spotted an issue, the next question is how to assess it properly.
Basic Inspections You Can Perform
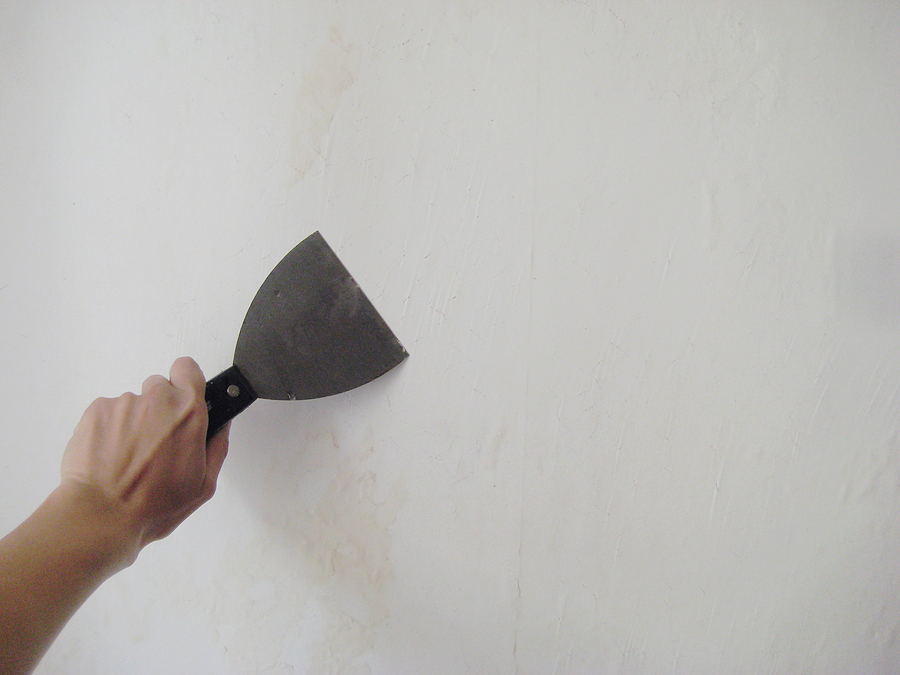
A visual inspection is a reasonable first step. Walk the room and look for stained, cracked, or displaced tiles. Check whether the grid is level and properly aligned. Gently press on tiles near any visible damage to test for softness or moisture. Experts recommend inspecting your suspended ceiling at least twice a year, even when no obvious problems are present—catching small issues early is far less disruptive than managing a larger repair.
When to Call in the Experts
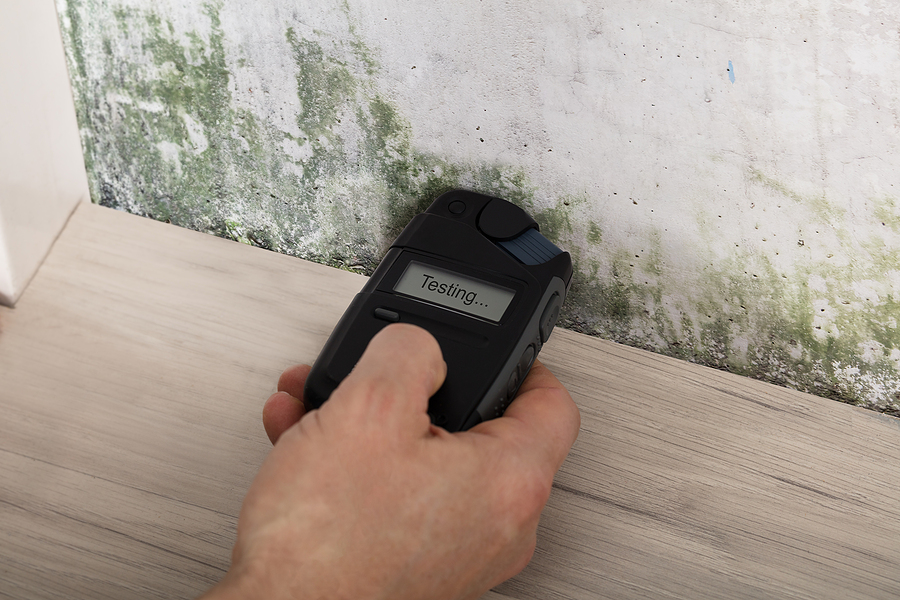
DIY assessment has its limits. If you notice significant grid misalignment, widespread water damage, sagging across multiple sections, or any signs of mold growth, a professional evaluation is the right call.
Ceiling damage can be deceptive. What looks like a modest stain on the surface may indicate much more extensive damage above the ceiling plane—compromised insulation, soaked structural materials, or even rotted framing. A professional drywall contractor uses moisture meters and hands-on inspection to measure what you can’t see, giving you a far more accurate picture of what you’re actually dealing with.
Repair Options: What to Expect
Once the damage is assessed, you’ll have a clearer sense of what kind of repair is needed. Broadly speaking, suspended ceiling repairs fall into three categories.
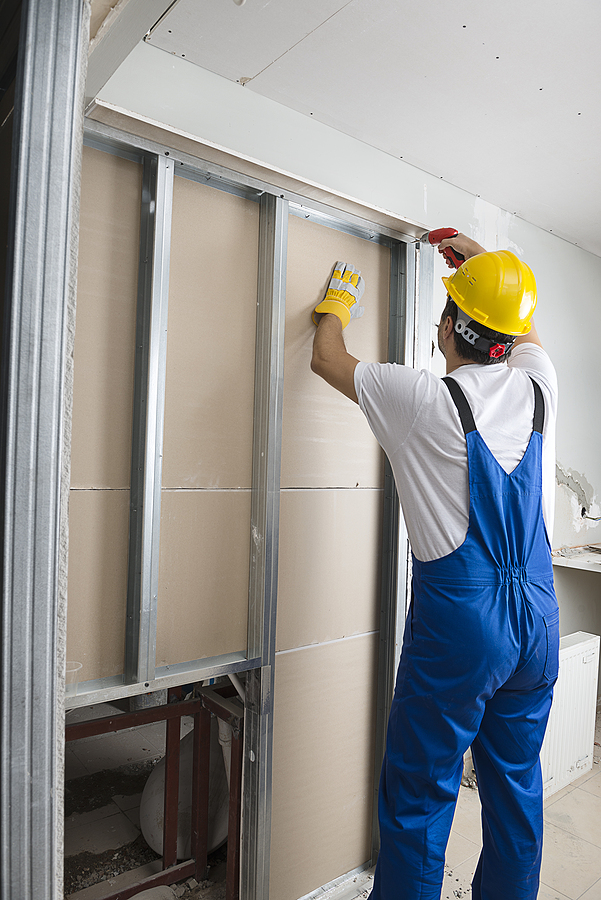
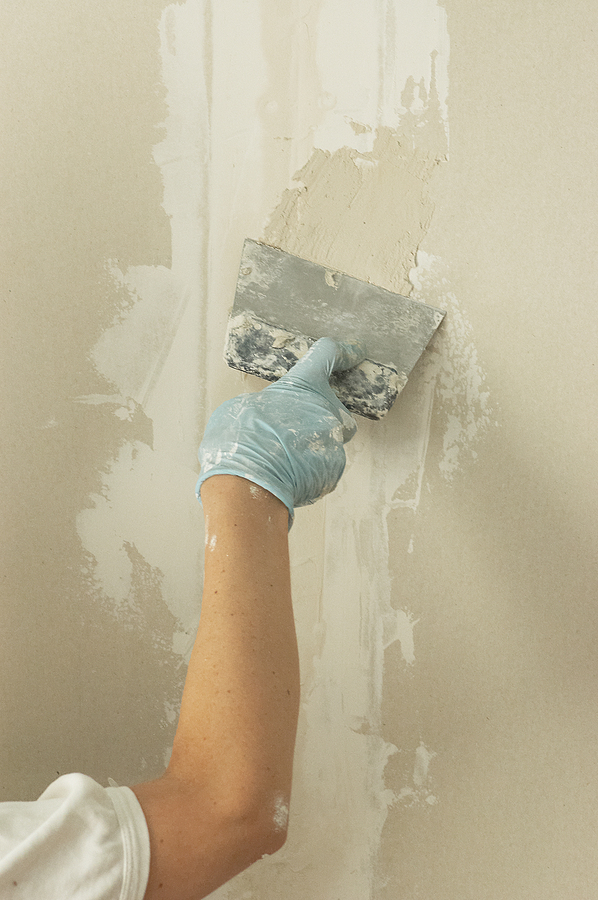
Minor Repairs: Patching and Panel Replacement
For small cosmetic issues—a cracked tile, a minor stain, a slightly misaligned panel—the repair process is usually straightforward. Individual tiles can be lifted out of the grid and replaced without disturbing the surrounding system. According to Angi (2026), minor ceiling repairs typically cost between $150 and $370, depending on the material and the extent of the damage.
When replacing tiles, matching the size, material, color, and texture of the existing panels is important. If tiles from the original installation are no longer available, replacing multiple panels may be necessary to maintain a consistent look.
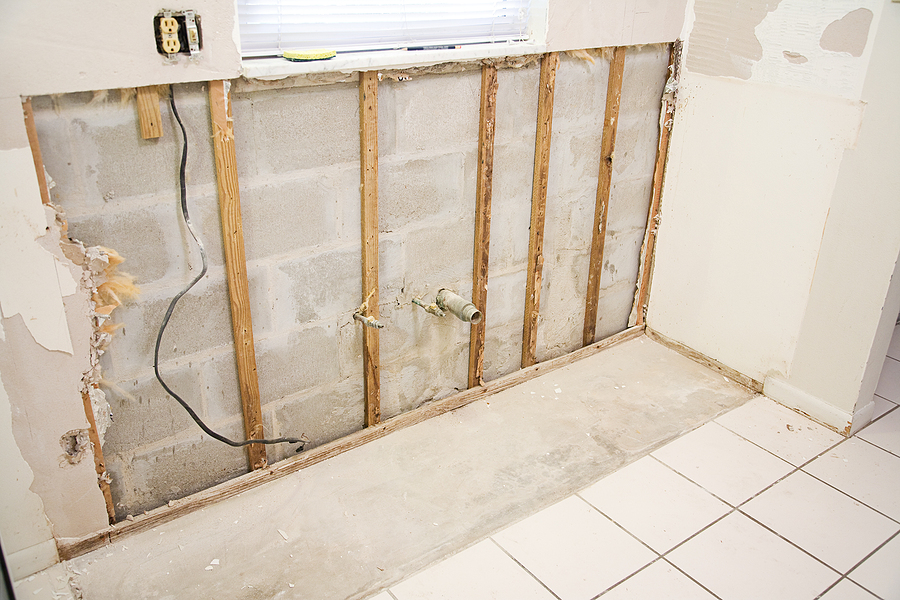
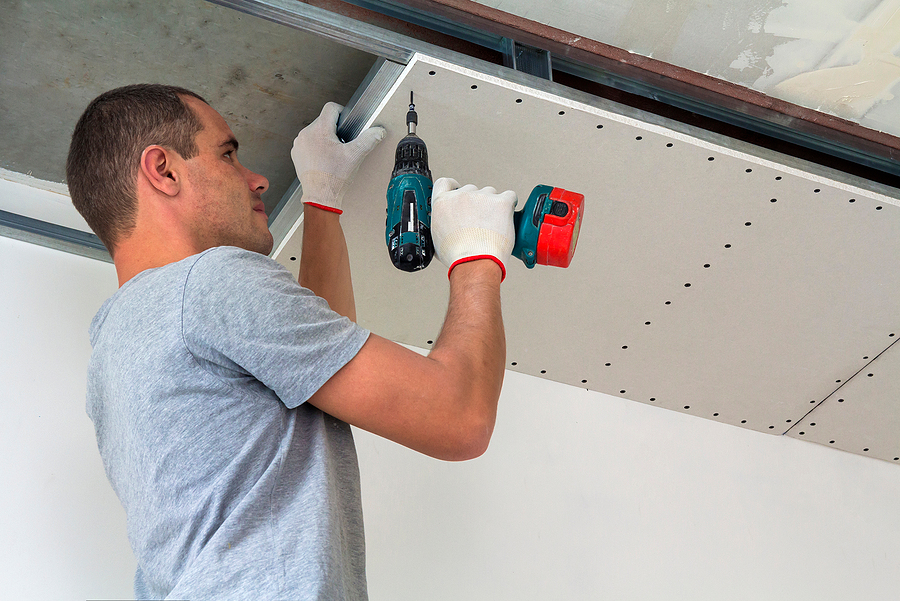
Major Repairs: Structural and Water Damage
More serious damage—sagging caused by water intrusion, grid misalignment, or compromised panels across a larger area—requires a more involved drywall repair process. This often means removing damaged materials, drying out affected areas, treating for mold if needed, and replacing sections of the grid along with the panels.
Costs rise significantly at this level. Water damage repairs run approximately $45 to $55 per square foot for labor and materials (Angi, 2026). For moderate damage covering 50 to 100 square feet, expect a total cost somewhere between $1,500 and $4,000. If structural elements like ceiling joists are involved, costs can climb higher still.
It’s also worth remembering that repairing the ceiling itself is only part of the job. The source of the damage—a leaking pipe, a roof problem, an HVAC issue—must be addressed first, or the same damage will simply return.
Full Replacement: When Repairs Aren’t Enough
Sometimes, particularly when damage is widespread or a ceiling system is significantly aged, full replacement is the more practical option. This is especially true when the cost of repeated repairs begins to approach the cost of a new installation, or when the existing grid system is no longer structurally sound.
A professional assessment is the most reliable way to determine whether repair or replacement makes better financial and structural sense for your situation.
Choosing a Repair Professional: Key Considerations
The quality of a suspended ceiling repair depends heavily on who performs it. Here’s what to look for when evaluating contractors.
Experience and Expertise
Suspended ceiling repair requires specific knowledge—not just of the tiles themselves, but of the grid system, underlying structure, and any related systems like lighting or HVAC that interact with the ceiling. Look for contractors with documented experience in ceiling work, not just general handyman services. Ask about past projects similar to yours, and don’t hesitate to request references.
Licensing and Insurance
Any contractor you hire should be properly licensed for the work they’re performing and carry both liability insurance and workers’ compensation coverage. This protects you if something goes wrong during the repair—whether that’s additional property damage or an on-site injury. Reputable contractors will provide proof of coverage without hesitation.
Quotes and Transparency
Get at least three itemized quotes before committing to a contractor. An itemized quote breaks down the cost of labor, materials, and any additional services separately, making it far easier to compare proposals and spot anything that seems inflated or vague.
Be cautious of quotes that come in significantly lower than others—this can indicate cut corners, unlicensed labor, or materials that won’t hold up over time.
Preventing Future Problems: Maintenance Tips
The best ceiling repair is the one you avoid altogether. A few simple habits can significantly extend the life of a suspended ceiling.
Regular Inspections
Inspect your ceiling every three to six months. Look for early signs of damage—water stains, cracks, looseness in the tiles or grid. Catching small problems before they develop into larger ones is the single most effective maintenance strategy available.
Addressing Issues Promptly
When you do spot damage, act quickly. Water damage, in particular, accelerates fast. Drywall begins breaking down within 24 hours of exposure, and mold can begin forming within 48 to 72 hours. A small repair left unattended for a week can become a far more expensive and disruptive project.
Environmental Control
Moisture is the most common enemy of suspended ceilings. Ensure your space has adequate ventilation, keep HVAC systems maintained, and regularly check for leaks in plumbing or roofing above the ceiling plane. Controlling humidity and airflow reduces the risk of moisture-related damage considerably.
FAQ
How much does suspended ceiling repair cost?
Costs vary based on the extent and type of damage. Minor repairs—such as replacing a few tiles or patching small cracks—typically run between $150 and $400. Moderate water damage repairs can cost $1,500 to $4,000, while severe structural damage may reach $5,000 to $15,000 or more. Labor is generally charged at $45 to $90 per square foot or $60 to $90 per hour (Angi, 2026).
How long does suspended ceiling repair take?
Small repairs can be completed in a matter of hours. Repairs involving water damage or grid replacement typically take one to several days. If structural issues are present, the timeline may extend further depending on the scope of work required.
Can I repair a suspended ceiling myself?
Replacing individual tiles or adjusting minor grid issues is generally manageable as a DIY project. However, water damage, structural problems, mold, and significant grid misalignment are best handled by a professional. Improper repairs can worsen structural problems and create safety hazards that cost more to fix in the long run.
Don’t Wait Until Small Problems Become Big Ones
Suspended ceiling repairs handled early are almost always simpler and less expensive than those left to worsen. A proactive approach—regular inspections, prompt attention to damage, and choosing the right professional—will keep your ceiling performing well and your space safe for years to come.
Looking for professional ceiling drywall repair and installation in Indianapolis? Our experienced team at Drywall By Renso is ready to assess your ceiling, explain your options clearly, and deliver quality workmanship you can count on. Request a free estimate today.
Related Posts:
Drop Ceiling Repair: Fixing Common Suspended Ceiling Issues
Ceiling Tiles: Pros, Cons & Top Alternatives
Drop Ceilings: What You Need to Know Before You Decide