A burst pipe or a flooded basement leaves behind a stressful mess, but the real trouble often hides inside your walls long after the floors are dry. Drywall acts like a sponge, pulling moisture upward and retaining it inside the gypsum core.
Attempting to patch up the damage yourself might seem like an easy way to save money. However, improper repair can lead to severe structural problems and hidden health hazards that threaten your family.
This guide explains why replacing water-damaged drywall requires professional expertise. You will learn how to identify hidden moisture risks, avoid common pitfalls, and protect your Indianapolis home from long-term consequences.
Assessing Water Damage: Beyond the Surface
Water travels quickly through building materials. Even when the outside of your wall feels dry to the touch, moisture can still linger deep within the structure.
The Invisible Threat: Mold and Mildew Growth
Time is your biggest enemy when dealing with moisture. According to the EPA, mold can begin to grow on damp surfaces within 24 to 48 hours. Indianapolis experiences fluctuating humidity levels, which makes completely drying out a wall cavity incredibly difficult without specialized equipment. If your drywall has been wet for longer than two days, mold growth is highly likely. Disturbing this material without proper containment can release harmful spores into your home’s air supply.
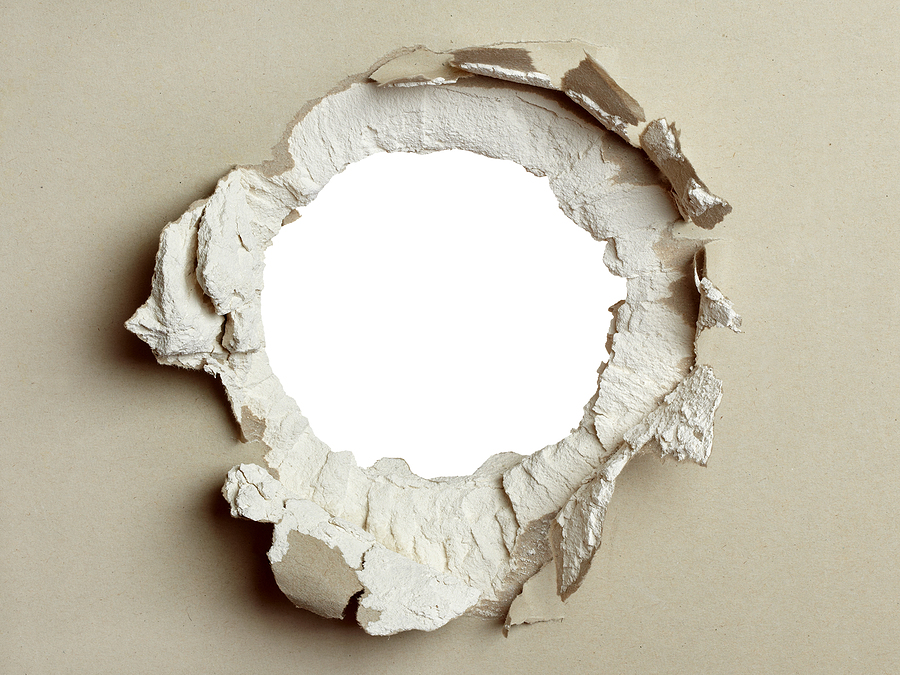
Structural Integrity: Compromised Drywall
Drywall loses its structural strength rapidly when wet. You can often feel the damage by gently pressing on the affected area. If the wall feels soft, spongy, or leaves an indentation, the gypsum core has dissolved. The Federal Emergency Management Agency (FEMA) generally recommends removing drywall at least 12 inches above the highest water line. Wet insulation behind the wall must also be completely removed to prevent the wooden studs from rotting.
The Complexities of Drywall Replacement: Why It’s Not a Simple Fix
In an era of endless internet tutorials, tearing down a wall looks easy. The reality of water damage remediation involves complexities that go far beyond cutting a square hole.
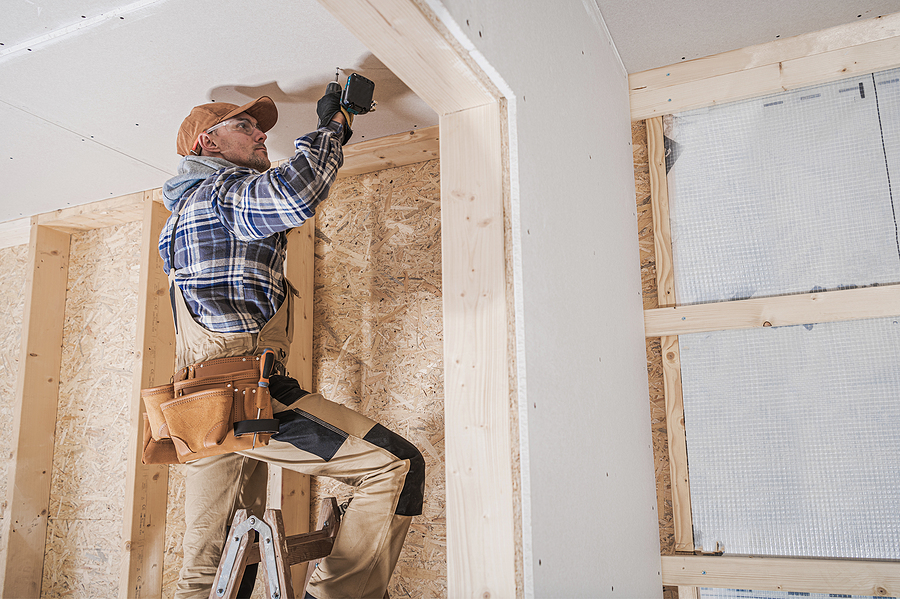
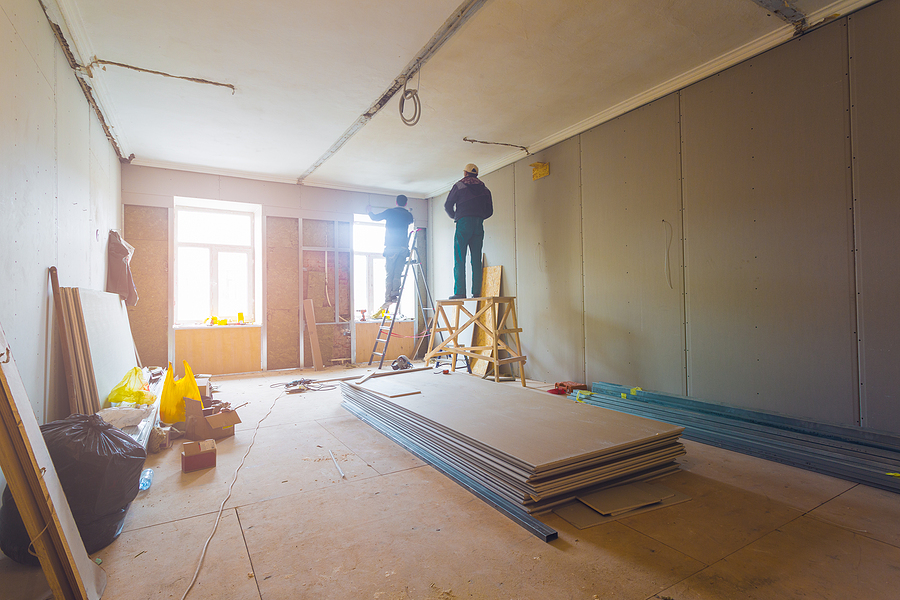
Precision Matters: Cutting and Fitting New Drywall
Removing the exact right amount of drywall requires skill. You have to locate the studs, cut clean lines, and ensure you do not accidentally sever hidden electrical wires or plumbing pipes. Fitting the new panels requires exact measurements so that the new piece sits perfectly flush with the existing wall.
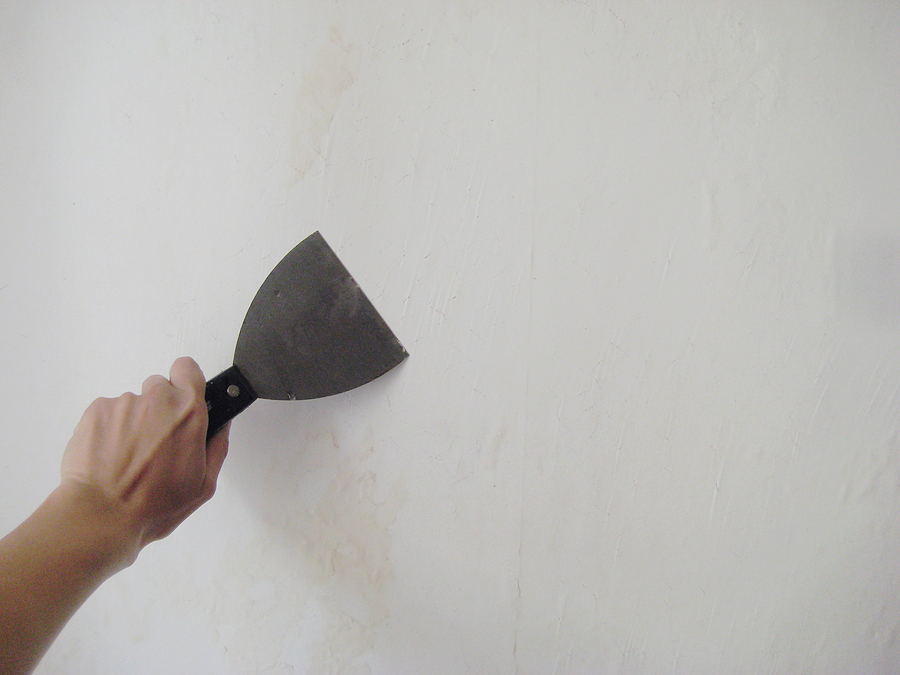
Taping, Mudding, and Sanding: A Skillful Art
Blending a new piece of drywall into an old wall takes years of practice. Taping the joints, applying the joint compound (mud), and sanding it down smoothly is a highly precise process. A lack of experience easily results in visible seams, uneven patches, and bumpy textures that draw the eye straight to the repair.
DIY Drywall Repair: Hidden Costs and Potential Pitfalls
Taking on a home improvement project can be rewarding, but repairing water damage comes with high stakes. Doing it yourself often leads to unexpected headaches.
Time and Effort: More Than You Bargained For
Applying joint compound requires multiple coats. Each layer must dry completely before you can sand it and apply the next. This process can drag on for days, leaving your living space covered in fine white dust and in a state of disarray.
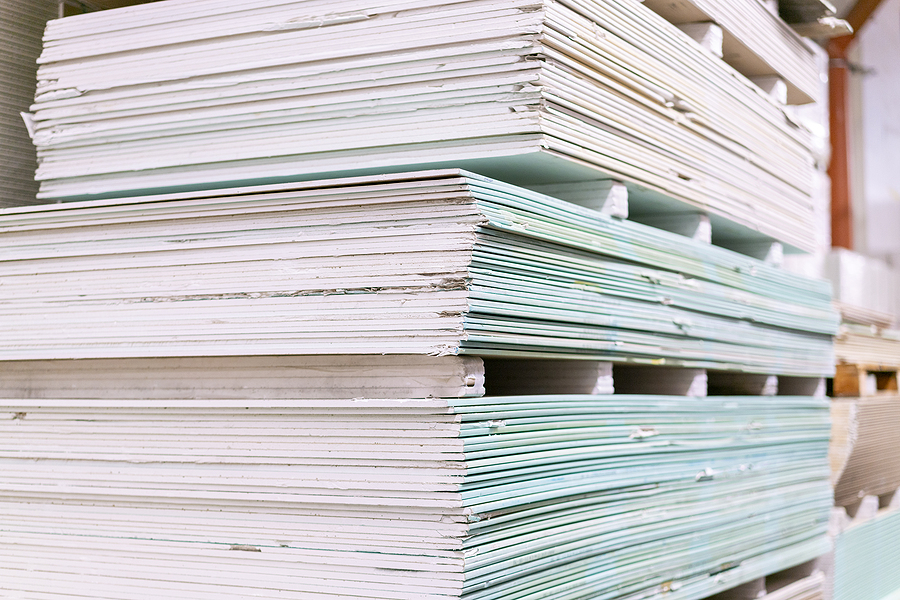
Tools and Materials: Unexpected Expenses
DIY repairs require specific drywalling tools. You will need drywall knives, specialized tape, sanding blocks, mud pans, and the drywall itself. You also need heavy-duty plastic sheeting for containment and personal protective equipment to keep yourself safe from mold and old construction materials. These expenses add up quickly, cutting into the money you hoped to save.
Substandard Results: Impact on Home Value
A poor drywall repair job is impossible to hide. Uneven walls and visible seams detract from the beauty of your rooms and can negatively influence your home’s market value. Furthermore, failing to completely dry the structural wood behind the drywall will lead to ongoing rot and recurrent mold issues, costing you far more money in the long run.
The Professional Advantage: Seamless Drywall Installation and Lasting Results
Hiring a professional contractor protects your investment and your peace of mind. Skilled experts bring the right tools and years of hands-on experience to every job.
Expertise and Experience: The Mark of a Pro
Professional restoration teams know how to safely handle hazardous materials. They set up proper containment zones with negative air pressure to stop mold spores from spreading into your HVAC system. They also use advanced moisture meters to verify that the wooden studs are completely dry before putting up new walls.
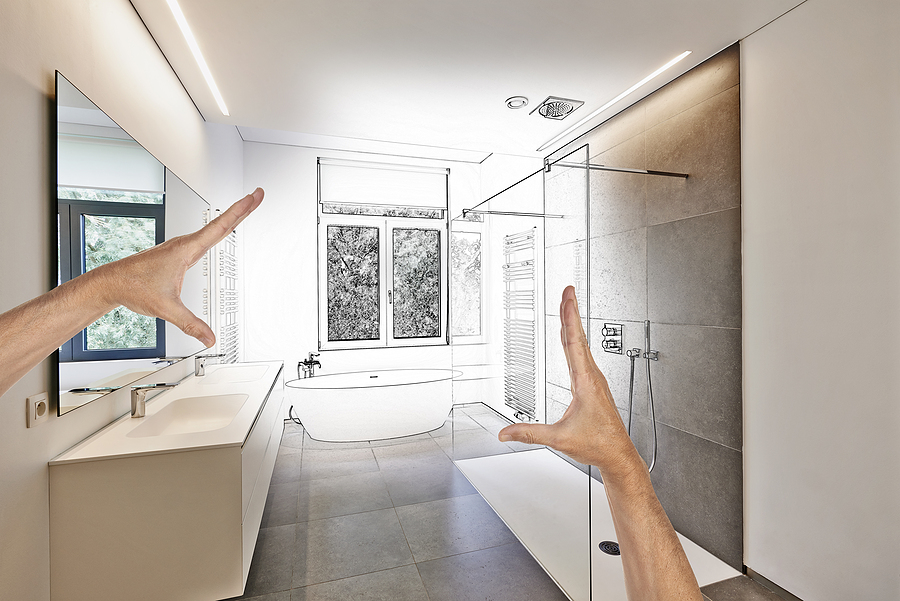
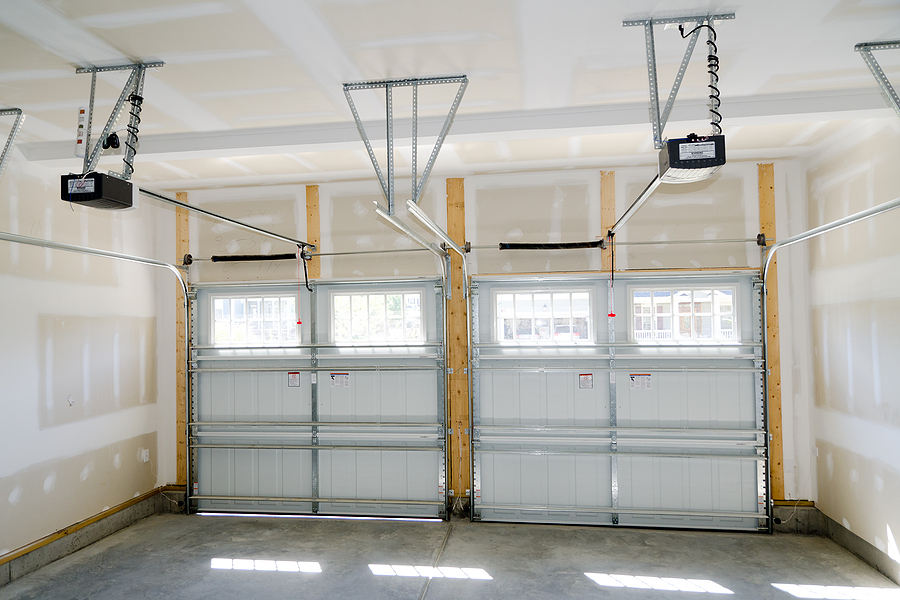
Efficiency and Quality: A Flawless Finish
A seasoned Indianapolis drywall contractor works efficiently. They know exactly how to mix the mud, apply the tape, and feather the edges so the patch becomes completely invisible. The result is a high-quality finish that seamlessly integrates with your existing wall structure.
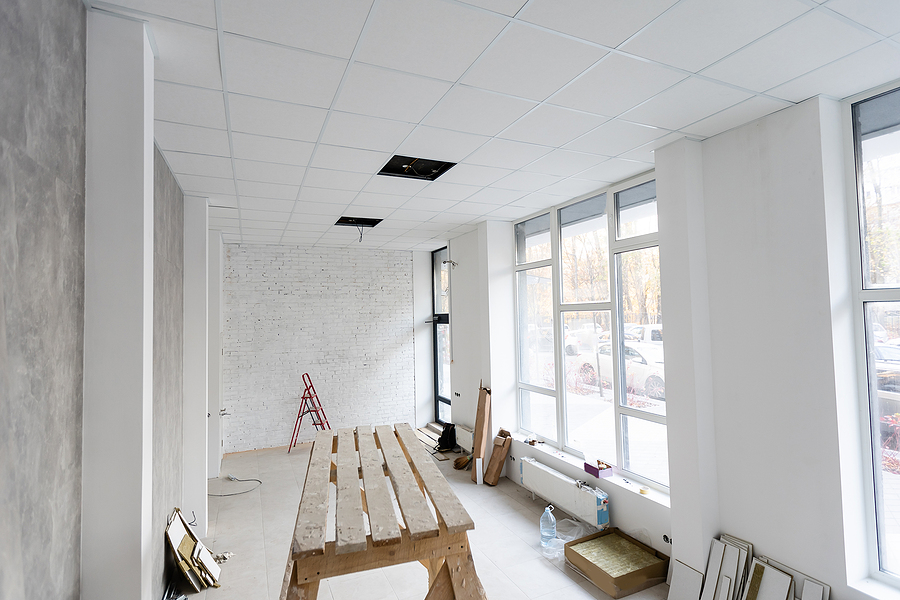
Preventing Future Issues: Long-Term Solutions
Professionals solve the root of the problem. By ensuring all moisture is eradicated and the structural integrity is sound, they prevent secondary damage like warping and persistent odors. This level of thoroughness provides lasting results that keep your home safe.
Choosing the Right Professional for Water Damage Drywall Repair in Indianapolis
Finding a reliable contractor ensures your home is restored correctly. You need a team that understands both drywall finishing and moisture remediation.
What to Look For in a Drywall Contractor
Look for a company that is fully licensed and carries liability insurance. This protects you in case of any accidental damage during the project. It is also beneficial to find professionals holding certifications for water damage restoration, as they understand the science of structural drying.
Questions to Ask Before Hiring
Always vet your contractors carefully. Ask them the following questions:
- How do you test for hidden moisture behind the walls?
- What is your process for containing mold and dust?
- Will you handle any necessary local building permits?
- Do you provide a warranty for the finished repair?
FAQS About Water-Damaged Drywall
Can water-damaged drywall just dry out and be saved?
If clean water touches drywall for a very short period, it can sometimes be dried with high-powered commercial fans. However, if the drywall swells, feels soft, or stays wet for more than 48 hours, it must be replaced.
How long does it take for mold to grow on wet drywall?
Mold spores begin to multiply rapidly on damp, porous surfaces within 24 to 48 hours.
Is it safe to remove moldy drywall myself?
No. Tearing out moldy drywall without commercial containment barriers will spread dangerous spores throughout your entire house. Always hire professionals to handle mold removal.
Invest in Professionalism for Your Home’s Health and Value
A water leak causes enough stress on its own. You do not need the added burden of a messy, complicated DIY repair that puts your home at risk for mold and structural decay. Relying on skilled experts ensures that the moisture is fully eradicated and your walls look perfectly smooth once again.
For professional drywall installation and replacement in Indianapolis, request a free quote today.
Related Post: Water-Damaged Drywall? Here’s When to Repair vs. Replace