TL;DR: Selecting the correct drywall is crucial for durability, fire safety, and sound control in your new home. This guide covers the different types of gypsum board—from standard panels to advanced soundproof and fire-resistant options—and explains why professional installation is often the smarter investment.
Key Takeaways:
- Not all drywall is the same: Different rooms require specific types (e.g., moisture-resistant for bathrooms, Type X for garages).
- Safety first: Fire-resistant drywall is often required by code for ceilings and garage walls.
- Quiet comfort: Specialized sound-damping drywall can significantly reduce noise transfer between rooms.
- Installation matters: Professional finishing ensures smooth walls that stand the test of time.
Table of Contents:
- What is Drywall and Why Does It Matter?
- What Are the Main Types of Drywall?
- What Factors Should I Consider When Choosing Drywall?
- Should I DIY or Hire a Professional?
- FAQs About Drywall
- Quick Recap
- Conclusion
What is Drywall and Why Does It Matter?
Drywall, also known as gypsum board, sheetrock, or wallboard, is the primary material used to create walls and ceilings in modern homes. It consists of a gypsum core sandwiched between two layers of paper.
While it might look like a simple backdrop for your paint, drywall plays a critical role in your home’s infrastructure. It provides fire resistance, sound control, and thermal efficiency. Choosing the wrong type can lead to premature mold growth in damp areas, poor sound insulation in bedrooms, or even safety code violations. Getting it right during the new construction phase saves you from costly repairs and renovations down the road.
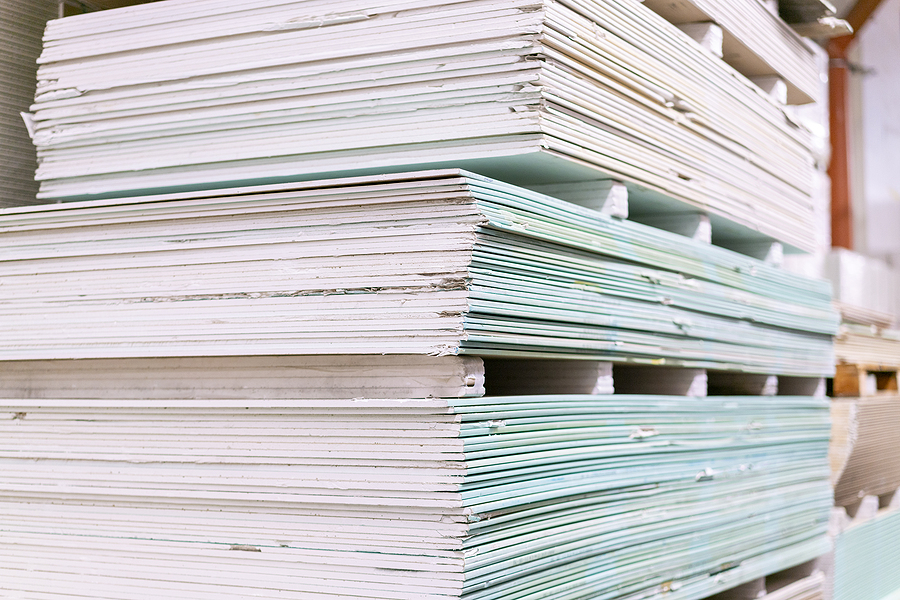
What Are the Main Types of Drywall?
Regular Drywall
This is the standard “white board” used in most living areas, bedrooms, and hallways. Typically found in 1/2-inch thickness, it’s cost-effective and easy to finish. It’s perfect for walls that don’t face special conditions like high moisture or fire risks.
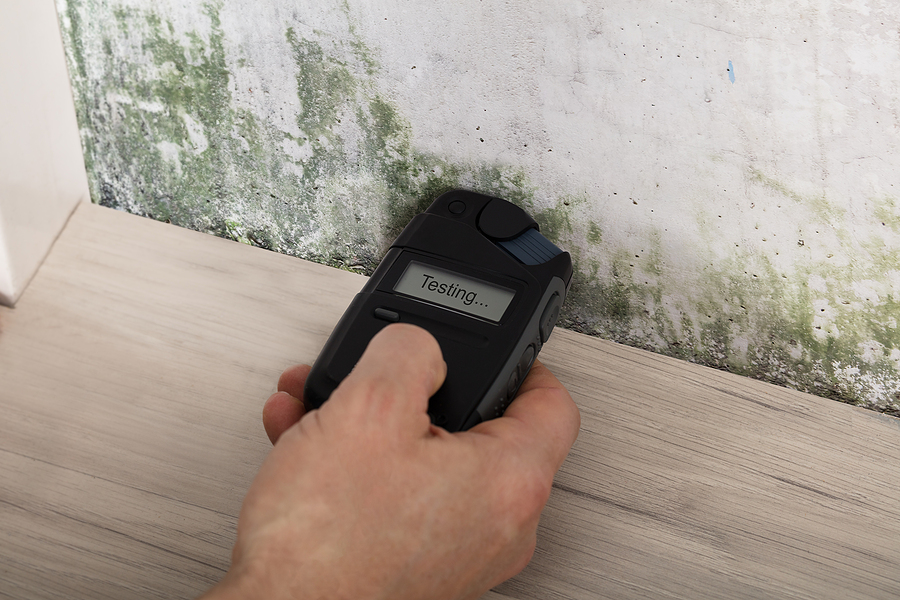
Moisture-Resistant Drywall
Often called “green board” or “purple board,” this type features a treated core and special face paper (often 100% recycled) designed to resist moisture and mold. It is essential for damp areas like bathrooms, kitchens, and laundry rooms.
However, there is a critical distinction to make: while moisture-resistant, standard green board is generally not waterproof enough for direct water exposure, such as inside a shower stall. For those areas, cement board or glass-mat gypsum panels are usually required.
Fire-Resistant Drywall (Type X)
Safety is the priority here. Type X drywall is 5/8-inch thick and contains glass fibers and other additives in the gypsum core. These additives help the board hold together longer during a fire, preventing the spread of flames.
According to the Gypsum Association, Type X board is defined by ASTM standards to provide at least a one-hour fire-resistance rating when installed in specific assemblies. It is typically required by building codes for garages, utility rooms, and ceilings separating living spaces.
Soundproof Drywall
If you value peace and quiet, sound-damping drywall is a game-changer. These panels, such as those made by CertainTeed or USG, often feature a viscoelastic polymer layer sandwiched between two dense gypsum cores.
This layered construction absorbs and dissipates sound waves, offering a significantly higher Sound Transmission Class (STC) rating than standard drywall. It’s ideal for home theaters, home offices, or shared walls in multi-family units.
Eco-Friendly Drywall
Sustainability is becoming a standard in construction. Many modern drywall products, particularly those from major manufacturers like USG, are GREENGUARD Gold Certified for low chemical emissions. Some eco-friendly options use high percentages of synthetic gypsum (a byproduct of industrial processes) and 100% recycled paper facings, reducing the environmental footprint of your build.
What Factors Should I Consider When Choosing Drywall?
Moisture Resistance
Think about the room’s function. If steam or splashes are inevitable (like in a bathroom or basement), you need mold- and moisture-resistant panels. Using regular drywall in these areas invites mold growth, which can compromise your home’s air quality and structural integrity.
Fire Rating
Check your local building codes. Fire-rated (Type X) drywall is rarely optional in specific zones. It is critical for the wall between your house and garage, as well as utility closets housing furnaces or water heaters. It buys your family valuable time in the event of an emergency.
Soundproofing
Consider the acoustics of your floor plan. Open-concept homes can be noisy. Installing soundproof drywall in key areas—like the primary bedroom or a media room—can drastically improve your quality of life. While it costs more per sheet, the privacy and quiet are often worth the investment.
Cost
Regular 1/2-inch drywall is the most affordable option. Specialty boards—like Type X, purple board, or soundproof panels—come at a premium. However, you don’t need to use specialty boards everywhere. A strategic mix (e.g., soundproof board only in the media room, green board only in the baths) keeps the budget balanced.
Environmental Impact
If indoor air quality and sustainability are priorities, look for products with “low VOC” certifications and high recycled content. These materials contribute to a healthier living environment without sacrificing durability.
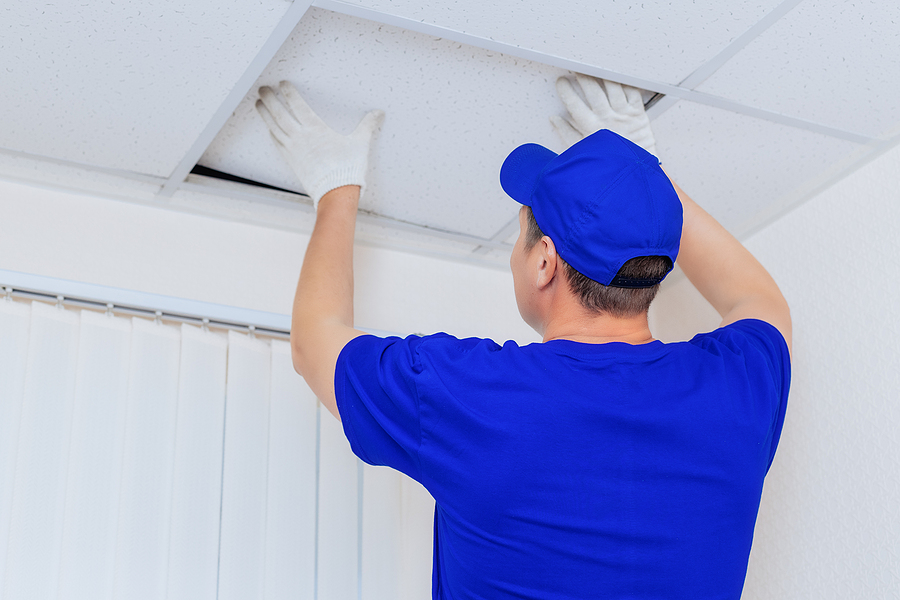
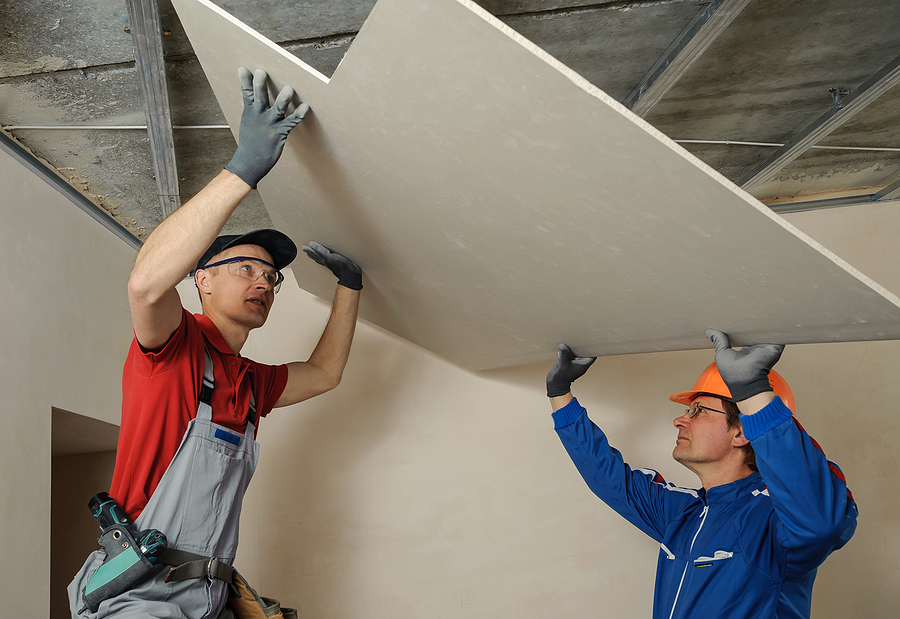
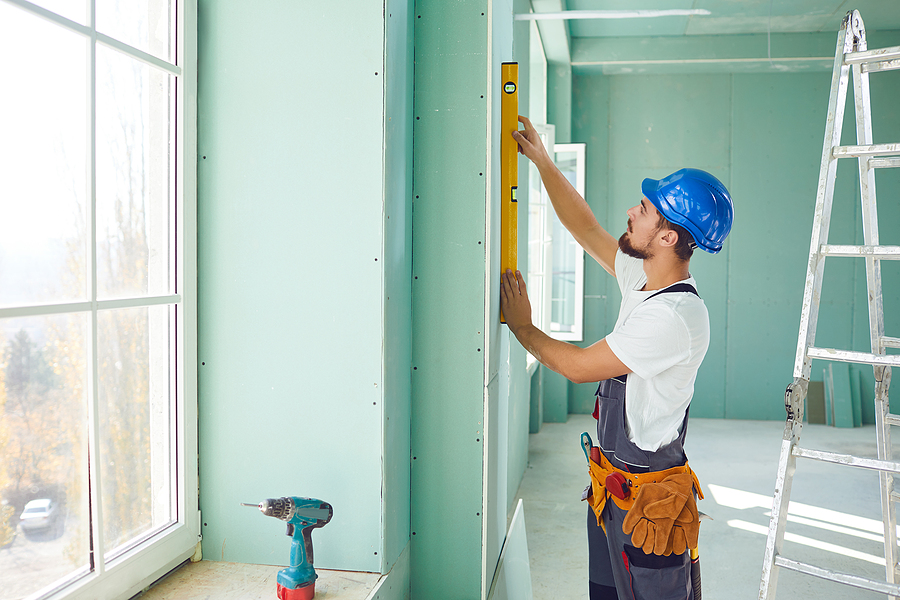
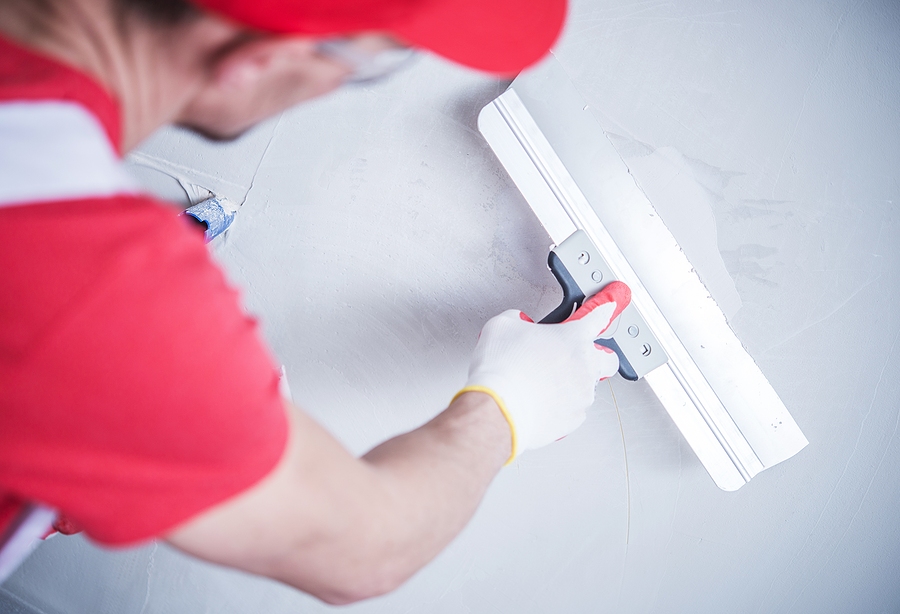
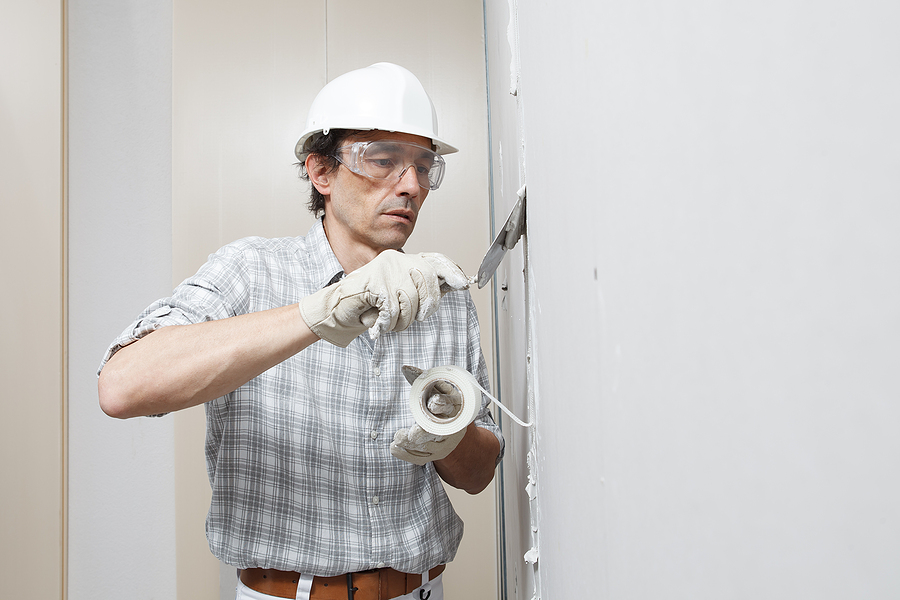
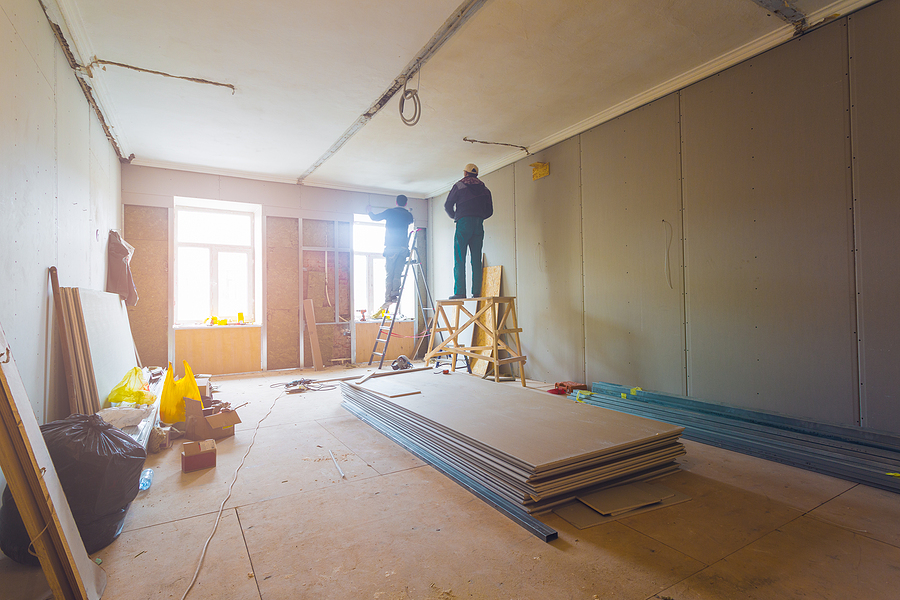
Should I DIY or Hire a Professional?
Cost Analysis
On paper, DIY drywall installation looks cheaper because you aren’t paying for labor. However, mistakes are expensive. Poorly taped joints, wasted material from bad cuts, and the cost of renting specialized tools (like lifts and sanders) can quickly eat into your savings.
Time and Effort
Hanging and finishing drywall is physically demanding and messy. It requires lifting heavy sheets, mixing mud, taping, and multiple rounds of sanding. What takes a professional drywall service a few days might take a DIYer several weekends of exhausting labor.
Quality and Longevity
Drywall finishing is an art form. A professional installation ensures smooth, seamless walls that don’t show tape lines or screw pops once painted. Professionals also know how to navigate tricky areas like corners, arches, and electrical boxes, ensuring the structural integrity and fire safety ratings of the installation are maintained.
FAQs About Drywall
Can I use moisture-resistant drywall in my shower?
Generally, no. While “green board” is moisture-resistant, most building codes and manufacturers (and organizations like the Tile Council of North America) recommend using cement backer board or glass-mat gypsum panels for wet areas like shower surrounds to prevent water damage behind the tile.
What is the difference between 1/2-inch and 5/8-inch drywall?
1/2-inch is the standard for residential walls. 5/8-inch (usually Type X) is thicker, heavier, and provides better fire resistance and sound control. It is typically used where fire codes mandate it.
Is soundproof drywall really worth the extra cost?
For specific rooms, yes. While you may not need it in a pantry, using it for a home office, nursery, or theater room makes a noticeable difference in reducing noise transfer.
Blog Recap
- Regular Drywall: Best for standard living areas.
- Moisture-Resistant: Essential for baths and kitchens; distinct from waterproof backer board.
- Type X (Fire-Rated): Thicker, safer, and often legally required for garages.
- Soundproof: Worth the investment for privacy and noise reduction.
- Installation: Pros save you time and ensure a flawless finish.
Conclusion
Your walls are more than just a surface for art; they are the shell that protects your home and family. By choosing the right drywall for each specific area of your new construction, you ensure a safer, quieter, and more durable home. While DIY is tempting, the skill required for a perfect finish usually makes professional installation the better long-term choice.
Building your dream home requires a flawless finish. For expert drywall installation in Indianapolis that guarantees durability and aesthetic perfection, Contact Us Today to schedule your consultation!
Related Post: Modern Drywall Options Choosing the Right Solution for Your Space