In the world of home maintenance, drywall plays a pivotal role. It’s the canvas for your interior decor and the backbone of your home’s walls and ceilings. But just like any other part of your home, drywall can suffer damage over time. Whether it’s a small crack or a larger hole, addressing these issues promptly is essential for maintaining the overall health and aesthetic of your living or working space.
For homeowners, property managers, landlords, and small business owners, understanding the nuances of drywall repair is crucial for making informed decisions that won’t break the bank. In today’s post, we will dive into the real cost of drywall repair and provide insights for every budget.
Understanding the Factors Affecting Drywall Repair Costs
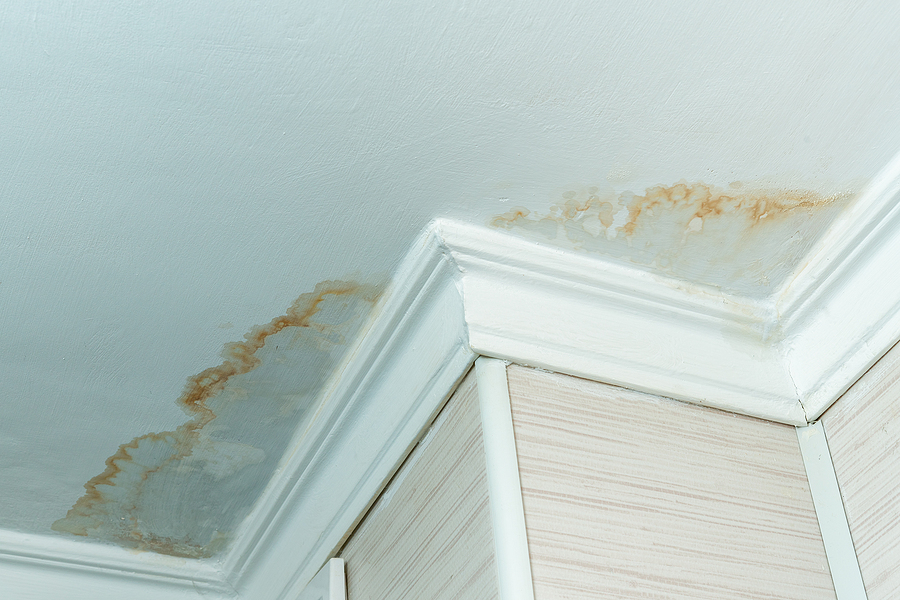
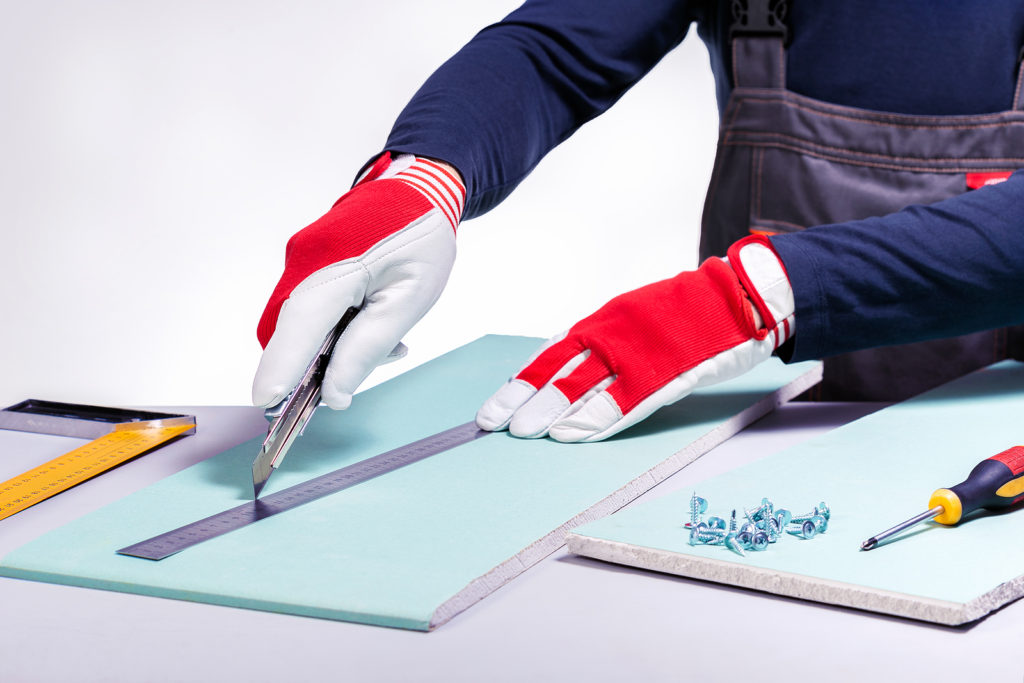
When it comes to drywall repair, several factors can influence the cost. The first is the type of damage you’re dealing with. Cracks and holes are common issues, but water damage and mold can also rear their ugly heads. Each type of damage presents its own challenges and, therefore, can affect the overall cost of repair. Cracks might require simple patching, whereas mold could necessitate extensive treatment and replacement of materials.
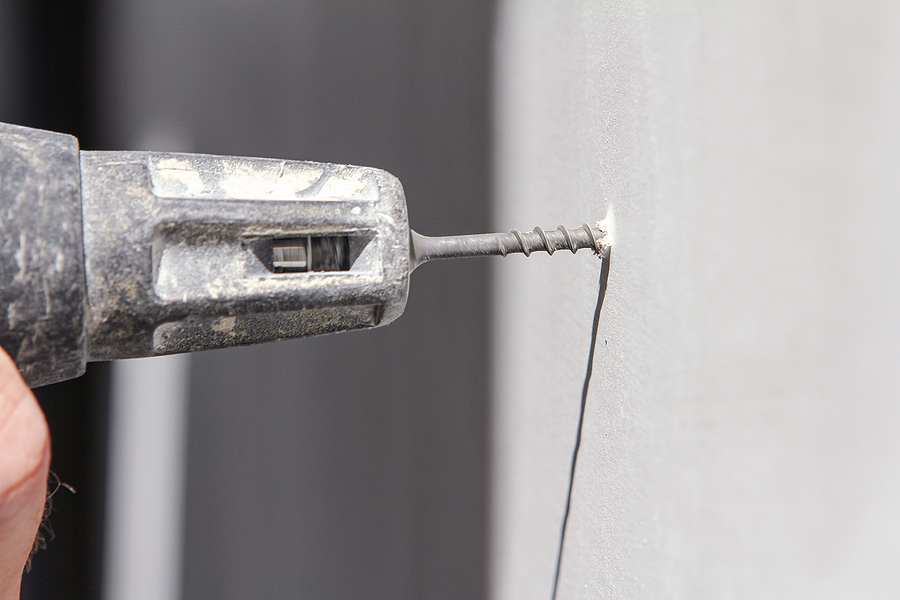
Another significant factor is the size and severity of the damage. A minor crack may be a quick and easy fix, but extensive water damage or a large hole can require more materials and labor, driving up costs. The extent of the damage can also determine whether you need a professional drywall contractor, which will influence the overall cost.
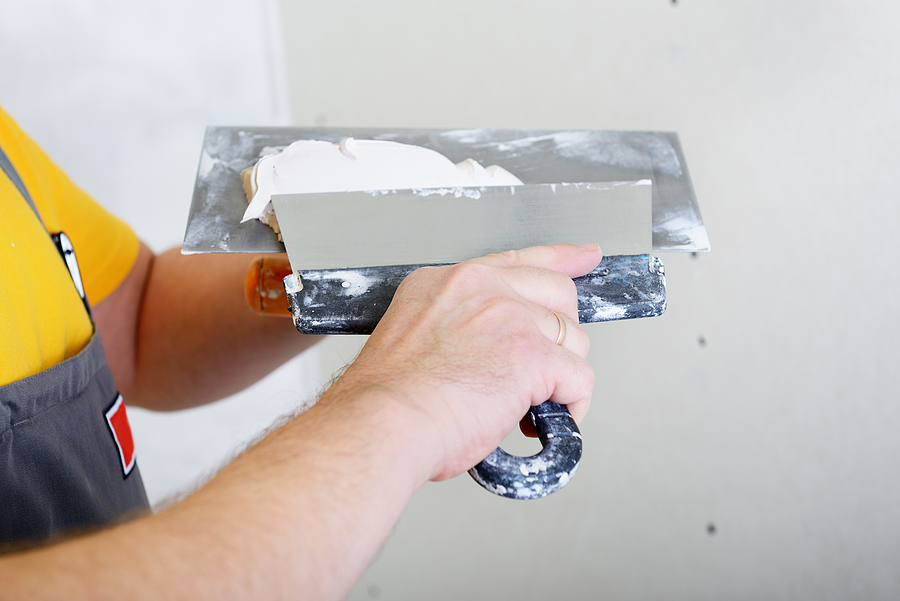
Finally, material and labor costs are always a consideration. The price of drywall supplies can vary, and labor costs can differ depending on the complexity of the repair and the expertise required. Understanding these factors can help you budget effectively and make the best choice between professional drywall service or a DIY approach.
Average Cost Breakdown by Repair Type
Let’s break down the average costs associated with different types of drywall damage. For common repairs like fixing small holes or cracks, costs can range from $50 to $150, depending on the materials and tools required. However, if you’re dealing with more severe issues like water damage, costs can rise significantly, often reaching between $200 and $500.
Regional variations in repair costs can also impact your budget. In urban areas, where living expenses are higher, the cost of drywall installation and repair may reflect this. Conversely, rural regions might offer more affordable rates. It’s important to consider these regional variations when planning your repair budget.
By understanding the typical costs associated with each type of repair, you can better anticipate expenses and plan accordingly. This knowledge not only helps in budgeting but also in determining whether a professional drywall contractor is necessary for larger, more complex repairs.
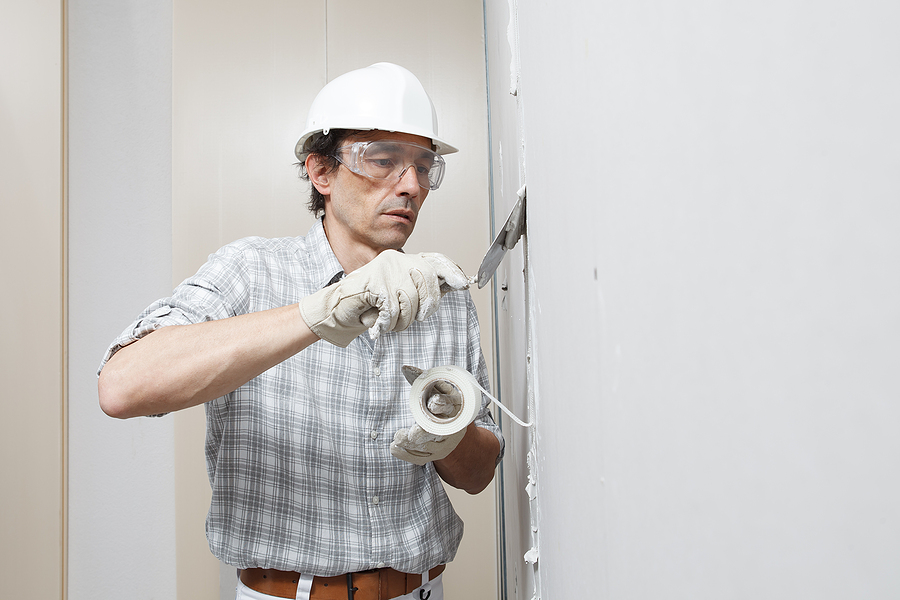
DIY vs. Professional Repair
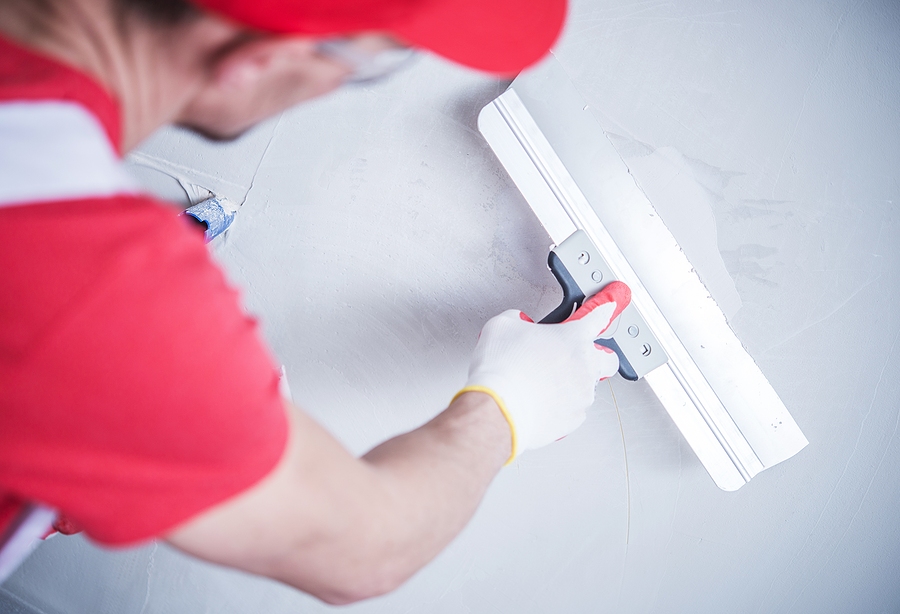
When faced with drywall damage, you’re often presented with two options: tackle the repair yourself or hire a professional. Each choice has its own set of advantages and disadvantages. DIY repair is usually more cost-effective and can be satisfying if you’re handy. However, it requires time, effort, and the right tools. A less-than-perfect job can lead to additional repairs down the road.
On the other hand, professional repair ensures quality workmanship and can handle more complicated issues like extensive water damage or structural problems. The downside? It often comes with a higher price tag. In many cases, the cost of hiring a professional is justified by the quality and efficiency of the work, particularly for larger projects.
The decision ultimately comes down to the nature of the damage and your confidence in handling repairs. For minor cracks and holes, DIY might be sufficient. But for more significant damage, investing in professional drywall services could save you time and money in the long run.
Tips for Reducing Drywall Repair Costs
Reducing drywall repair costs is possible with a few strategic approaches. First, consider preventive maintenance to minimize the need for repairs. Regularly inspect your walls and ceilings for signs of damage, such as small cracks or discoloration, and address these issues early to prevent them from worsening.
When repairs are necessary, choosing cost-effective methods can make a difference. Opt for quality materials that offer durability, which may cost more upfront but save money in the long run by reducing the need for future repairs. Additionally, gathering multiple quotes from drywall contractors can help you find the best deal without sacrificing quality.
Lastly, consider bundling multiple repairs into one project. If you have several areas that need attention, addressing them all at once can often reduce labor costs compared to handling each repair separately.
Conclusion
Understanding the real cost of drywall repair is essential for homeowners, property managers, landlords, and small business owners. By considering factors such as the type of damage, the size and severity, and the choice between DIY and professional repairs, you can make informed decisions that align with your budget. Preventive maintenance and cost-effective strategies can further reduce expenses.
Remember, when in doubt, it’s always wise to seek the advice of professional drywall contractors who can provide expert guidance and ensure the longevity of your repairs. For more detailed information or to explore our drywall services, reach out to us today. Whether you’re fixing a minor crack or tackling extensive water damage, your walls and ceilings deserve the best care possible.
Don’t hesitate to reach out to our expert team for personalized advice and assistance. Contact Drywall by Renso at 317-269-7319 for professional drywall services in Indianapolis, Indiana. Whether you’re tackling a small repair or a large-scale renovation, we’re here to help you achieve the perfect finish.
Related Posts:
The Complete Handbook on Drywall Repairs and Maintenance
Drywall Problems Decoded: A Guide to Drywall Repair and Maintenance
Avoid DIY Disasters: The Importance of Professional Drywall Installation