Moisture in walls is more than just an annoying inconvenience. Left untreated, it can lead to damaging mold growth, unpleasant odors, and even compromise the structural integrity of your home. Whether you’ve spotted peeling paint or detected a musty odor, identifying and fixing the problem early is essential to maintaining the health of your property.
This guide will walk you through diagnosing moisture problems, tackling DIY fixes, knowing when to hire a professional, and taking steps to prevent future issues. By the end, you’ll not only have a better understanding of “moist walls” and their causes but also a clear action plan to fix and safeguard your home.
How to Spot Moisture Problems in Your Walls
Unsure if your walls have a moisture issue? Here are the telltale signs to watch for in both visible and subtle forms:
- Water Stains: Brown or yellow stains on walls or ceilings are classic indicators of water seepage.
- Peeling Paint or Bubbling Wallpaper: Moisture causes paint and adhesives to lose their grip.
- Musty Odors: A persistent stale smell in specific spaces can suggest trapped moisture or hidden mold.
- Visible Mold or Mildew: Black, green, or white patches spreading on walls are red flags.
- Soft or Damp Spots: If certain parts of your wall feel softer to the touch or damp, water may have seeped into the structure.
- Condensation: “Sweating walls,” especially on poorly insulated surfaces during colder months, indicate high humidity levels inside.
If you’re seeing any of these signs, there’s likely more going on beneath the surface.
Common Causes of Wet Walls and Moisture Problems
Fixing moisture starts with understanding the root cause. Here are the most frequent culprits behind water-damaged walls:
- Leaks: Plumbing leaks or roof damage can allow water to seep into wall cavities.
- Condensation: High indoor humidity can lead to water droplets forming on cold surfaces, especially around windows or uninsulated spaces.
- Poor Ventilation: Bathrooms and kitchens without proper ventilation trap moisture, fostering dampness and mold growth.
- Cracks and Gaps: Small openings around windows, doors, or walls allow water to enter, especially during heavy rainfall.
- Flooding or Burst Pipes: Severe incidents like floods or burst pipes can saturate walls, causing substantial water damage.
Recognizing the source of moisture is vital for choosing the correct method to address it.
DIY Solutions for Moisture Control
For minor issues, there are several homeowner-friendly fixes that can resolve or manage the problem. Give these remedies a try:
- Improve Ventilation – Open windows and use exhaust fans, especially in kitchens and bathrooms, to reduce indoor humidity levels.
- Seal Cracks and Gaps – Apply waterproof caulk or sealant around window frames, door edges, and visible cracks in walls to block water intrusion.
- Clean Moldy Surfaces – Use a diluted bleach solution (1 cup bleach to 1 gallon of water) to scrub moldy walls. Wear gloves and a mask to protect yourself during cleaning.
- Use a Dehumidifier – Place a dehumidifier in damp areas to remove excess moisture from the air, reducing conditions for dampness and mold.
- Redirect Water – Ensure gutters and downspouts are clear and directing water at least 3 feet away from your foundation to prevent seepage into walls.
Small steps can make a big difference, but be sure to evaluate the problem’s scale before proceeding with DIY fixes.
Contact Us for a Drywall Inspection
When to Call in a Professional
Not every moisture issue can be handled alone. Here’s when it’s time to bring in the pros:
- Extensive Mold Growth – When mold covers more than 10 square feet or keeps reappearing after cleaning, professional mold remediation is crucial.
- Persistent Leaks – If a water leak isn’t easily identifiable or fixable, you’ll need experts to locate the source and repair it.
- Structural Damage – If walls are crumbling, soft, or visibly warped, the damage is structural and requires immediate professional attention, likely including drywall repair or replacement.
- Health Concerns – If anyone in the household suffers from allergies or respiratory issues linked to mold exposure, hire specialists to ensure a safe environment.
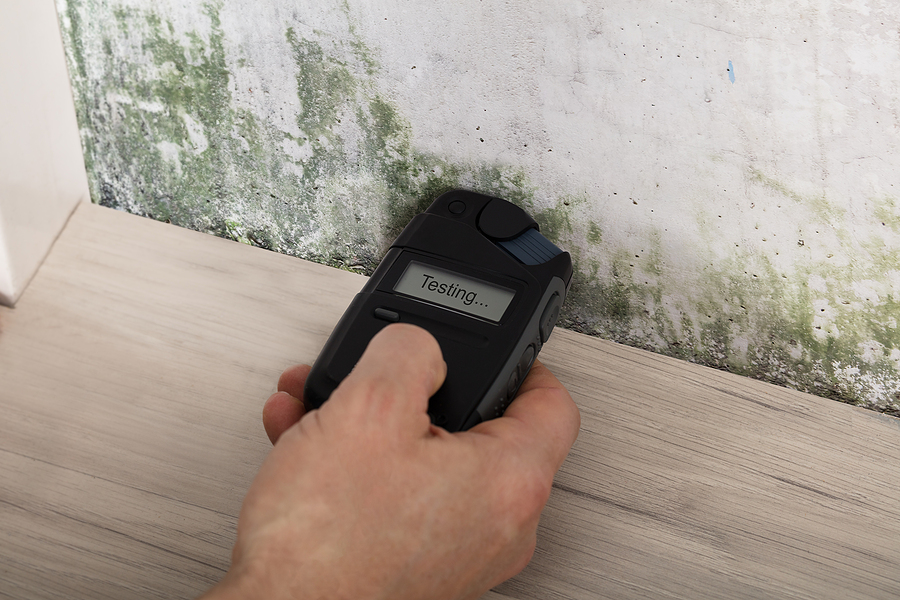
Expect professionals to provide a detailed inspection using moisture detection equipment, recommend solutions like sealing leaks or replacing drywall, and offer prevention tips to keep moisture from returning.
Tips to Prevent Future Moisture Problems
Prevention is the best cure, especially when it comes to moisture. Follow these tips to keep your walls dry and damage-free:
- Maintain Good Ventilation – Use exhaust fans and open windows to promote airflow and reduce indoor moisture buildup.
- Inspect and Maintain Plumbing – Regularly check pipes, faucets, and water heaters for leaks, addressing them promptly.
- Control Indoor Humidity – Keep humidity levels below 50% using dehumidifiers and ensure proper insulation to prevent condensation issues.
- Clean Gutters and Downspouts – Regular maintenance of gutters ensures water is directed away from your foundation, protecting your walls.
- Ensure Proper Sealing – Inspect and repair cracks, gaps, or worn-out seals around your home’s foundation, windows, and doors.
- Monitor Condensation – Pay attention to condensation forming around windows or walls and address it with insulation or moisture-control measures.
By adopting these habits, you can create a dry, safe, and comfortable living space for years to come.
Protect Your Home from Moisture Today
Fixing and preventing moisture issues is essential to maintaining your home’s structural integrity and indoor air quality. Whether it’s tackling minor problems with DIY solutions or calling a professional for larger-scale repairs, addressing moisture issues promptly will save you money and stress in the long run.
If you’re dealing with moldy walls, wet drywall, or water damage, don’t wait for the problem to grow worse. Get a free quote for drywall repair at Drywall By Renso and take the first step toward a healthier, drier home.
Related Post: Detecting Water Damage in the Home: Signs, Solutions, and Prevention