Pest infestations can wreak havoc in your home, and one of the most affected areas is often your drywall. From termites to rodents, many pests dig, chew, or burrow into walls, leaving your home structurally compromised and your family exposed to health hazards.
If you’re dealing with pest-damaged walls, it’s essential to act quickly. Prompt and professional drywall replacement restores your home’s safety, functionality, and appearance while preventing further issues. But how do you know when it’s time to replace your drywall, and what should you expect from the process? This guide dives into everything you need to know, from identifying the signs of a pest problem to choosing the right drywall repair service.
How to Identify a Pest Infestation Inside Your Walls
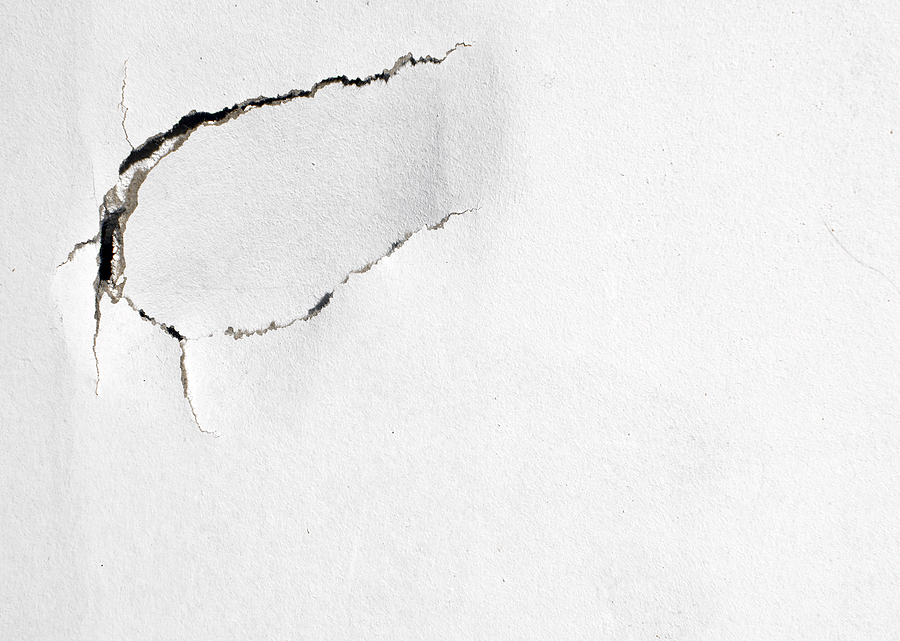
Drywall damage isn’t always immediately obvious, especially if pests are hidden inside your walls. Knowing the signs of common pests and their impact on drywall is crucial to catching the problem early.
Common Culprits That Damage Drywall
- Termites – These notorious pests eat through wood and drywall paper, leaving behind small, pencil-thin holes or sagging drywall.
- Rodents – Mice and rats chew drywall to create passages, often leaving gnaw marks and shredded materials around entry points.
- Carpenter Ants – Similar to termites, they excavate wood and drywall, leaving behind piles of fine, sawdust-like material.
- Cockroaches – Their presence is often noticeable due to grease trails, droppings, or odors in hidden areas, including walls.
- Bees and Wasps – Occasionally, these insects create nests or hives inside walls, leaving visible damage around the entrances.
- Squirrels and Bats – Even these critters can enter walls through small openings and create nests, often leaving behind feces and urine that damage drywall.
How to Confirm Hidden Infestations
While the physical signs of wall damage might be subtle, there are ways to confirm an infestation:
- Sounds: Scratching, rustling, or chewing noises could indicate pests behind walls.
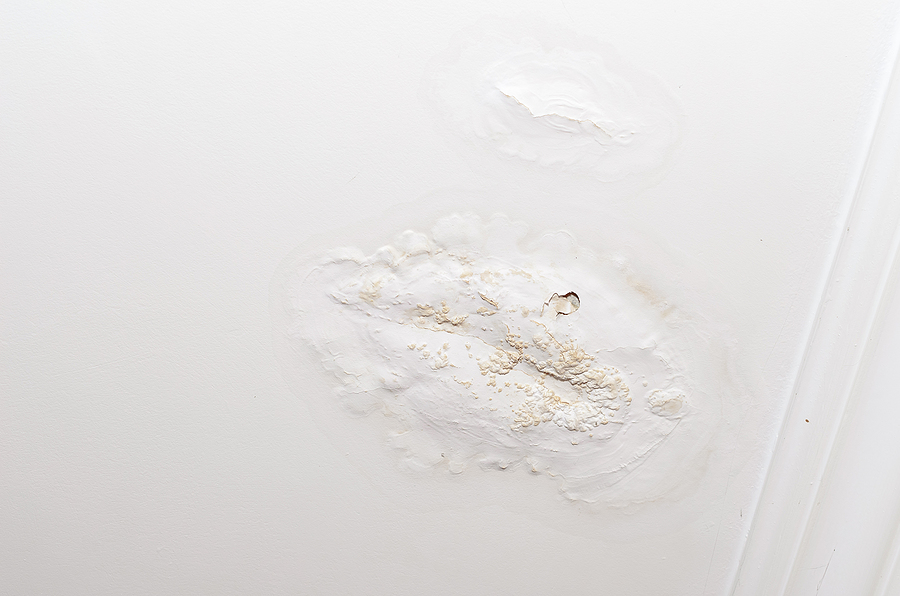
- Stains: Discolored patches on drywall could be from pest excretions or secretions.
- Smells: Musty or foul smells can signal a pest problem, especially with rodents.
- Professional Inspection: When in doubt, hiring a pest control expert can help pinpoint the issue.
The Risks of Delaying Drywall Replacement
Ignoring pest-damaged drywall isn’t just an aesthetic issue—it can have serious consequences for your home and health.
Health Hazards of Compromised Drywall
- Mold Growth: Damaged drywall is prone to moisture absorption, creating a breeding ground for mold that can harm respiratory health.
- Allergens: Pest droppings, fur, and remains trapped in the walls introduce allergens, aggravating conditions like asthma.
Structural and Financial Impact
- Weakened Walls: Severe pest infestations can erode the integrity of your walls, posing risks of collapse or further damage.
- Decreased Property Value: Visible wall damage reduces your home’s market value, meaning lost money down the line.
- Expensive Repairs: The longer you wait, the worse the damage becomes—leading to costlier and more complex repairs.
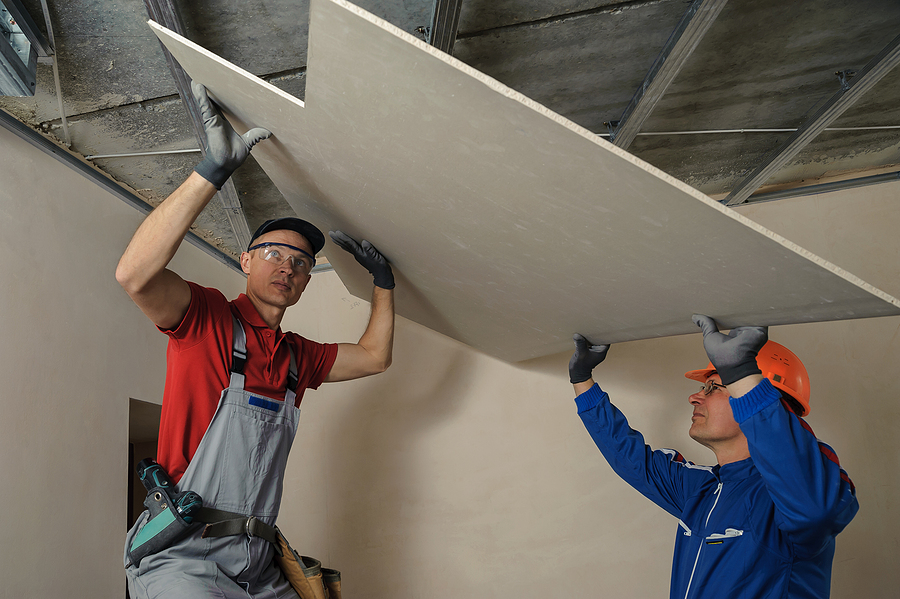
The Drywall Replacement Process
Replacing drywall after a pest infestation involves more than patching up cracks. Here’s a step-by-step guide to what you can expect.
Step 1: Eliminate the Source of the Infestation
Before starting drywall repairs, enlist pest control professionals to completely eliminate the pests. This prevents re-infestation after the replacement.
Step 2: Assess the Damage
A skilled drywall service will inspect the area to determine how extensive the damage is and whether only certain sections or the entire wall requires replacing.
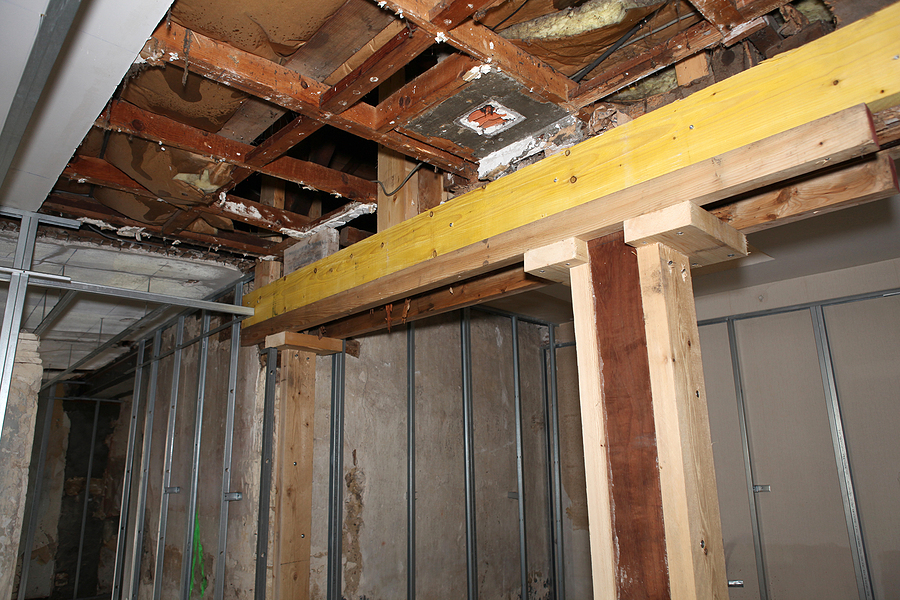
Step 3: Remove Damaged Drywall
Damaged panels are carefully removed, along with any affected insulation or surrounding materials.
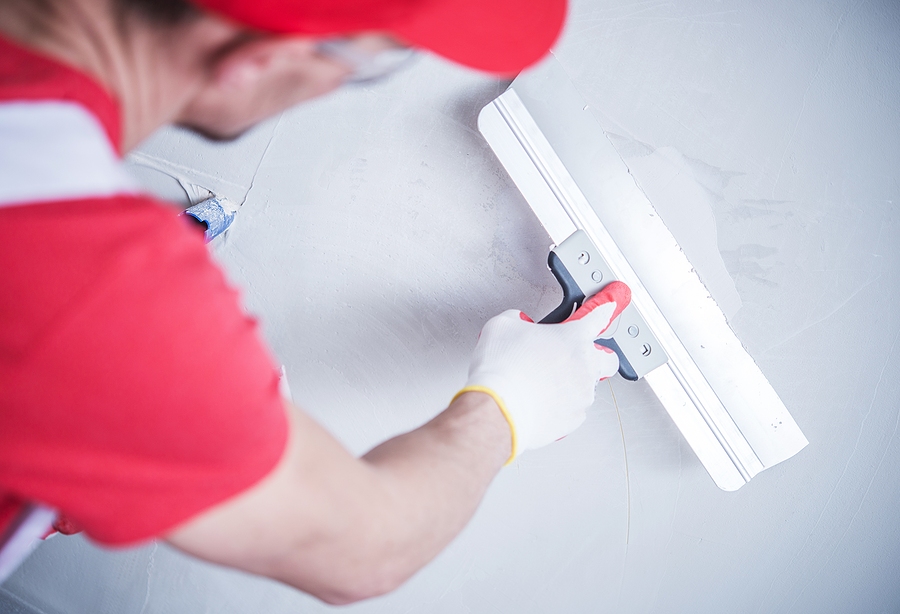
Step 4: Install New Drywall
Professionals will cut and place new drywall panels that seamlessly fit into the damaged area.
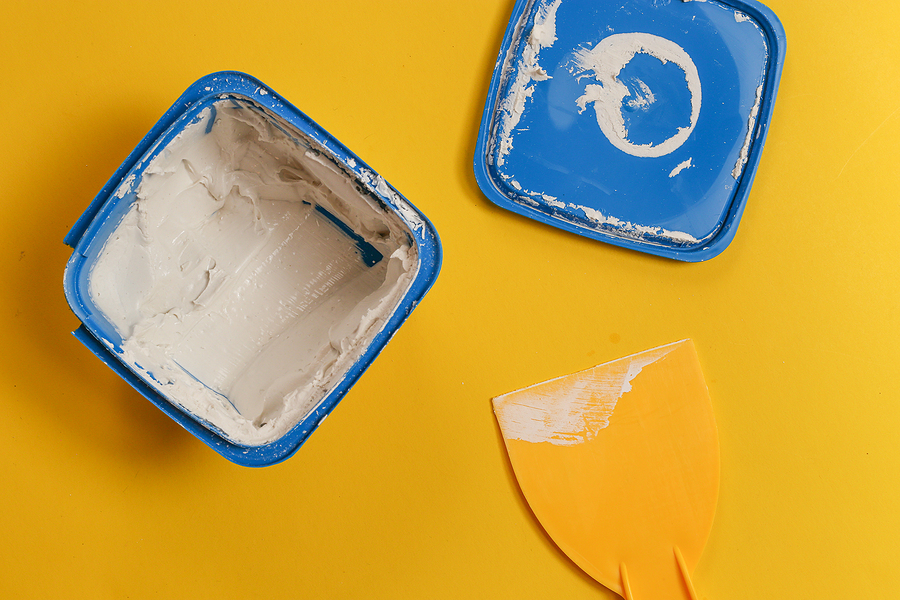
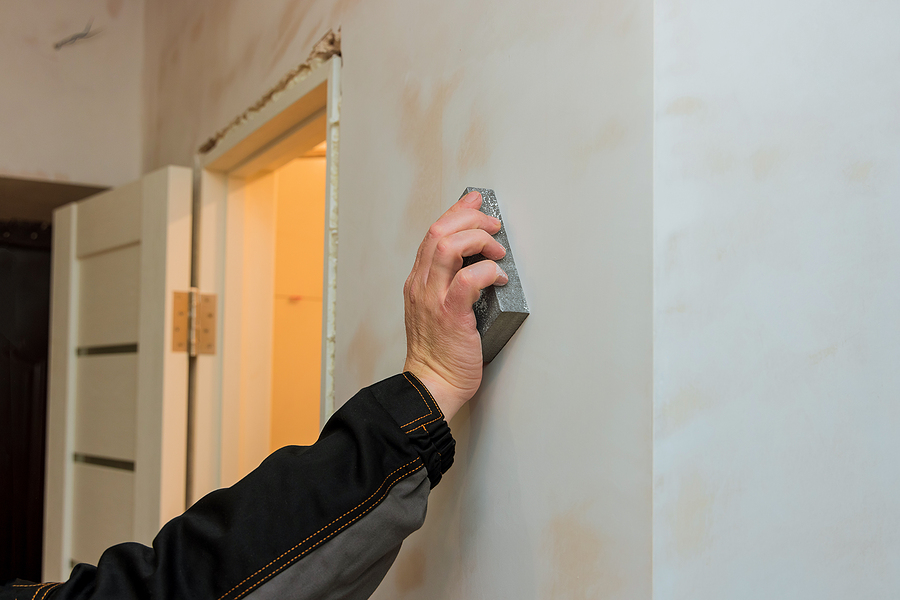
Step 5: Finishing Touches
Once installed, the new drywall is taped, mudded, and sanded to achieve a smooth finish before priming and painting.
Step 6: Use Eco-Friendly and Pest-Resistant Materials
Some professionals offer pest-resistant drywall and Eco-friendly materials to minimize future risks. Ask your contractor about these options for added peace of mind.
Finding the Best Drywall Replacement Service
Not all drywall services are created equal, and finding the right one ensures the job is done safely and efficiently.
What to Look For in a Professional Service
- Experience: Choose companies with extensive experience in drywall replacement, particularly after pest damage.
- Reputation: Research reviews and testimonials to evaluate their reliability and quality of work.
- Warranties: Look for services that offer guaranteed satisfaction or warranties on their work.
- Material Options: Ask if they offer pest-resistant drywall and quality paints that last.
Questions to Ask Before Hiring
- Can you provide a detailed estimate?
- How long will the replacement process take?
- Do you have experience with pest-damaged walls?
- What precautions do you take to prevent future infestations?
Preventive Steps to Avoid Future Wall Damage
Once your drywall is replaced, keeping pests at bay is vital to maintaining structural integrity and preserving your home.
Tips for Preventing Infestations
- Seal Entry Points: Examine your walls, floors, and ceilings for cracks or gaps where pests can enter and seal them with caulk or other durable materials.
- Maintain Cleanliness: Regularly clean basements, attics, and other areas prone to pests to eliminate food sources.
- Trim Surrounding Vegetation: Overhanging branches or shrubs can create a bridge for pests to access your home.
- Regular Inspections and Maintenance: Schedule annual pest inspections and check your walls for signs of new damage. Address small issues early to avoid more significant problems down the line.
Conclusion
Pest infestations can feel overwhelming, but the solution doesn’t have to be. Promptly replacing damaged drywall restores your home’s structural health and ensures it remains a safe place for your family to live.
If your walls have suffered pest damage, trust the experts to handle the job. Don’t wait—start your drywall replacement with a professional service today to avoid further risks and regain peace of mind. Know someone dealing with pest-damaged walls? Share this drywall blog to help them take action!
For your drywall needs, consider reaching out to a trusted drywall contractor. Your home deserves the expertise and attention to detail that only a professional can provide. Contact Drywall By Renso at 317-269-7319 to learn more about our expert drywall services in Indianapolis, Indiana. We serve residential and commercial clients throughout the Greater Indy areas. Request an estimate, today!
Related Posts:
Safeguard Your Space: Simple Tips to Prevent Wall Damage
Detecting Water Damage in the Home: Signs, Solutions, and Prevention
Drywall Problems Decoded: A Guide to Drywall Repair and Maintenance