That hole in your living room wall might seem like a simple weekend fix, but drywall repair involves more complexity than most homeowners realize. While the appeal of saving money through DIY projects is understandable, drywall repair requires specific skills, tools, and techniques that professionals have mastered through years of experience.
Whether you’re dealing with water damage from a leaky pipe, impact damage from moving furniture, or nail pops from house settling, the quality of your repair will determine whether the problem stays fixed or becomes a recurring headache. Professional drywall repair offers homeowners a reliable solution that stands the test of time, while DIY attempts often lead to frustration, wasted materials, and the need for costly do-overs.
Understanding the differences between professional and DIY drywall repair can save you both time and money in the long run. Let’s explore why hiring a drywall repair company is often the smarter choice for achieving seamless, lasting results.
Common DIY Drywall Mistakes That Cost Homeowners
Most homeowners underestimate the complexity of drywall repair, leading to mistakes that create bigger problems than the original damage. These errors often result in visible patches, recurring issues, and the need for complete re-work by professionals.
Improper Texture Matching
Achieving a seamless finish requires matching the existing wall texture perfectly. DIY repairs frequently result in obvious patches because homeowners struggle to replicate the original texture pattern. Whether your walls have orange peel, knockdown, or popcorn texture, each requires specific techniques and tools that most homeowners don’t possess.
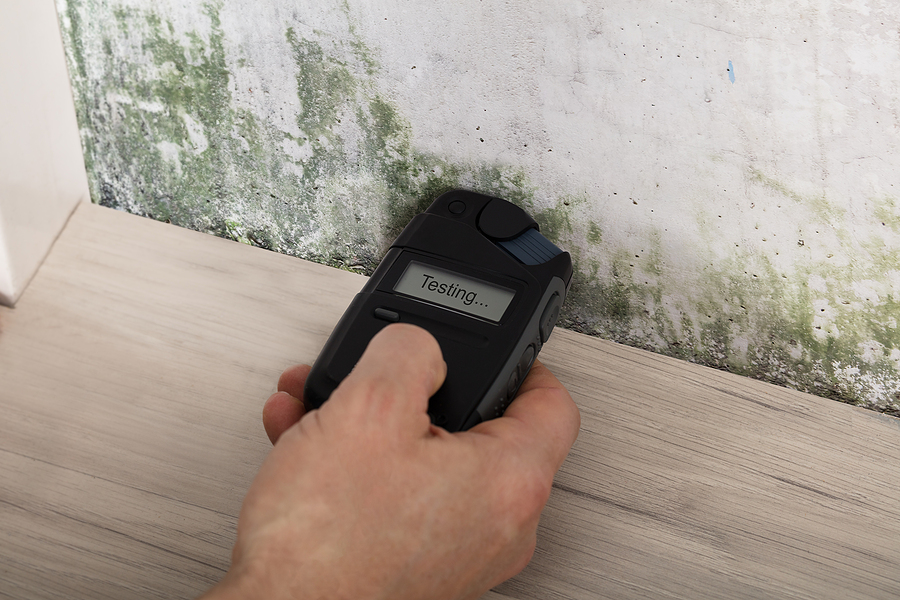
Water damage from leaky pipes often creates bubbling and crumbling drywall that extends beyond the visible damage. DIY repairs typically address only the surface problem, missing underlying moisture issues that can lead to mold growth and structural damage.
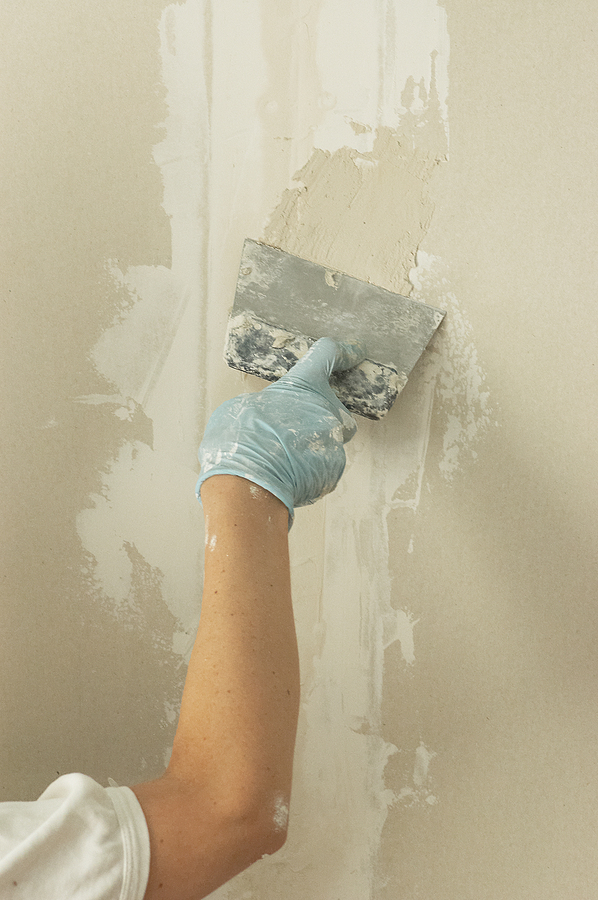
Inadequate Surface Preparation
Professional drywall work begins with thorough surface preparation, including proper cleaning, priming, and ensuring the area is completely dry. DIY attempts often skip these crucial steps, resulting in poor adhesion and patches that fail over time.
Impact damage from furniture or accidental collisions might appear straightforward, but properly repairing holes requires understanding wall construction, stud location, and load-bearing considerations that DIY repairs often overlook.
Incorrect Material Selection
Different types of drywall damage require specific materials and compounds. Using the wrong joint compound, mesh tape, or patching material can result in repairs that crack, shrink, or fail to bond properly with the surrounding wall.
Nail pops and cracks due to house settling require more than simple spackling. These issues often indicate structural movement that needs professional assessment to prevent recurring problems.
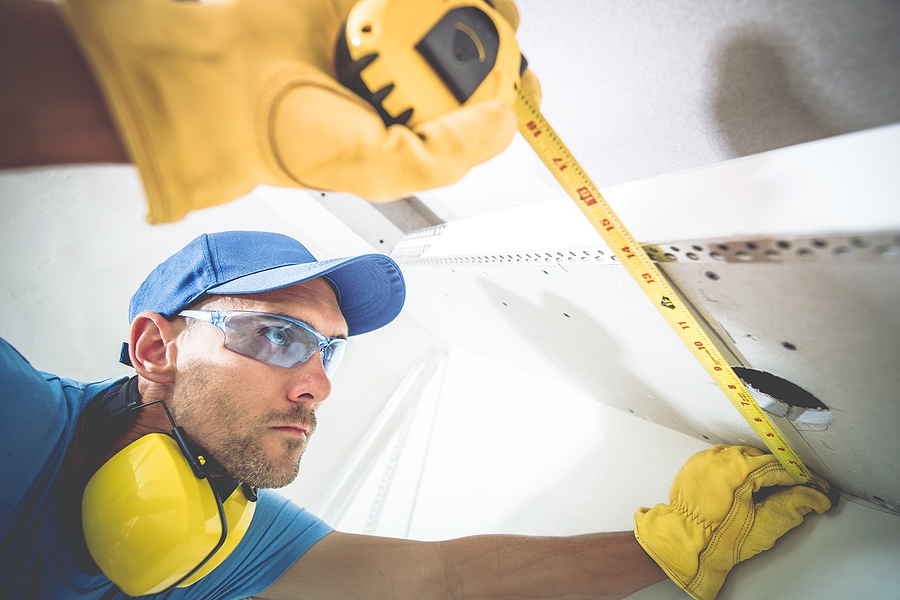
Tools and Expertise: What Professionals Bring to Drywall Repair
Expert drywall work involves specialized tools and techniques that most homeowners don’t have access to or experience using. This expertise makes the difference between a repair that blends seamlessly with your existing wall and one that remains visible for years.
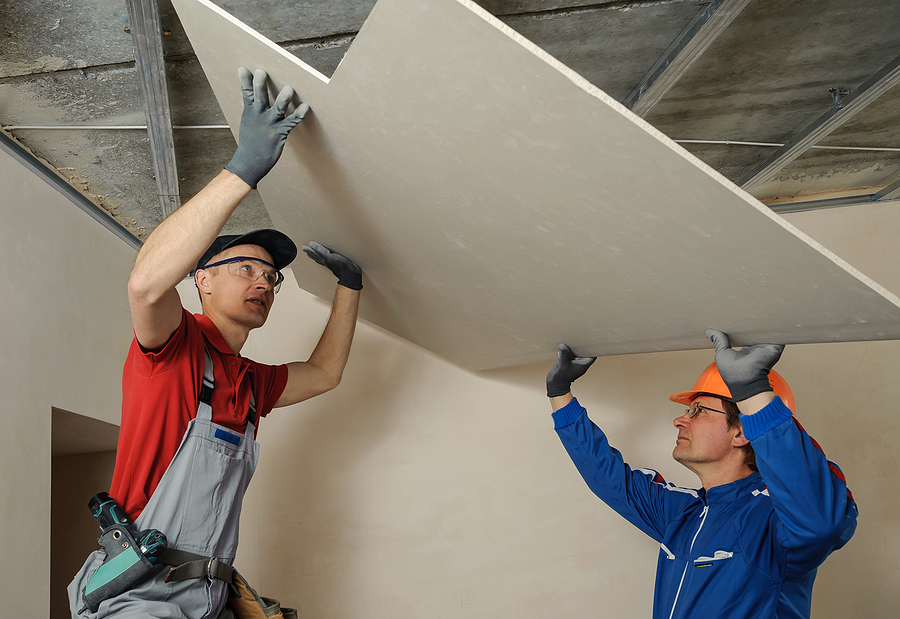
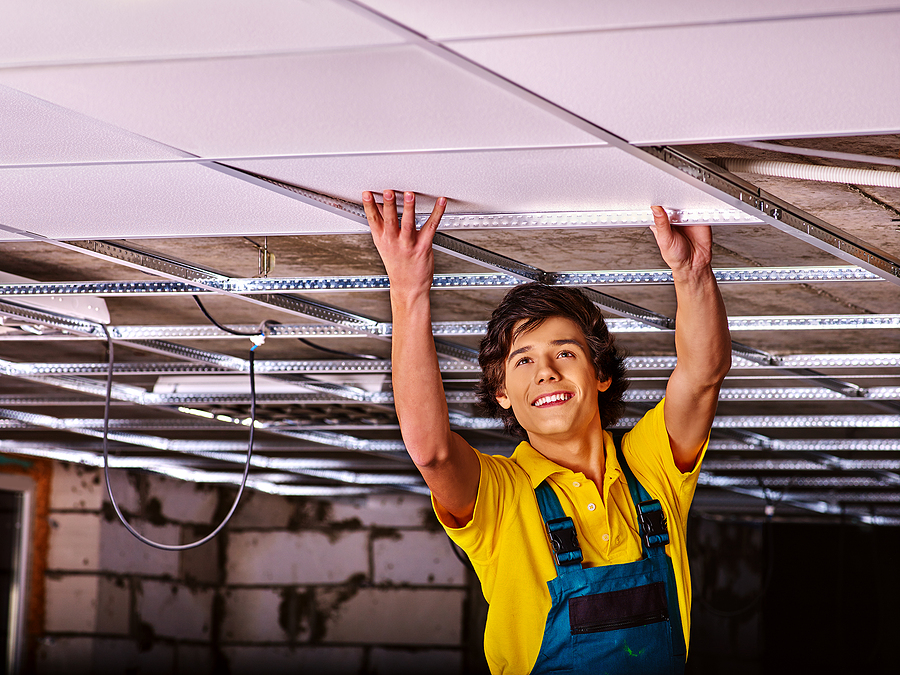
Specialized Equipment
Licensed drywall contractors use industrial-grade tools including pneumatic sanders, texture sprayers, and precision cutting equipment. These tools enable precise work that hand tools simply cannot match. For new construction drywall or extensive repairs, professionals have access to lifts, scaffolding, and dust collection systems that ensure both safety and quality.
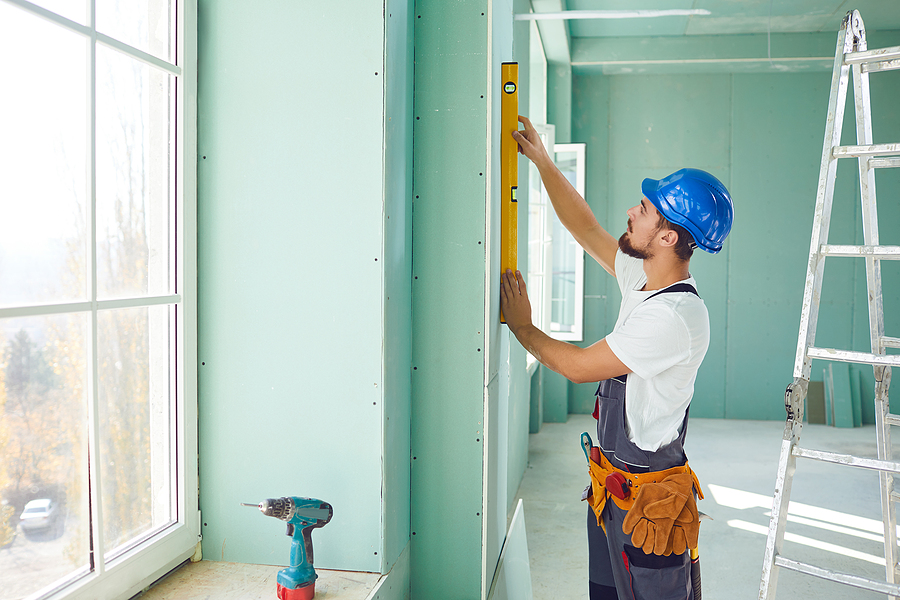
Technical Knowledge
Years of experience teach professionals how to identify underlying issues that cause drywall damage. They understand building codes, moisture control, and structural considerations that impact repair longevity. This knowledge prevents small problems from becoming major issues.
High-level drywall finishing requires understanding how different compounds interact, proper drying times, and layering techniques that create smooth, durable surfaces. DIY repairs often rush these processes, resulting in visible seams and uneven surfaces.
Quality Materials and Techniques
Pros have access to commercial-grade materials and know which products work best for specific applications. They understand primer selection, compound compatibility, and finishing techniques that ensure repairs last for decades rather than months.
Contact Us Now For a Free Drywall Quote ✅
Cost Analysis: DIY vs Professional Drywall Repair
While DIY drywall repair might seem cost-effective initially, the true cost includes materials, tools, time, and potential mistakes that require professional correction. Understanding these hidden expenses helps homeowners make informed decisions.
Upfront DIY Costs
A typical hole in the wall repair requires drywall patches, joint compound, tape, primer, paint, and various tools. First-time DIY repairs often require multiple trips to the hardware store as homeowners discover additional needed materials. Tool rental or purchase adds significant expense for repairs that might only happen once.
Hidden DIY Expenses
Failed DIY repairs frequently require complete re-work, doubling or tripling material costs. Poor surface preparation can damage surrounding wall areas, expanding the repair scope. Additionally, the time investment for DIY projects often exceeds expectations, particularly when accounting for learning curves and multiple attempts.
Dust and mess from DIY drywall repair can damage furnishings and require extensive cleanup. Professional drywalling services include proper dust containment and cleanup as part of their service.
Professional Repair Value
Professional drywall repair includes materials, labor, cleanup, and warranty protection. While the upfront cost might be higher, professionals complete repairs efficiently without the trial-and-error process that characterizes DIY attempts. Their work typically includes color-matched paint and primer, ensuring seamless blending with existing walls.
Most professional drywall installation and repair services offer warranties that protect homeowners against defects or recurring issues, providing peace of mind that DIY repairs cannot match.
Long-Term Benefits of Professional Drywall Repair
The advantages of professional drywall repair extend far beyond the immediate fix. Quality workmanship provides lasting value that DIY repairs rarely achieve.
Durability and Longevity
Professional repairs use proven techniques and quality materials that withstand normal wear and tear. Proper surface preparation, appropriate compound selection, and expert finishing create repairs that last for decades without cracking, shrinking, or becoming visible over time.
Poorly patched holes or seams from DIY attempts often result in visible lines and uneven surfaces that worsen over time. Professional repairs eliminate these issues through proper technique and quality control.
Property Value Protection
Visible drywall repairs can negatively impact property value and appeal to potential buyers. Expert repairs maintain the integrity and appearance of your walls, protecting your investment. Quality drywall finishing is particularly important in high-visibility areas where imperfections are easily noticed.
Time and Stress Savings
Licensed drywall repair eliminates the frustration, mess, and time investment required for DIY attempts. Contractors complete repairs efficiently while homeowners focus on other priorities. This time savings often justifies the cost difference, particularly for busy homeowners or complex repairs.
Health and Safety Considerations
Drywall repair involves dust, chemicals, and potential exposure to mold or asbestos in older homes. Professionals have proper safety equipment and training to handle these hazards safely. They also understand ventilation requirements and containment procedures that protect your family’s health.
Making the Right Choice for Your Home
Trained drywall repair offers homeowners reliable, lasting solutions that DIY attempts rarely achieve. While the initial investment might be higher, the combination of quality workmanship, proper materials, time savings, and warranty protection makes professional repair the smarter long-term choice.
Whether you’re dealing with water damage, impact holes, settling cracks, or failed previous repairs, professional contractors have the expertise and tools to restore your walls to like-new condition. Their work blends seamlessly with existing surfaces and stands up to years of normal use.
Don’t let drywall damage compromise your home’s appearance or value. Contact our experienced team today for a free estimate on your drywall repair needs. We’ll assess your situation and provide a comprehensive solution that restores your walls professionally and permanently.
Call Now to Request an Estimate
Related Post: DIY Drywalling vs. Professional Contractors: Making the Right Choice