A garage remodel is more than just a new coat of paint or some shelving. The walls you choose are foundational to the room’s safety, durability, and function. While it might seem like a simple decision, selecting the right garage drywall is crucial for protecting your space from moisture, fire, and daily wear and tear.
Choosing incorrectly can lead to issues like mold growth, decreased fire safety, and costly repairs down the line. A garage isn’t just another room; it has unique conditions that demand specific materials. This guide will walk you through the different types of drywall, help you understand the key factors for your garage, and explain why a professional drywall installation is your best bet for a safe and long-lasting result.
Understanding Drywall Types for Your Garage
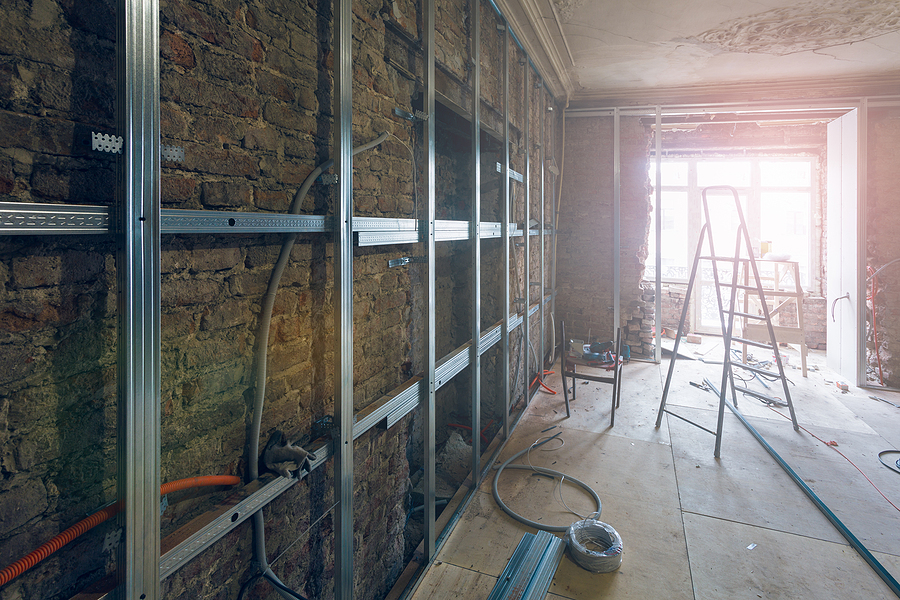
Not all drywall is created equal. Each type is engineered to perform under different conditions, and picking the right one is the first step toward a successful garage construction or remodel.
Regular Drywall
Standard or regular drywall is the most common and budget-friendly option. It consists of a gypsum core pressed between two sheets of paper. While it works well for general interior walls, it’s not designed to handle the specific challenges of a garage environment. It offers minimal resistance to moisture, making it susceptible to mold and sagging in humid conditions.
Moisture-Resistant Drywall (Green Board)
Moisture-resistant drywall, often called “green board” because of its green paper facing, is treated to resist humidity. This makes it an excellent choice for garages, which often experience higher moisture levels from cars coming in from the rain, poor ventilation, or regional climate. While it’s not completely waterproof, green board provides a significant defense against mold and mildew growth compared to regular drywall.
Fire-Resistant Drywall (Type X)
Fire-resistant drywall is a critical safety feature for any garage. Known as Type X, this drywall is thicker and contains glass fibers mixed into its gypsum core. These additives slow the spread of fire, providing crucial extra time to escape in an emergency. Many local building codes mandate the use of Type X drywall on walls and ceilings that adjoin the main living space of a house, precisely because garages often store flammable materials like gasoline, paint thinners, and propane.
Cement Board
Cement board is a heavy-duty option made from cement and reinforcing fibers. It is completely water and mold-resistant, making it ideal for garages in extremely damp climates or for walls that might be exposed to significant water. However, it’s heavier, more difficult to cut, and more expensive than other drywall types, so it’s typically used in targeted applications rather than for the entire garage.
View Our Garage Drywalling Solutions ✅
Key Factors When Choosing Garage Drywall
Your garage’s specific conditions will determine the best drywall for your project. Consider these factors before making a purchase.
Moisture and Humidity Levels
Garages can be damp environments. If your garage has poor ventilation, is located in a humid climate, or you frequently park wet vehicles inside, moisture-resistant drywall is a wise investment. Preventing mold growth not only protects the structure of your garage but also safeguards your family’s health.
Fire Safety
Safety should always be a top priority. Because garages are common storage spots for flammable chemicals and vehicles, fire resistance is non-negotiable. At a minimum, you should install fire-resistant drywall on any wall connected to your home. Many experts and local codes recommend using it for the entire garage to maximize protection.
Durability and Impact Resistance
Garages are high-traffic areas that see a lot of action. From accidental bumps with car doors to tools leaning against the walls, the drywall needs to be tough. While standard drywall can be easily dented, you can opt for abuse-resistant or impact-resistant drywall for added durability, though these are premium, costlier options. At a minimum, using a quality 5/8-inch Type X drywall provides better durability than standard 1/2-inch sheets.
Insulation and Energy Efficiency
A garage can be a major source of energy loss, driving up your heating and cooling bills. Proper insulation behind the drywall helps maintain a more stable temperature, making the space more comfortable and energy-efficient. Pairing your chosen drywall with quality insulation is a smart move for long-term savings.
Budget
Cost is a practical consideration for any remodel.
- Regular Drywall: This is the most affordable choice, but it may not be suitable if moisture is a concern.
- Moisture-Resistant (Green Board): A moderate price increase for significant protection against humidity.
- Fire-Resistant (Type X): This is often required by code and is a vital safety investment. To manage costs, you could use Type X where mandated and supplement with another type elsewhere, but be sure to check local regulations first.
- Reclaimed Drywall: While sourcing reclaimed materials can sometimes save money, you must ensure the drywall is in good condition and meets all safety standards.
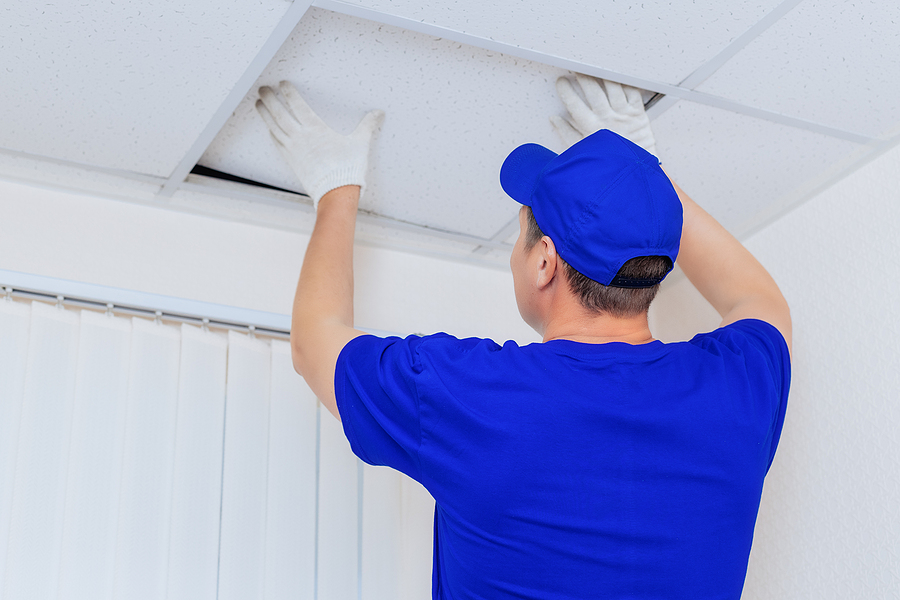
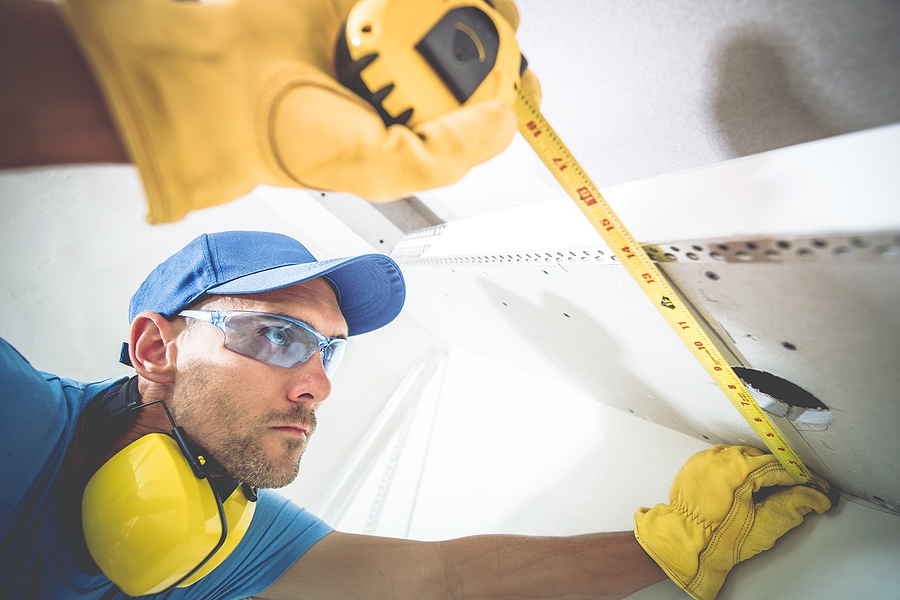
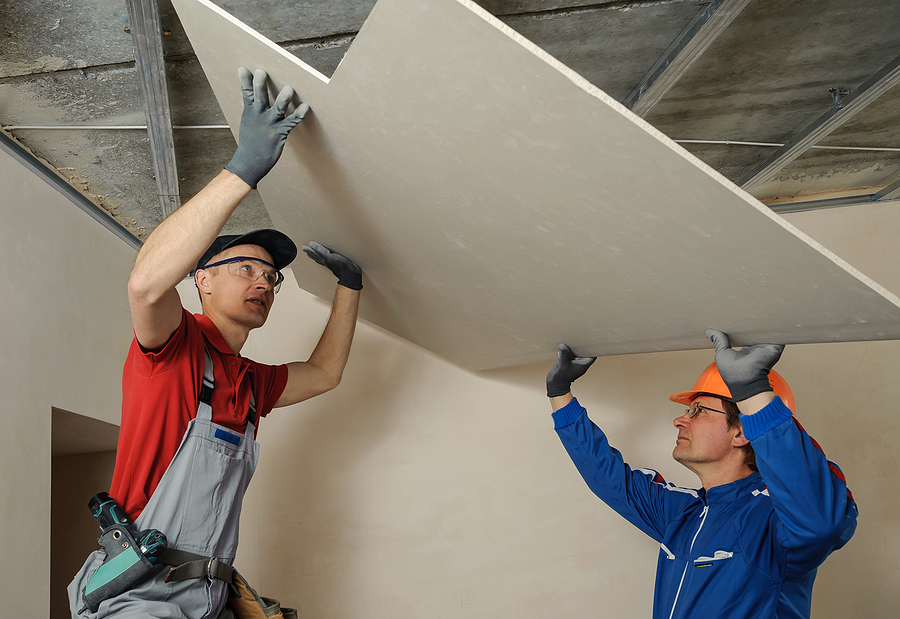
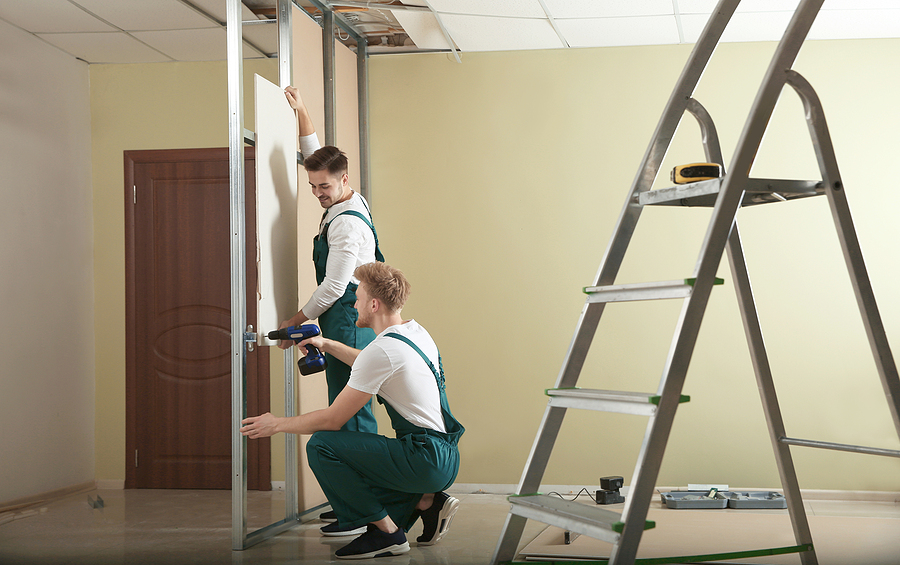
Why You Should Hire a Professional Contractor
While a DIY approach might seem tempting, garage drywall installation is a job best left to the experts. The stakes are high when it comes to fire safety and moisture protection.
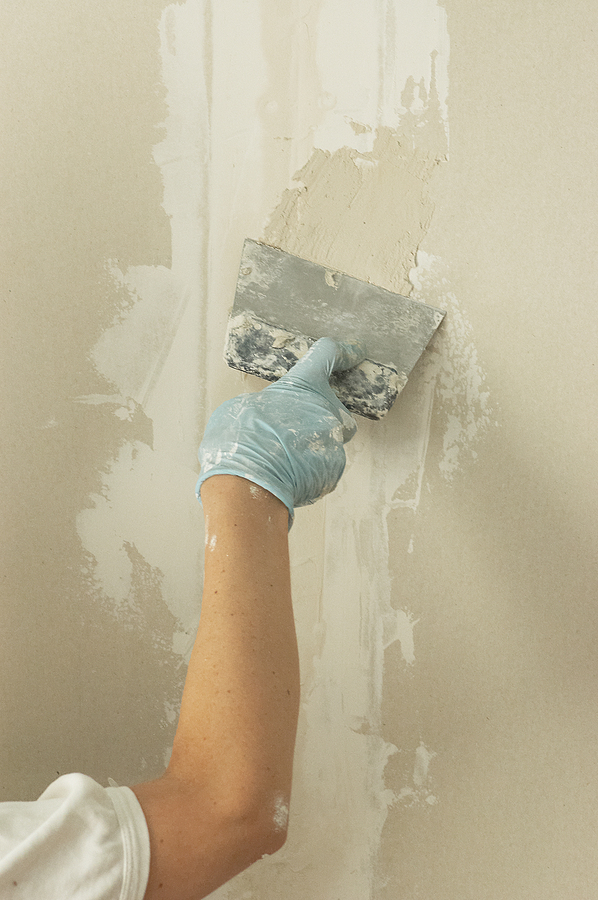
Drywall contractors bring the expertise needed to navigate complex building codes and ensure your installation is compliant. A professional drywall installation guarantees that seams are properly taped and finished, fire-rated assemblies are correctly constructed, and moisture barriers are effective.
This not only enhances the safety and longevity of your garage but also results in a clean, polished finish that increases your property’s value. An experienced team can complete the project efficiently, saving you from the headaches and potential mistakes of a DIY job.
In Summary
Choosing the right garage drywall is a critical decision that impacts the safety, durability, and comfort of your home. By understanding the different drywall types and considering factors like moisture, fire safety, and durability, you can make an informed choice.
For a flawless finish and the peace of mind that comes with knowing the job is done right, always partner with reputable drywall contractors. They will ensure your garage is not only functional and beautiful but also a safe extension of your home.
Ready to start your garage remodel? Get a free, no-obligation quote from our team of drywall experts today and ensure your project meets the highest standards of safety and quality.
Related Post: Modern Drywall Options Choosing the Right Solution for Your Space