TL;DR: Moisture-resistant drywall (green board) protects high-humidity areas from water damage and mold. Install it in bathrooms outside shower enclosures, kitchens near sinks, basements, laundry rooms, and garages. However, it’s not approved for direct water exposure like shower walls or tub surrounds—use cement backer board instead.
Key Takeaways:
- Bathrooms: Use green board on walls and ceilings outside the shower/tub enclosure
- Kitchens: Install behind sinks and in areas prone to splashing
- Basements & Laundry Rooms: Protect against humidity and occasional moisture
- Garages: Shield walls from condensation and temperature fluctuations
- Not for Showers: Building codes prohibit green board as a tile substrate in direct water zones
Table of Contents:
- What is Moisture-Resistant Drywall? (Green Board Explained)
- Essential Installation: Bathrooms and Showers
- Protecting Your Kitchen: Sinks and Backsplashes
- Managing Humidity: Basements and Laundry Rooms
- Garages and Exterior-Facing Walls
- FAQ: Comparing Green Board vs. Standard Drywall
- Quick Recap
- Indianapolis Drywall Service Quote
What is Moisture-Resistant Drywall? (Green Board Explained)
Moisture-resistant drywall, commonly called green board due to its distinctive green paper facing, is specially designed to resist moisture absorption better than standard drywall.
According to ASTM C1396, the industry standard for gypsum board products, moisture-resistant drywall must absorb no more than 5% of its weight when exposed to water. This is achieved through a treated, water-repellent paper facing and a moisture-resistant gypsum core. Some manufacturers enhance these properties with mold-resistant additives in both the core and facing materials.
Understanding where to use this material is crucial. While green board offers excellent protection against humidity and occasional splashing, it’s not waterproof. The Gypsum Association’s GA-216 standard clearly states that gypsum panel products “shall not be used where there will be direct exposure to water or continuous high humidity conditions.”
This distinction matters because improper installation can lead to water damage, mold growth, and costly repairs. Knowing exactly where green board belongs—and where it doesn’t—will help you maintain a healthy, durable home.
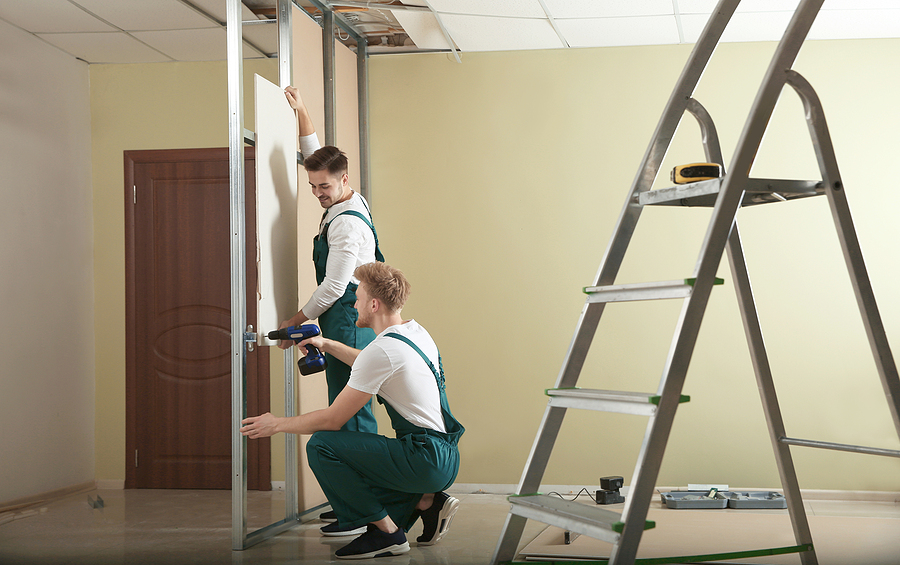
Essential Installation: Bathrooms and Showers
Install moisture-resistant drywall on bathroom walls and ceilings outside the shower or tub enclosure.
Bathrooms are the most obvious location for green board, but there’s an important limitation: building codes prohibit using moisture-resistant drywall behind tile in shower and tub areas. According to the International Building Code Section 2509.3, water-resistant gypsum backing board cannot be installed “over a vapor retarder in shower or bathtub compartments” or “where there will be direct exposure to water.”
Here’s where you should use green board in bathrooms:
- Walls outside the shower/tub surround
- Ceilings in the main bathroom area
- Powder room walls where humidity levels rise
- Behind vanities and toilet areas
For the shower itself, use cement backer board products like Durock, Permabase, or fiber-cement panels that meet ASTM C1288 or C1325 standards. These materials are specifically designed to withstand constant water exposure and serve as proper substrates for tile installation.
Even with green board in the appropriate areas, proper ventilation remains essential. Install exhaust fans rated for your bathroom’s square footage and run them during and after showers to manage humidity levels effectively.
Protecting Your Kitchen: Sinks and Backsplashes
Use moisture-resistant drywall behind kitchen sinks, near dishwashers, and in areas prone to splashing.
Kitchens experience regular moisture exposure from cooking, dishwashing, and food preparation. While not as extreme as bathroom conditions, these areas benefit significantly from green board installation.
Focus on these kitchen zones:
- Behind the sink: This area receives frequent splashing and high humidity from hot water use
- Around the dishwasher: Steam and occasional leaks make this a vulnerable spot
- Near the stove: Cooking generates significant steam and grease-laden moisture
- Base cabinet areas with plumbing: Protects against slow leaks from supply lines
One common question: Can you install tile directly over green board in a kitchen backsplash? The Gypsum Association advises that moisture-resistant panels are “not designed to be used as a substrate for tile applications.” For areas receiving regular water contact, consider cement backer board even in kitchens, or ensure your tile installation includes a proper waterproof membrane system.
Remember that green board handles occasional splashes well but isn’t meant for continuous water exposure. Wiping down surfaces promptly and maintaining good kitchen ventilation will help your moisture-resistant drywall perform as designed.
Managing Humidity: Basements and Laundry Rooms
Install green board in basements and laundry rooms to combat persistent humidity and protect against occasional moisture. Basements face unique moisture challenges. Below-grade walls naturally experience higher humidity due to their contact with cool, damp earth. Even with proper waterproofing on the exterior, interior humidity can lead to mold growth on standard drywall.
Moisture-resistant drywall provides an extra layer of protection in these areas:
- Finished basement walls: Especially on exterior-facing walls where condensation may occur
- Basement ceilings: Where HVAC ducts or plumbing pipes may cause condensation
- Storage areas: Where boxes and belongings need protection from humidity
Laundry rooms generate substantial moisture from washing machines and dryers. Even with properly vented dryers, these spaces experience humidity spikes during each laundry cycle. Green board installation here prevents moisture absorption that could compromise wall integrity over time.
Critical tip: Green board helps manage humidity, but it doesn’t replace proper basement waterproofing or ventilation. Address any active water intrusion issues before installing any drywall, and ensure your space has adequate dehumidification.
Garages and Exterior-Facing Walls
Consider moisture-resistant drywall for garage walls and interior walls facing exterior conditions. Garages experience significant temperature fluctuations and humidity changes. In winter, warm interior air meeting cold garage surfaces creates condensation. In summer, hot, humid air can penetrate through gaps and settle on cooler interior walls.
Moisture-resistant drywall makes sense for:
- Walls between living spaces and garages: These transition zones experience the most dramatic temperature differences
- Exterior-facing walls in rooms without climate control: Mudrooms, enclosed porches, or storage areas
- Walls behind water heaters or HVAC units: Where condensation commonly occurs
While green board isn’t always required by code in these locations, it provides cost-effective insurance against moisture-related problems. The modest price difference compared to standard drywall can prevent expensive repairs down the line.
If you’re planning garage renovations or finishing previously unfinished spaces, discuss moisture-resistant options with your contractor. They can assess your specific conditions and recommend whether green board makes sense for your project.
Need expert drywall installation in Indianapolis? Our experienced drywall contractors understands local building codes and moisture challenges specific to Indiana homes. Contact us today for a free consultation on your drywall project.
FAQ: Comparing Green Board vs. Standard Drywall
Can I use green board everywhere in my home?
You can, but it’s not necessary or cost-effective. Green board costs 20-30% more than standard drywall. Reserve it for moisture-prone areas and use regular drywall in bedrooms, living rooms, and other dry spaces.
How do I identify moisture-resistant drywall?
Look for the distinctive green paper facing. The long edges are typically tapered and wrapped with the green facer material. Most manufacturers also print product information on the surface indicating moisture-resistant properties.
What’s the difference between moisture-resistant and mold-resistant drywall?
Moisture-resistant (green board) focuses on limiting water absorption through treated facing. Mold-resistant drywall (like purple board) includes anti-microbial additives in both the core and facing to actively resist mold growth. Some products combine both features.
Can I paint green board like regular drywall?
Yes, but apply a primer first. The moisture-resistant facing may not accept paint as readily as standard paper-faced drywall. A quality primer ensures proper paint adhesion and finish quality.
Do I need special fasteners for green board?
No. Use the same screws, nails, or adhesives you’d use for standard drywall. Follow standard installation practices for spacing and depth.
Is green board required by building code?
Local codes vary, but most don’t specifically require moisture-resistant drywall in bathrooms outside wet zones. However, they do prohibit it in direct water areas and specify acceptable materials for shower/tub tile backing. Always check your local building codes or consult a licensed contractor familiar with regional requirements.
Quick Recap:
- Moisture-resistant drywall (green board) limits water absorption to 5% of board weight per ASTM C1396
- Install in bathrooms on walls and ceilings outside shower/tub enclosures
- Never use behind tile in shower or tub surrounds—codes require cement backer board instead
- Protect kitchens near sinks, dishwashers, and areas receiving regular splashing
- Use in basements to combat persistent humidity, especially on exterior-facing walls
- Consider for laundry rooms where washing machines and dryers generate moisture
- Install in garages and transition zones experiencing temperature fluctuations
- Green board resists moisture but isn’t waterproof—avoid areas with direct water exposure
Make the Right Choice for Your Home
Moisture-resistant drywall serves as an essential line of defense against water damage and mold in your home’s vulnerable areas. By installing green board in bathrooms, kitchens, basements, and other humidity-prone spaces, you’re investing in your home’s long-term health and your family’s comfort.
Remember that proper installation makes all the difference. While green board provides superior moisture resistance, it must be paired with adequate ventilation, proper sealing, and correct application techniques to perform as designed.
Looking for professional drywall services in Indianapolis? Our certified installers know exactly where moisture-resistant drywall belongs—and where it doesn’t. We’ll ensure your project meets all local building codes while protecting your home from moisture damage. Call us today for a free estimate on your drywall installation or repair project.
Related Post: Water-Damaged Drywall? Here’s When to Repair vs. Replace