Common Joint Taping Issues and How to Solve Them

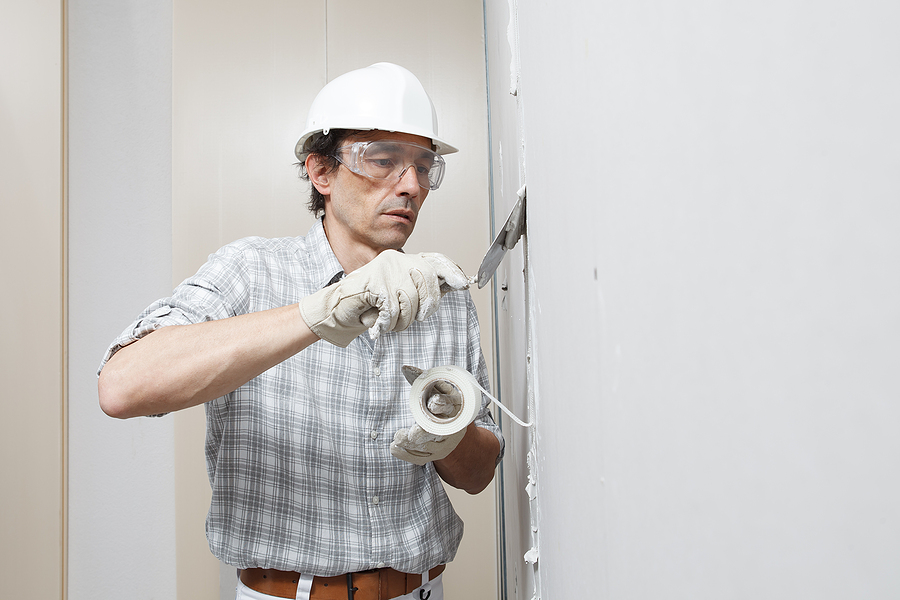
If you’ve tackled drywall projects, you know how crucial joint taping is. Taping ensures your walls look seamless and professional. However, common joint tape issues can mar even the best DIY or professional efforts. This blog post aims to help DIY enthusiasts and home improvement professionals understand and solve these common joint tape problems.
Call 317-269-7319 for Professional Drywall Installation and Repair in Indianapolis

Common Joint Taping Issues

Bubbling and Wrinkling

Bubbling and wrinkling are among the most frustrating issues in drywall taping. They often result from improper taping techniques or environmental factors like humidity. Understanding why these problems occur is essential for effective solutions.

Tape Peeling

Nothing ruins an otherwise perfect drywall job quite like peeling tape. This issue often arises from poor adhesive application or low-quality tape. Identifying the root causes can help you avoid this pitfall.

Poor Adhesion

Poor adhesion is another frequent concern, particularly in areas with fluctuating temperatures or high humidity. It can lead to loose tape, creating an unsightly finish. Knowing how to ensure strong adhesion is vital for a long-lasting result.

Visible Joints

Visible joints compromise the aesthetics of a wall. They often stem from an inadequate application of taping compound or uneven sanding. Addressing this problem requires attention to detail and proper technique.

Detailed Explanations and Solutions

Bubbling and Wrinkling

Causes: Bubbling and wrinkling typically occur due to excessive compound application or insufficient pressure during tape smoothing. Moisture trapped between layers can also be a culprit.

Solutions:

  • Remove affected tape sections and clean the area.
  • Apply a thin layer of joint compound and press the tape firmly.
  • Smooth the tape using a drywall knife, ensuring no air pockets remain.

Best Practices: For professionals, using high-quality paper tape and maintaining consistent pressure during application can minimize these issues.

Tape Peeling

Causes: Peeling tape often results from using low-quality tape or insufficient compound beneath the tape.

Solutions:

  • Remove the peeling tape and any loose compound.
  • Apply a fresh layer of compound and use quality tape.
  • Press the tape firmly and apply additional compound layers as needed.

Best Practices: Professionals should always opt for premium tape and ensure the surface is clean before application.

Poor Adhesion

Causes: Poor adhesion usually stems from using low-quality compound or working in unfavorable conditions like high humidity.

Solutions:

  • Ensure the surface is clean and dry before starting.
  • Use a high-quality joint compound and apply it evenly.
  • Press the tape firmly and allow adequate drying time.

Best Practices: Using a dehumidifier in humid environments can improve adhesion. Professionals should also consider temperature and humidity levels when scheduling drywall work.

Visible Joints

Causes: Visible joints are often due to uneven compound application or inadequate sanding.

Solutions:

  • Apply the joint compound evenly, feathering the edges.
  • Sand the area lightly but thoroughly after it dries.
  • Apply a second coat if necessary, ensuring a smooth transition between the tape and drywall.

Best Practices: For professionals, investing in quality sanding tools and taking time with each step can ensure flawless results.

Importance of Using High-Quality Tape and Tools

Using high-quality tape and tools is essential for achieving a professional finish. Low-quality materials can lead to various issues, including those mentioned earlier. Investing in premium products ensures durability and ease of application.

Quality Affects Finishing Results

High-quality tape and tools provide better adhesion, smoother application, and fewer issues during the finishing process. This investment often pays off in the long run by reducing rework and enhancing the overall appearance.

Recommendations for Tape and Tools:

  • Paper Tape
  • Mesh Tape
  • Stainless Steel Drywall Knife
  • Professional-Grade Joint Compound
  • High-Quality Sanding Tools

Conclusion

Mastering drywall taping is essential for achieving smooth, professional-looking walls. By understanding common issues such as bubbling, wrinkling, tape peeling, poor adhesion, and visible joints, you can take proactive steps to address and prevent these problems. Using high-quality materials and adhering to best practices significantly enhances the final result, reducing the need for rework and ensuring a durable finish.

Whether you’re a DIY enthusiast or a seasoned professional, investing time and effort in proper taping techniques will pay off in the long run, resulting in beautifully finished walls that stand the test of time.

On the other hand, if do-it-yourself drywall work is not working out, we can help. Contact Drywall by AMFA at 317-269-7319 for professional drywall services and custom drywall texture in Indianapolis, Indiana. We serve both residential and commercial clients.  Request a free estimate, today!

Related Posts:

Troublesome Nail Pops? Here’s How to Spot, Fix, and Prevent Them
Avoid DIY Disasters: The Importance of Professional Drywall Installation
Wall Anchor Removal Guide

Basic Toolbox for Drywall Repair

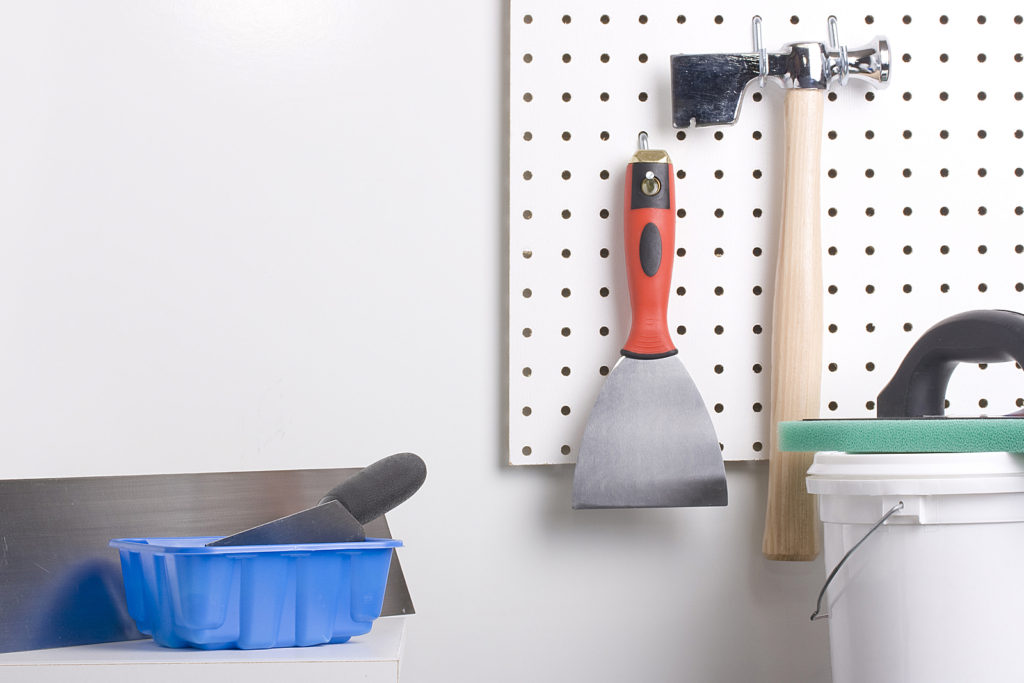
Whether you are interested in entering the drywall industry professionally, or just have a few drywall projects to tackle at home, you will need to acquire the right tools and supplies to get the job done. Below you will find some of the most common tools and materials found in a basic, rudimentary drywall repair toolbox. Continue reading to learn about them, including what they are, what they do, and where to get them.

Indianapolis Indiana Drywall Contractors 317-269-7319

Put These Items in Your Drywall Repair Toolbox:

Drywall Saw

Saws for drywall come in various shapes, sizes, and serrations. They are used to cut board to size, so the type you need will vary depending on the particular needs of your project. You can choose among double-sided saws, hand saws, fine-finish saws, hacksaws, and more.

Drill

Drills come in several makes and models. You can choose between a cordless or corded drill. Both work well with drywall work. Many professionals prefer cordless for obvious reasons. Drills are used in the drywall industry for installation purposes. Installing gypsum board requires a power drill and screws.

Miter Box

A miter box is a terrific tool used to measure saw strokes and miter cuts. Not only do they provide smooth and even cutting motion, but they also provide safety for your hands and fingers.

Utility Knife

Utility knives are used for cutting, leveling, trimming, and scraping drywall board. They come in multiple fashions and multiple blade sizes. They are usually made of stainless steel, so they are durable and long-lasting.

Joint Knife

Also called a taping knife, a joint knife is the tool used to scoop, scrape, spread, and smooth out drywall mud. It has a wide blade that comes in various sizes, from 4 inches to 14 inches.

Drywall Tape

Drywall tape is an important tool because it creates a physical bond between adjacent sheets of drywall. It is the surface to which the plaster sticks to. It provides a seamless surface for drywall installation and repairs and more.

Mud Pans

A mud pan is the flat plate, usually paper or metal, that holds spackle and mud. They come in all different shapes and sizes. Some can hold up to ½ a gallon of drywall mud.

Drywall Screws

These are special screws used to hold up gypsum board. They have extra course threads that stay secure in drywall. There are several kinds, all with different sizes and applications, including fine-head, self-drilling, pan-head, and more.

Joint Compound

This is a white powder containing gypsum board dust that is combined with water to produce a mud. This mud is then used to seal joints between drywall sheets. This is also called mud, spackle, or plaster. It is used to create the smooth, level 5 drywall finishes you see in quality constructed buildings and homes.

Is your drywalling project proving to be more than you can handle on your own? Contact Drywall by AMFA at 317-269-7319 for professional drywall services in Indianapolis, Indiana. We serve residential and commercial clients.

You Might Also Like:

How to Repair a Hole in the Wall From a Door Handle
Tips for Avoiding DIY Drywall Mistakes
What You Need to Cut Drywall in a Short Amount of Time

Call Drywall By AMFA at 317-269-7319 Today!

What You Need for Minor Household Drywall Repairs

Drywall repair involves a lot of steps. It’s more than just mud and patching. In fact, you are wise to leave moderate to major drywall repairs in the hands of an equipped professional. They have the tools, training, and experience to manage any drywall repair project, regardless of size or scope. However, if you are ambitious about making your own minor drywall repairs, you’ll at least need the basic tools to get you started. You can get that information and more, below.

Indianapolis Indiana Drywall Contractors 317-269-7319

Keep in mind that these tools are not cheap, so you must consider whether or not they are worth the investment. Unless you have future drywall repair plans, it may be more cost-effective to outsource drywall work rather than invest in your own materials for just one job.

Here’s What You’ll Need

The basic tool kit for minor drywall repairs should consists of at least 6 particular items. These include a putty knife, mud pans, sanding sponge, sandpaper, drywall tape, and corner tools. You can find these supplies at any local home improvement or hardware store, such as Lowes, Menards, and Home Depot.

Mud Pans

Your mud pan is a staple in your drywall tool kit because it will improve work efficiency. You will use it to carry around your drywall compound with you as you work. Professional drywall contractors use hawks, but mud pans are best for small jobs and beginners.

Putty Knife

There are several types of drywall knifes, ranging in sizes between 2 inches and one foot. You will need to be sure you choose one that is right for minor drywalling repair projects. Anything under 6 inches should work well.

Sanding Sponge and Sandpaper

With virtually all drywall repair projects, painting is expected to be on the agenda. And with painting comes sanding. You will need to smooth down the drywall compound for a smooth painting surface. The proper grit sandpaper or sanding sponge are two tools that will help you achieve the best results during the sanding steps.

Drywall Tape

For small holes and drywall cracks, you will need tape to secure them in place and ensure the crevices do not reappear beneath the compound. Larger holes should be covered with adhesive mesh or special self-adhesive sheets.

Corner Tools

You will need corner tools for drywall repairs in the hard-to-reach corners of walls. Not only will this reduce stress on your muscles, it will make your work progress more efficient. Just be sure to find the right corner tools for small repair jobs.

Professional Drywall Repair Services in Indianapolis, Indiana

Call Drywall by AMFA at 317-269-7319 for professional drywall repair services in Indianapolis, Indiana. We provide a wide range of drywall services, including patchwork, hole repair, crack repair, installation, grid ceilings, custom textures, and more. Whether commercial or residential, our team of licensed drywall contractors are fully-equipped to get the job done in a time frame that’s convenient for you! Call 317-269-7319 to learn about our Indianapolis drywall services, prices and availability, today.

What You Need to Cut Drywall in a Short Amount of Time

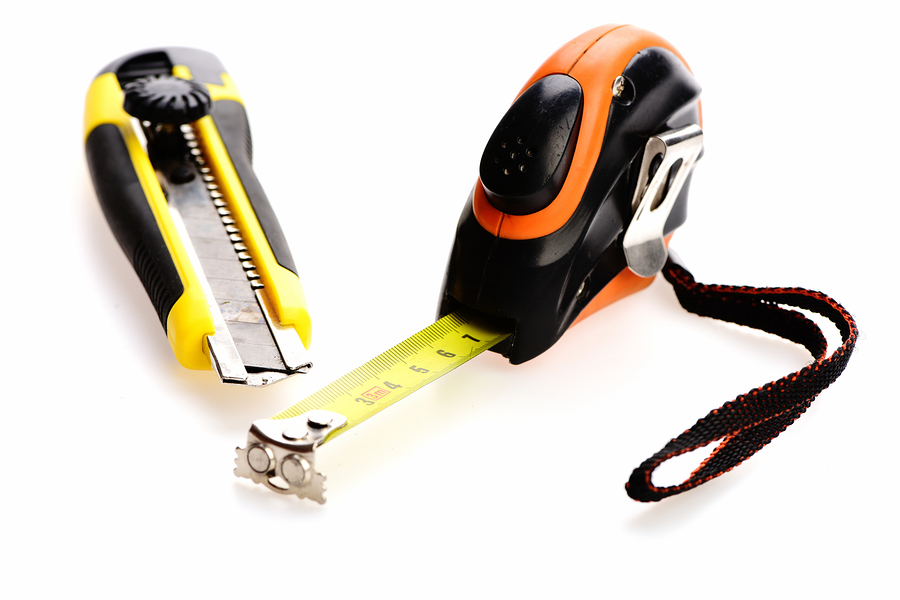
Ever wonder how professional contractors can get drywall cutting needs met within a short amount of time? Well, that is because they use an age-old, industry secret to save time. Interestingly, this secret method only requires two very basic and common toolbox staples: a tape measurer and a utility knife. But before you rush to the work shed for your toolbox and drywall supplies, it is important to understand that this method of cutting drywall requires a learning curve of practice.

After a lot of practice and patience, you too can cut drywall using this method, just like the pros do. Continue reading to learn how!

Indianapolis Drywall Contractors
Indianapolis Drywall Contractors 317-269-7319

How to Cut Drywall With Only 2 Tools

Many people naturally want to place the tape measurer hook at the edge of the drywall sheet for stability, but this is actually wrong. Instead, the tape measurer hook should be placed along the drywall board where you will be making the actual cut.

From there, you must place the tip of the utility blade against the tape measurer hook and then hold it in place by pinching it with your thumb. Steadily move your free hand to the end of the drywall board and pinch your thumb and forefinger together on the tape measurer at the right increment.

Here’s where practice will pay off for you. In one swift movement, simultaneously move your knife and hands down the drywall using a consistent downward pressure. Once you have completed the cut, simply snap off the scrap piece and cut the paper liner on the other side to separate it entirely.

Practice is the Real Secret

Be sure to practice this method of drywall cutting before making it a staple move in your work. Furthermore, be sure you are wearing all the proper protective gear to reduce the risk of serious injuries. If you are not adept in drywall work, or have little to no experience working with drywall materials, it is not recommended to start with this method of cutting. Learn the basics first, practice for a long time, and then commit to improving your skills as you ride the learning curve. This is the best method of becoming a skilled handyman in any trade.

Indianapolis Drywall Services You Can Trust

Call Drywall by AMFA at 317-269-7319 when you need professional drywall services in Indianapolis, Indiana. We are a licensed, bonded, and insured drywall company that provides residential and commercial drywall work at competitive prices. Our highly trained and experienced drywall contractors are fully equipped to provide quality drywall repair services regardless of your projects size and scope. And as a licensed, bonded, and insured company, we guarantee all of our drywall work. Call 317-269-7319 to request a free estimate, today. Call 317-269-7319 to request a free estimate, today.