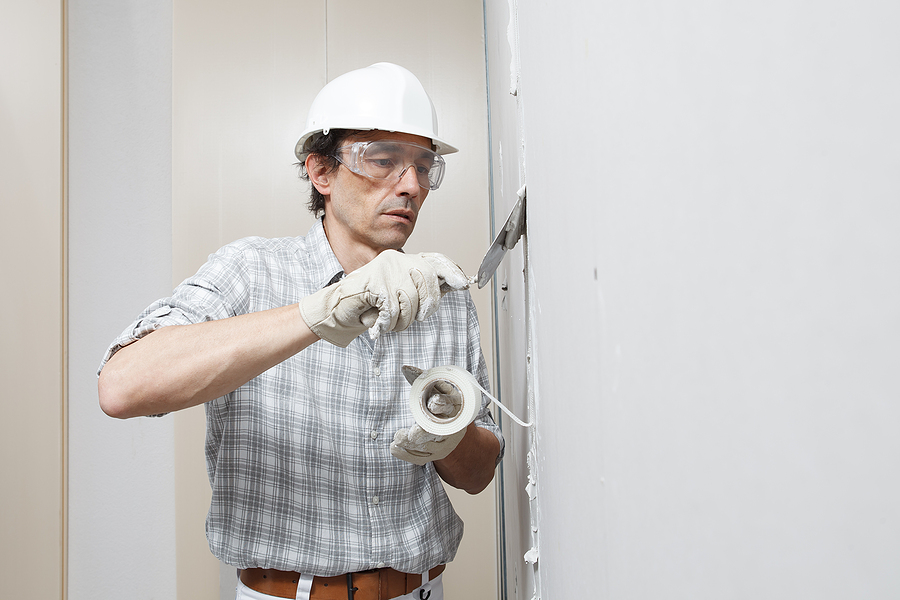
If you’ve tackled drywall projects, you know how crucial joint taping is. Taping ensures your walls look seamless and professional. However, common joint tape issues can mar even the best DIY or professional efforts. This blog post aims to help DIY enthusiasts and home improvement professionals understand and solve these common joint tape problems.

Common Joint Taping Issues
Bubbling and Wrinkling
Bubbling and wrinkling are among the most frustrating issues in drywall taping. They often result from improper taping techniques or environmental factors like humidity. Understanding why these problems occur is essential for effective solutions.
Tape Peeling
Nothing ruins an otherwise perfect drywall job quite like peeling tape. This issue often arises from poor adhesive application or low-quality tape. Identifying the root causes can help you avoid this pitfall.
Poor Adhesion
Poor adhesion is another frequent concern, particularly in areas with fluctuating temperatures or high humidity. It can lead to loose tape, creating an unsightly finish. Knowing how to ensure strong adhesion is vital for a long-lasting result.
Visible Joints
Visible joints compromise the aesthetics of a wall. They often stem from an inadequate application of taping compound or uneven sanding. Addressing this problem requires attention to detail and proper technique.
Detailed Explanations and Solutions
Bubbling and Wrinkling
Causes: Bubbling and wrinkling typically occur due to excessive compound application or insufficient pressure during tape smoothing. Moisture trapped between layers can also be a culprit.
Solutions:
- Remove affected tape sections and clean the area.
- Apply a thin layer of joint compound and press the tape firmly.
- Smooth the tape using a drywall knife, ensuring no air pockets remain.
Best Practices: For professionals, using high-quality paper tape and maintaining consistent pressure during application can minimize these issues.
Tape Peeling
Causes: Peeling tape often results from using low-quality tape or insufficient compound beneath the tape.
Solutions:
- Remove the peeling tape and any loose compound.
- Apply a fresh layer of compound and use quality tape.
- Press the tape firmly and apply additional compound layers as needed.
Best Practices: Professionals should always opt for premium tape and ensure the surface is clean before application.
Poor Adhesion
Causes: Poor adhesion usually stems from using low-quality compound or working in unfavorable conditions like high humidity.
Solutions:
- Ensure the surface is clean and dry before starting.
- Use a high-quality joint compound and apply it evenly.
- Press the tape firmly and allow adequate drying time.
Best Practices: Using a dehumidifier in humid environments can improve adhesion. Professionals should also consider temperature and humidity levels when scheduling drywall work.
Visible Joints
Causes: Visible joints are often due to uneven compound application or inadequate sanding.
Solutions:
- Apply the joint compound evenly, feathering the edges.
- Sand the area lightly but thoroughly after it dries.
- Apply a second coat if necessary, ensuring a smooth transition between the tape and drywall.
Best Practices: For professionals, investing in quality sanding tools and taking time with each step can ensure flawless results.
Importance of Using High-Quality Tape and Tools
Using high-quality tape and tools is essential for achieving a professional finish. Low-quality materials can lead to various issues, including those mentioned earlier. Investing in premium products ensures durability and ease of application.
Quality Affects Finishing Results
High-quality tape and tools provide better adhesion, smoother application, and fewer issues during the finishing process. This investment often pays off in the long run by reducing rework and enhancing the overall appearance.
Recommendations for Tape and Tools:
- Paper Tape
- Mesh Tape
- Stainless Steel Drywall Knife
- Professional-Grade Joint Compound
- High-Quality Sanding Tools
Conclusion
Mastering drywall taping is essential for achieving smooth, professional-looking walls. By understanding common issues such as bubbling, wrinkling, tape peeling, poor adhesion, and visible joints, you can take proactive steps to address and prevent these problems. Using high-quality materials and adhering to best practices significantly enhances the final result, reducing the need for rework and ensuring a durable finish.
Whether you’re a DIY enthusiast or a seasoned professional, investing time and effort in proper taping techniques will pay off in the long run, resulting in beautifully finished walls that stand the test of time.
On the other hand, if do-it-yourself drywall work is not working out, we can help. Contact Drywall by Renso at 317-269-7319 for professional drywall services and custom drywall texture in Indianapolis, Indiana. We serve both residential and commercial clients. Request a free estimate, today!
Related Posts:
Troublesome Nail Pops? Here’s How to Spot, Fix, and Prevent Them
Avoid DIY Disasters: The Importance of Professional Drywall Installation
Wall Anchor Removal Guide
