Whether you forgot to drill a pilot hole or drove a screw too quickly, nothing puts a stop to your project faster than a screw with stripped head. Fortunately, there’s a smooth and efficient way to deal with this frustrating problem. All you need are a few tools and supplies, all of which are reasonably-priced and sold at any local home improvement or hardware store in your neighborhood.
Continue reading to review a basic guide to removing stripped screws from drywall.
What You Will Need
☑ Drill
☑ Screw Extractor Set
☑ Long-Nose Locking Pliers
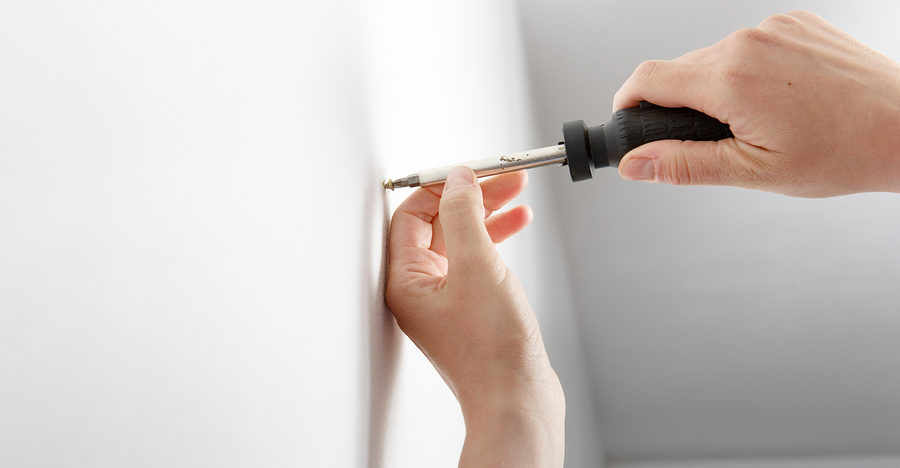
For Screw Heads Above the Wall:
Clamp your locking pliers onto the screw, positioning them as close to the wood as possible.
Once you have a solid grip, use the pliers to gently turn the screw counterclockwise. Be gentle to avoid snapping off the screw head.
You can use a piece of cardboard to place around screw to prevent any accidental scratching.
For Screw Heads At or Under the Wall:
For screw heads that are flush with the wood surface or slightly below, you will need to use your screw extractor set.
Using your drill, make a 1/8 inch deep hole in the top of the screw head. It should be large enough to accept the largest screw extractor that will fit the head.
Position the extractor into the hole you drilled, and then slowly turn it counterclockwise and press down until you feel the extractor threads catch.
Slowly turn the extractor to wind the screw out just enough to where you can grab it with your gripping pliers.
Tips for Preventing Stripped Screw Heads
☑ For screws 2 1/2 inches or longer, rub the heads with candle wax or beeswax to reduce friction.
☑ Do not forget to drill pilot holes for your screws.
☑ Choose a drill set that lets you drill pilot holes in multiple sizes to match your screws.
☑ Drill larger pilot holes for hardwoods to avoid splitting.
☑ Always choose the proper screws for your project.
If you have a home improvement project you’ve been waiting to get done, consider professional home remodeling services for outstanding results in a convenient time frame. Need a deck built? Or perhaps some drywall installed? These are the types of services that are better performed by a licensed contractor who retains the proper tools, training, and skills to deliver responsible work and professional results.
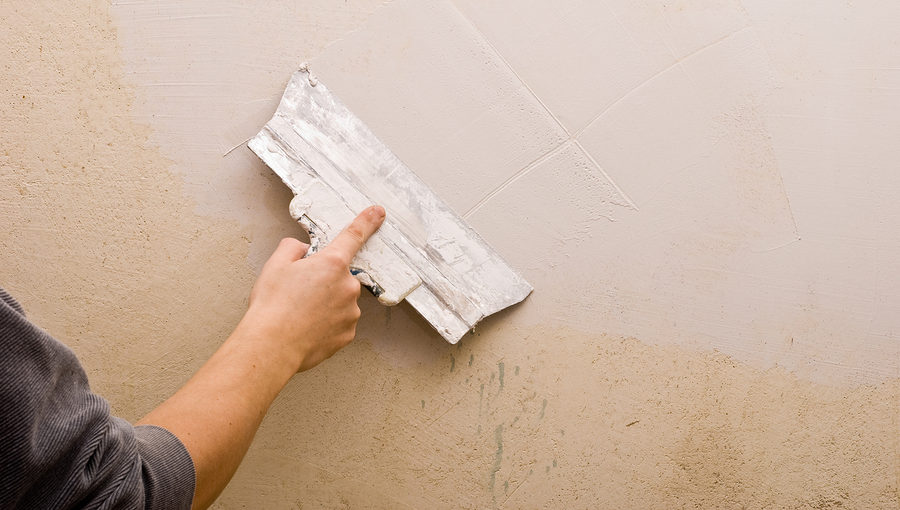
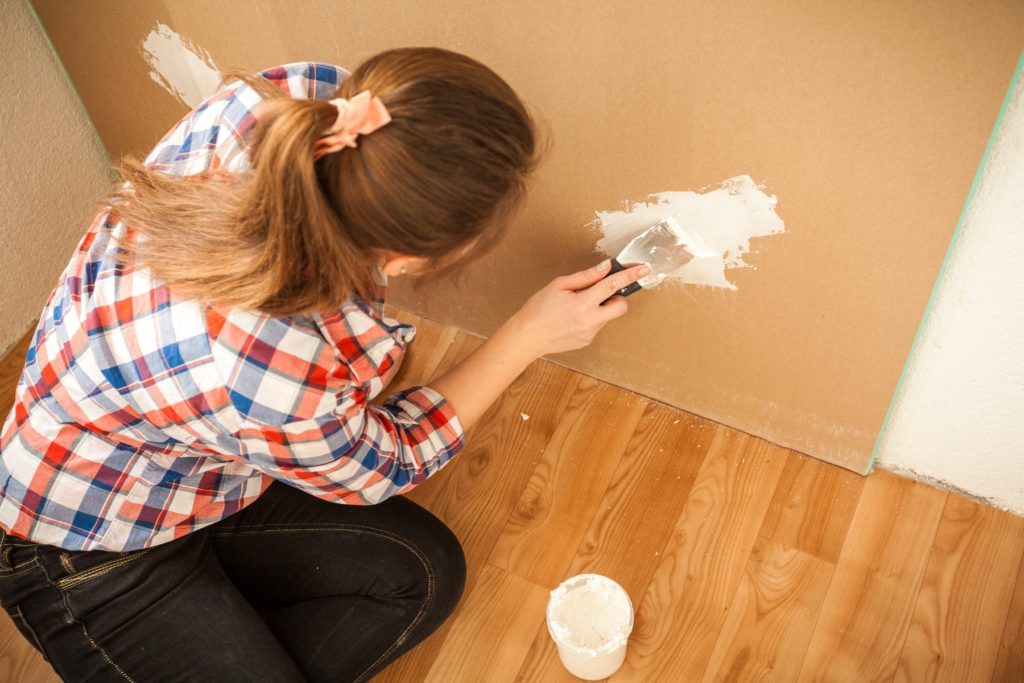
Did You Do a Little Damage to Your Drywall? No Problem!
Call Drywall by Renso at 317-269-7319 when you need professional drywall services in Indianapolis, Indiana. We are a licensed, bonded, and insured drywall company that provides residential and commercial drywall work at competitive prices. Call 317-269-7319 to request a free estimate, today. Call 317-269-7319 to request a free estimate, today.