Walls are an essential part of every home, serving both functional and aesthetic purposes. However, when you start noticing bumps or cracks, your pristine walls can become a source of frustration. One common culprit behind these imperfections is nail pops. In this comprehensive guide, we’ll explore what nail pops are, how to identify them, the dangers of ignoring them, and how you can either fix them yourself or prevent them in the future.

What are Nail Pops?
Nail pops are small bumps or cracks that appear on walls, usually where nails or screws have loosened and pushed through the drywall. These imperfections are especially common in newly constructed homes but can occur in older homes as well.
Common Causes of Nail Pops
One major cause of nail pops is the natural settling of a house. As the wooden frame of a house contracts and expands with changes in humidity and temperature, the nails or screws securing the drywall may loosen. Another common cause is improper installation during construction. If the drywall wasn’t secured tightly or the nails weren’t driven in at the correct angle, nail pops are more likely to occur.
How Nail Pops Form
When nails or screws push through the drywall, they create small, round bumps. Over time, these bumps can crack the paint and even lead to holes. Understanding the causes and process of nail pops can help you better identify and address them before they become a bigger problem.
Identifying Nail Pops
Spotting nail pops early is crucial for maintaining the integrity and appearance of your walls. Here are some tips to help you identify them:
Visual Cues – Nail pops often manifest as small, round bumps on the surface of your wall. They may be more noticeable under certain lighting conditions. Look for areas where the paint has cracked or chipped away in a circular pattern.
Practical Tests – To confirm whether a bump is a nail pop, gently press around the bump with your fingers. If it feels like there’s a small, hard object beneath the surface, it’s likely a nail or screw that has popped.
Regular Inspections – Make it a habit to regularly inspect your walls, especially in rooms with high humidity or significant temperature changes. Early identification can save you from more extensive repairs later on.
The Dangers of Ignoring Nail Pops
Ignoring nail pops can lead to more serious issues down the line. Here’s why you shouldn’t procrastinate on fixing them.
Structural Integrity – While a single nail pop might not seem like a big deal, multiple nail pops can indicate a larger issue with your home’s structural integrity. Over time, this can lead to more severe drywall damage, including large cracks and holes.
Aesthetic Damage – Nail pops can quickly turn a smooth, clean wall into an eyesore. The longer you wait to fix them, the more noticeable and unappealing they become. This can detract from the overall appearance of your home, especially if you’re planning to sell.
Costly Repairs – The longer you ignore nail pops, the more extensive the damage can become. What starts as a simple DIY repair can turn into a costly professional job if left unaddressed.
DIY vs. Professional Repair
When it comes to fixing nail pops, you have two options: doing it yourself or hiring a professional. Let’s weigh the pros and cons of each.
DIY Repair
DIY repair is a cost-effective option if you have the right tools and some basic handyman skills. You’ll need a few materials like a hammer, nails or screws, drywall compound, and sandpaper. However, keep in mind that improper repair can lead to recurring issues.
Professional Repair
Hiring a professional drywall repair company ensures the job is done correctly and efficiently. Professionals have the expertise and tools needed to fix nail pops without causing further damage. Although this option is more expensive, it offers peace of mind and long-lasting results.
When to Choose Which
If you’re dealing with a few isolated nail pops and feel confident in your skills, a DIY approach may be sufficient. However, if you notice multiple nail pops, suspect there’s a deeper issue, or require additional drywall or painting beyond nail pop repair, it’s best to consult a professional.
Step-by-Step DIY Repair Guide
Ready to tackle nail pops on your own? Follow these detailed steps to ensure a smooth and effective repair process:
Tools and Materials Needed:
- Hammer or screwdriver
- Drywall compound
- Sandpaper
- Paint and primer
- Nail or screw replacements
- Preparing the Area – Start by removing any loose paint or drywall around the nail pop. Use a utility knife to cut away damaged material, creating a clean surface for repair.
- Reinforcing the Drywall – Using a hammer or screwdriver, drive a new nail or screw into the drywall about an inch above or below the original nail pop. Be sure to countersink the nail or screw slightly to prevent future pops.
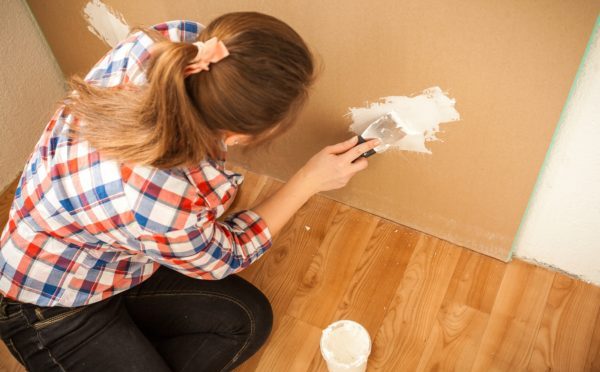
- Applying Drywall Compound – Apply a generous amount of drywall compound over the nail or screw head, smoothing it out with a putty knife. Allow the compound to dry completely before sanding it smooth.
- Finishing Touches – Once the compound is dry and smooth, apply a coat of primer and paint to match the rest of the wall. Voila! Your wall should now look good as new.
Preventing Nail Pops in the Future
Prevention is always better than cure. Here are some tips to help you avoid nail pops in the future.
- Use the Right Materials – When constructing or renovating your home, use high-quality materials and follow proper installation techniques. Opt for screws instead of nails, as they are less likely to loosen over time.
- Maintain Humidity Levels – Fluctuating humidity levels can cause wood to expand and contract, leading to nail pops. Use a humidifier or dehumidifier to maintain consistent humidity levels in your home.
- Regular Inspections – Regularly inspect your walls for any signs of nail pops. Early detection and prompt repair can prevent more extensive damage down the line.
Key Takeaways
Nail pops may seem like a minor issue, but they can lead to significant problems if left unaddressed. By understanding what nail pops are, how to identify them, and how to fix and prevent them, you can keep your walls looking pristine and ensure the structural integrity of your home. Whether you choose to tackle the repairs yourself or hire a professional, addressing nail pops promptly will save you time, money, and stress in the long run.
Don’t wait until nail pops become a bigger problem. Take action today to protect your home and maintain its beauty. Contact Drywall By Renso at 317-269-7319 for reliable and efficient drywall repair service in Indianapolis, Indiana. Your walls and your wallet will thank you! We serve residential and commercial clients throughout the Greater Indy areas. Request an estimate, today.
Related Posts:
Tips for Avoiding DIY Drywall Mistakes
How to Hang Pictures on Walls
Basic Toolbox for Drywall Repair