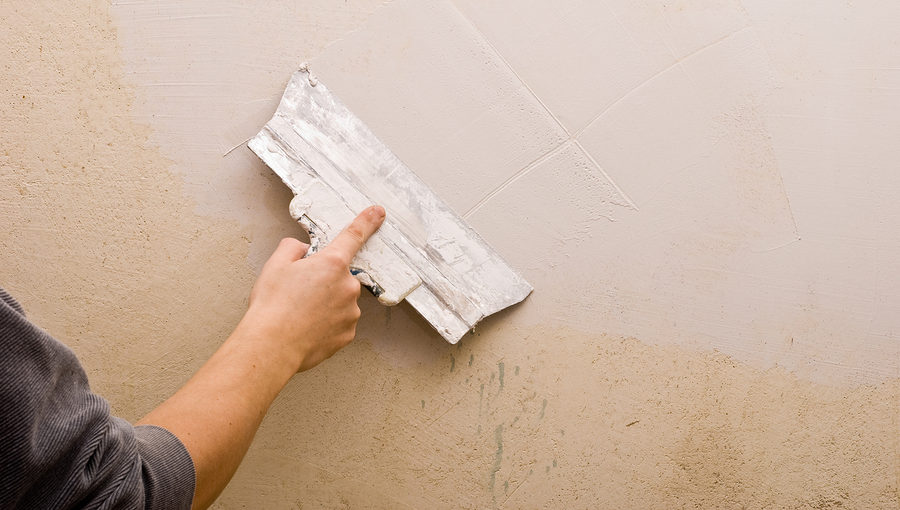
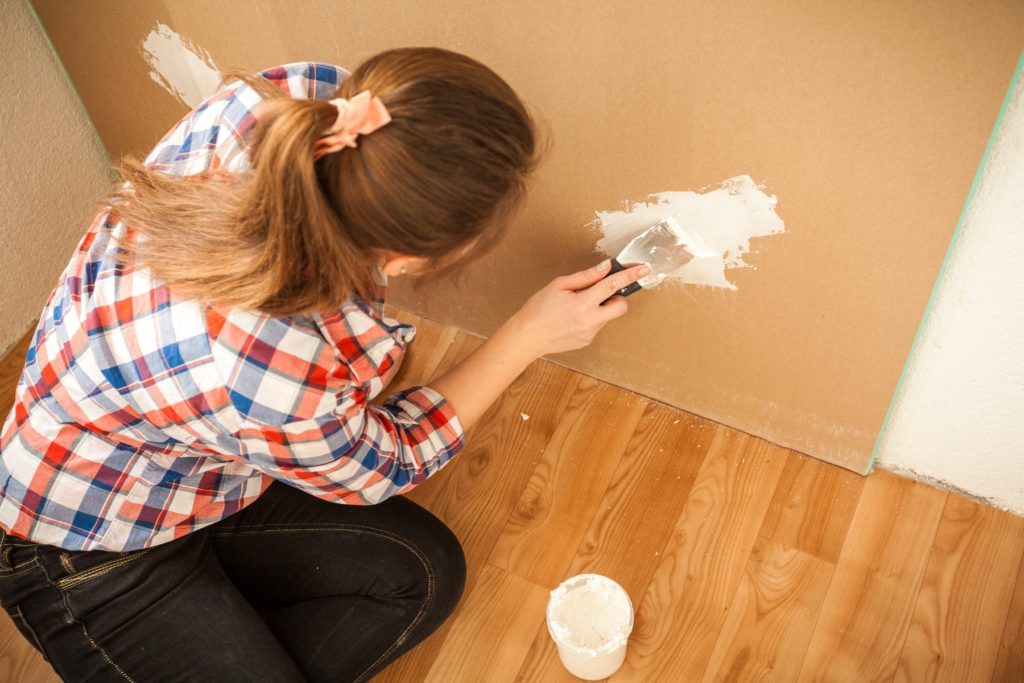
Have your interior walls seen better days? Are they starting to look more like an interpretive finger painting? If so, there is still hope. You can get your level 5 drywall and paint finish back in just a matter of minutes. All you need are the right supplies and the proper knowledge. Continue reading to learn what items and supplies you can use to clean your home’s walls.
How to Clean Stains on Walls
Because there is more than one type of wall stain, you will likely need to use more than one type of cleaning method or solution. Each type of wall stain requires a different method of cleaning, so it is important to pay attention to what you are using. Common wall stains include water stains, smoke stains, dirt stains, and mold.
Water Stains
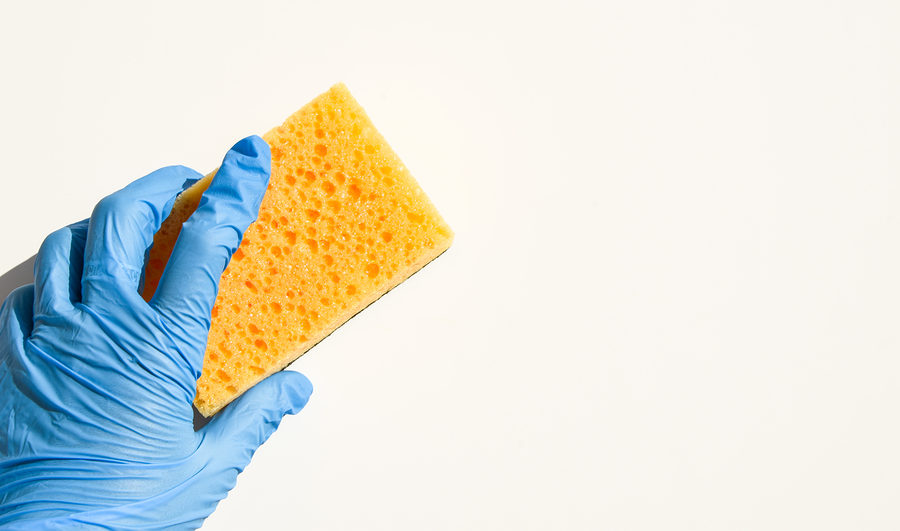
To treat water stains, you will need a soft sponge, a large bucket, clean water, household liquid bleach, and most importantly, a shellac or oil-based primer and some wall paint to match your existing shade. Combine equal parts of water and bleach, and apply to the stains using a soft sponge. You can choose to transfer your solution to a spray bottle for better control and convenience. Allow the solution to dry on the wall stain, and then apply a shellac or oil-based primer to cover the stain. Once the primer is dry, apply your paint.
Smoke Stains
For major smoke damage, professional renovation may be necessary, but as for minor to moderate staining, you will need a chemical dry cleaning sponge, a regular soft sponge, rubbing alcohol, and a floor fan. Use the chemical dry cleaning sponge to wipe the soot and char away. Apply moderate pressure to avoid smudging and smearing. Start side to side, and then top to bottom. This step may take some repeating. Once you have removed as much soot and char as possible, wet the standard soft sponge with rubbing alcohol and gently wipe the walls clean. This step may also take some repeating.
Everyday Dirt and Grease
Everything from fingers and pet dander, to dust, dead insects, and more, can cause dirt stains on walls. To remove a dirt stain, slightly dampen a chemical dry cleaning sponge, such as a Mr. Clean Magic Eraser, and then using gentle pressure, wipe the smudge away in a circular motion. Finish by using a standard soft sponge and rubbing alcohol to gently wipe the wall clean.
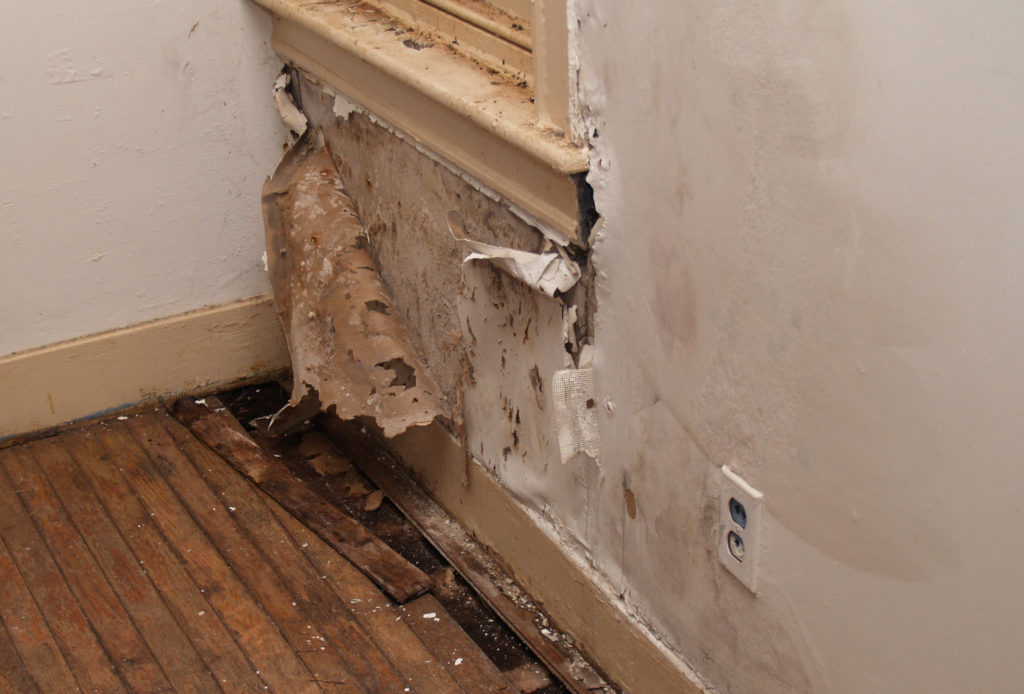
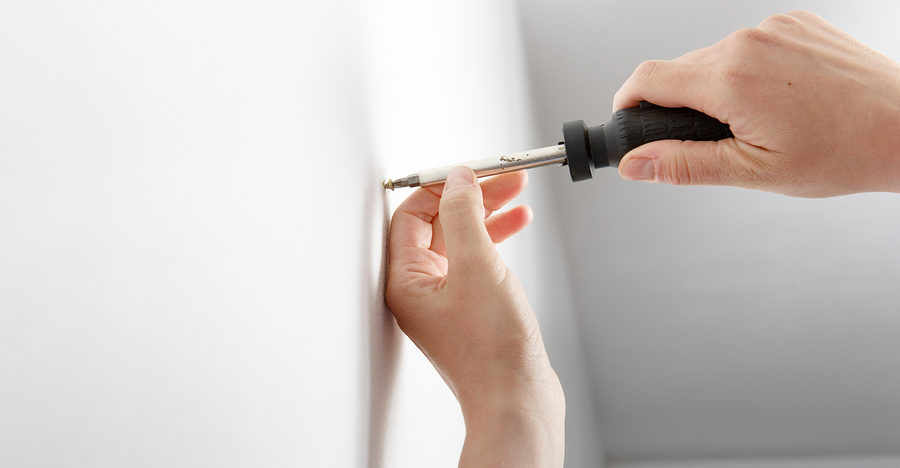
Sometimes walls are too dirty to clean, in which case, you will likely be better off outsourcing professional drywall replacement. Contact a local Indianapolis drywall company for a free quote to get started.
Indianapolis Drywall Replacement You Can Trust
Call Drywall by Renso at 317-269-7319 for licensed Indianapolis drywall services you can afford. We are experienced drywall contractors who offer a wide range of residential and commercial drywall service, including repair, replacement, installation, new home construction, metal stud framing, custom drywall texture, grid ceilings, and much more. Call 317-269-7319 to request a free estimate, today.