Building a new home or commercial structure in Indiana means navigating a complex web of building codes and regulations. Among these requirements, drywall installation standards play a crucial role in ensuring your project meets safety, fire resistance, and structural integrity requirements. Understanding these codes before you begin construction can save you time, money, and potential headaches during the inspection process.
Whether you’re a general contractor managing multiple projects or a homeowner overseeing your dream home construction, knowing Indiana’s drywall building codes is essential for a successful project. The consequences of non-compliance extend beyond failed inspections—they can impact occupant safety, insurance coverage, and your property’s long-term value.
This comprehensive guide will walk you through Indiana’s specific drywall requirements, helping you understand what inspectors look for and how to avoid common pitfalls that derail construction timelines.
Understanding Indiana’s Drywall Code Requirements
Indiana’s drywall installation standards are governed by several key regulations that work together to ensure safe, durable construction. The Indiana Building Code (IBC) serves as the foundation for commercial and multi-family residential projects, outlining general construction requirements that affect drywall placement and installation methods.
For single-family homes and smaller residential projects, the Indiana Residential Code (IRC) provides specific guidelines for drywall thickness, spacing, and attachment methods. These codes mandate minimum standards for different areas of the home, with special attention to moisture-prone areas like bathrooms and kitchens.
Material Standards and Specifications
The Gypsum Association Standards GA-216 and GA-214 complement Indiana’s building codes by establishing industry benchmarks for drywall installation quality. GA-216 covers application and finishing techniques, while GA-214 focuses on recommended levels of finish quality for different surface types.
Standard drywall thickness requirements vary by application:
- Interior walls typically require 1/2-inch drywall
- Ceilings often need 5/8-inch drywall for fire resistance
- Garage walls adjacent to living spaces require fire-rated drywall
Fire Safety Requirements
The Indiana Fire Code establishes strict requirements for fire-resistant drywall in specific locations. Garages attached to homes must have fire-rated drywall assemblies that can withstand fire exposure for specified time periods. Similarly, walls and ceilings near furnaces, water heaters, and other heat-generating equipment require special fire-resistant materials.
These fire safety measures aren’t suggestions—they’re mandatory requirements that inspectors will verify during multiple construction phases.
Contact Us for Expert Drywall Installation ✨
Navigating the Inspection Process
Indiana’s drywall inspection process typically occurs in stages, allowing inspectors to verify code compliance before subsequent construction phases begin. Understanding what inspectors look for can help you prepare properly and avoid delays.
Pre-Installation Inspections
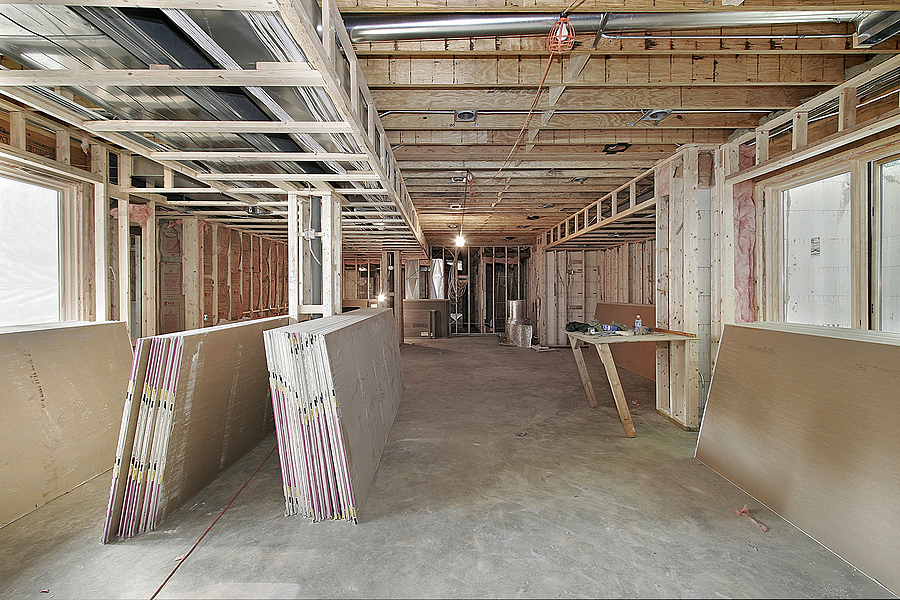
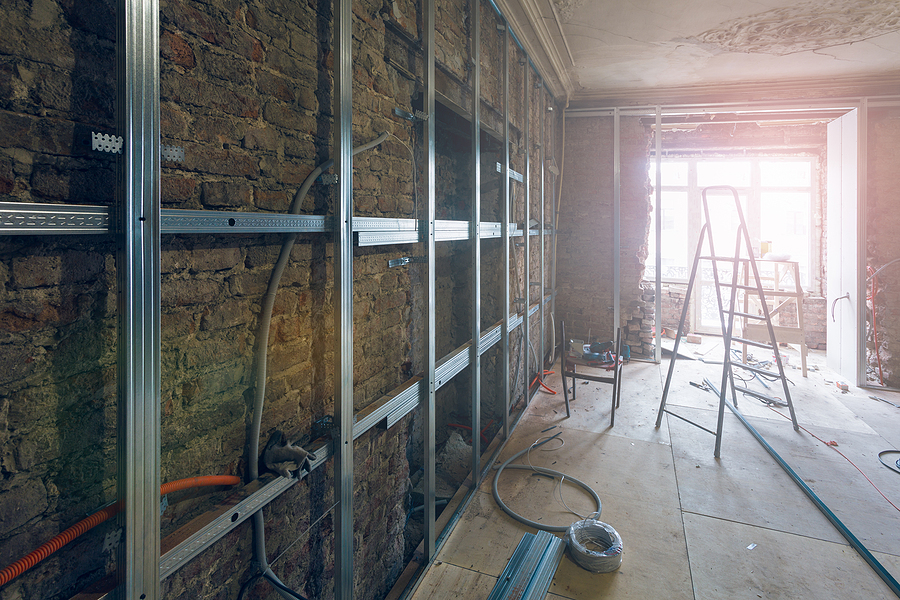
Before drywall installation begins, inspectors often examine the framing and electrical/plumbing rough-in work. They verify that metal grid framing meets spacing requirements and that all utility installations won’t interfere with proper drywall attachment.
Installation Phase Inspections
During drywall installation, inspectors focus on fastener spacing, seam placement, and fire-rated assembly compliance. They check that screws or nails are properly spaced—typically every 12 inches on walls and 8 inches on ceilings—and that all joints are properly supported.
Final Inspections
The final drywall inspection occurs after finishing work is complete. Inspectors verify that all surfaces meet the required finish levels and that special areas like fire-rated assemblies are properly completed.
Common Drywall Installation Mistakes That Violate Codes
Even experienced contractors sometimes make errors that result in code violations. Understanding these common mistakes helps you avoid costly rework and inspection delays.
Improper Fastener Spacing
One frequent violation involves improperly spaced screws or nails, which can lead to drywall sagging and failing inspections. Indiana codes specify maximum spacing requirements that must be followed consistently throughout the installation.
Wrong Material Selection
Using standard drywall in fire-rated assemblies represents a serious code violation. Fire-resistant drywall must be used in garages, furnace rooms, and other areas specified by the Indiana Fire Code. Regular drywall simply cannot provide the required fire protection.
Another material mistake involves moisture-resistant drywall. Failure to use moisture-resistant drywall in bathrooms or kitchens can lead to mold growth and code violations, particularly in areas subject to regular moisture exposure.
Installation Technique Errors
Poor joint treatment and finishing can result in code violations even when the right materials are used. Joints must be properly taped and finished to create continuous fire barriers and meet structural requirements.
Examples of Code-Compliant Installations
Successful drywall projects demonstrate several key principles that ensure code compliance and long-term performance.
Proper Sheet Staggering
Correct installation involves proper staggering of drywall sheets, with joints offset to prevent weakness along continuous lines. Joint tape and compound must be applied according to manufacturer specifications to create seamless walls that meet both structural and aesthetic standards.
Fire-Rated Assembly Success
Successful fire-rated installations, such as garage walls or areas near furnaces, require careful attention to material selection and installation techniques. Every component—from the drywall type to fastener spacing—must meet fire code requirements to ensure proper protection.
The Importance of Professional Drywall Installation
Professional drywall companies like Drywall By Renso bring specialized knowledge of Indiana building codes that can prevent costly mistakes and delays. Experienced contractors understand the nuances of metal grid framing requirements, fire-rated assembly specifications, and moisture management techniques.
Professional installers also stay current with code updates and changes, ensuring your project complies with the latest requirements. They have the tools, experience, and training necessary to handle complex installations that meet or exceed code standards.
Quality Assurance and Warranty Protection
Professional drywall services typically include quality assurance measures and warranty protection that safeguard your investment. If code violations occur due to installation errors, qualified contractors will correct the problems at no additional cost.
Staying Current with Code Changes
Indiana building codes undergo periodic updates to reflect new materials, techniques, and safety standards. These changes can affect drywall requirements, fire safety measures, and installation specifications.
The latest versions of Indiana building codes are available through official state channels and professional organizations. Staying informed about these updates ensures your project remains compliant throughout the construction process.
Finding Qualified Professionals
When selecting a drywall contractor for new home construction, verify their familiarity with current Indiana building codes. Ask about their experience with fire-rated assemblies, moisture-resistant installations, and metal grid framing systems.
Wrapping Up
Compliance with Indiana drywall building codes protects more than just your construction timeline—it ensures occupant safety, maintains property value, and prevents costly future problems. Understanding these requirements from the project’s beginning allows you to make informed decisions about materials, techniques, and contractor selection.
The complexity of modern building codes makes professional expertise more valuable than ever. Working with experienced drywall contractors who understand Indiana’s specific requirements provides peace of mind and helps ensure your project’s long-term success.
Ready to start your new construction project with confidence? Get a free drywall estimate from Drywall By Renso in Indianapolis. Our contractors understand Indiana building codes and can help ensure your project meets all safety and compliance requirements.
Related Post: A Homeowner’s Guide to New Construction Drywalling