Drywall Installation and Repair 317-269-7319
If you are feeling a little intimidated about of hanging items on your walls, then you need to review the following guide to learn how to do it all on your own from now on!
What You Need:
• Stud Finder
• Laser Level (carpenters level)
• Tape Measure
• Hammer
• Nails
• Pencil (or painters tape)
• Frame-Backing/Hanger Kit (optional)
• Wall Anchors (optional)
Where to Start
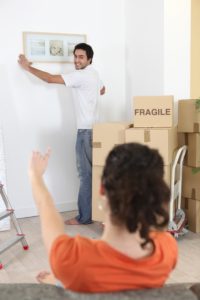
When hanging pictures, you want to be sure the center point of either the picture or the grouping is at eye level. Too high will look odd, and too low will be obtrusive. When grouping items together, be sure to consider them as one whole unit, and use similar sizes, shapes, and colors for a coherent theme. It is helpful to arrange groups on the floor in front of the wall first, so you can adjust as much as you want in order to achieve the desired look. When you have special art, consider hanging them in areas where they can be spotlighted most often, such as foyers, entry ways, and dining rooms.
Another important aspect to consider before hanging wall pictures is anchor weight. Be sure the hanger is strong enough to support the weight of the frame and the art when hung on the wall. You may need to use wall anchors for areas that do not have available wall studs. It is recommended to purchase an assorted hanger and frame-backing kits. These kits come with a wide variety of hardware for hanging items on walls, such as sawtooth hangers, ring hangers, wire and eyelet hangers, and assorted wall anchors.
Step 1
Hold the picture at eye level against the wall.
Step 2
Mark the wall at the top center section of the frame using a pencil or removable painters tape. If it is too heavy or large, use a laser level.
Step 3
Find the “adjustment measurement” by measuring the distance between the top of the frame and the mounting hanger or center of the stretched wire.
Step 4
Underneath your original wall mark, make a second mark using the adjustment measurement. This second mark will indicate where the actual mounting hanger will attach on the wall.
Step 5
If you require wall anchors, install them first. You will need additional tools for pictures that require wall anchors, including a drill, drill bits, fasteners, and more.
Step 6
For pictures that do not require wall anchors, use your hammer to insert a nail into the second wall mark where the mounting hanger goes.
Step 7
Once the nail is in the wall, use both hands to hang the picture on the nail by either the mounting hanger or the stretched wire (whichever one your picture has).
Check out our article on how to remove old wall anchors if you have some left over from previous decor!
Indianapolis Drywall Services

Indianapolis Drywall Contractors 317-269-7319