Pesky old wall anchors are not appealing. So, it is only natural to want them removed. But many homeowners are scared to try this task on their own because they are concerned about damaging their drywall. Also, totally natural. If you are in the same position right now, you don’t have to fret much longer with your DIY decision.
Continue reading for a simple, step-by-step guide that just might change your mind about removing unwanted wall hangers by yourself!
What You Will Need to Remove Old Drywall Anchors
▷ Drill
▷ Drill Bit (or Set)
▷ Putty Knife
▷ Utility Gloves
▷ Old Towel
How to Prepare for the Project
It is important to gather all your items and supplies before you start. The gloves will protect your hands from scratches or blisters, while the towel can be laid on the floor below to manage any drywall mess. It is also important to choose the correct drill bit size for the best results. If you do not have a full set of drill bits, simply purchase one that is a couple sizes larger than the opening in the wall anchor.
Keep in mind that if you plan to paint the wall you are working on, you will first need to prime the patched areas where the wall anchor holes were. And if you are planning to install new drywall anchors, be sure to buy ones that can be easily removed for future convenience!
5 Step Guide to Get the Job Done:
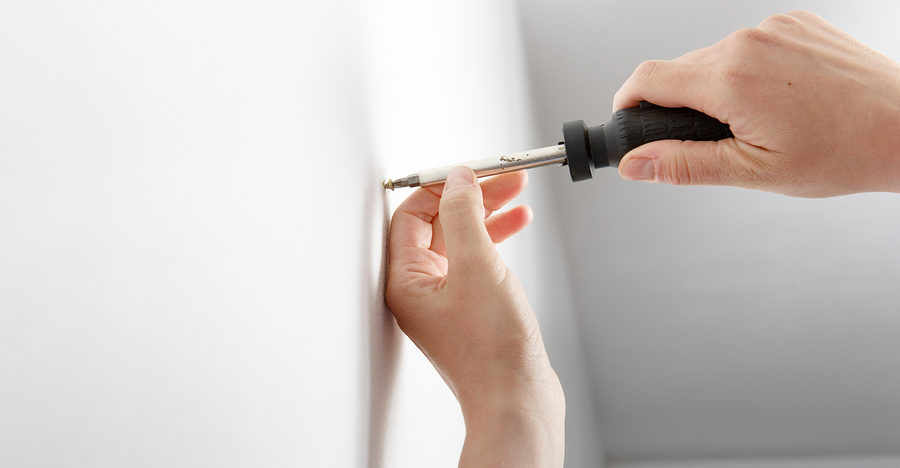
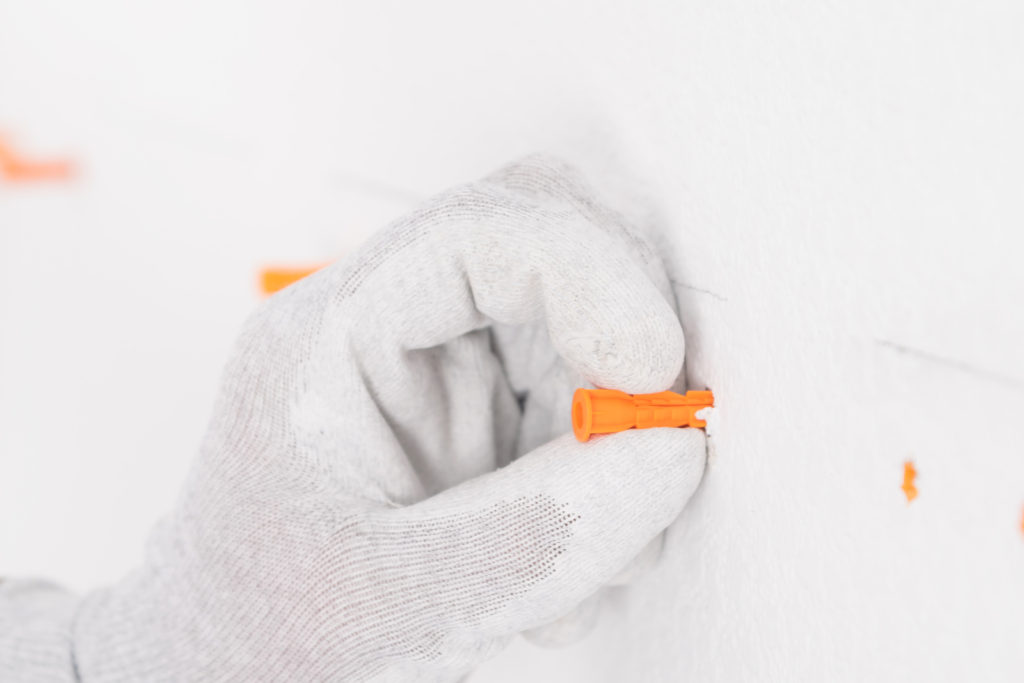
Remove the screw from the wall anchor.
Place the bit inside the center hole of the wall anchor and begin slowly drilling. Use a drill bit that is two sizes larger than the width of the center hole of the anchor. The bit should sit perfectly outside of the edge of the hole, without slipping inside.
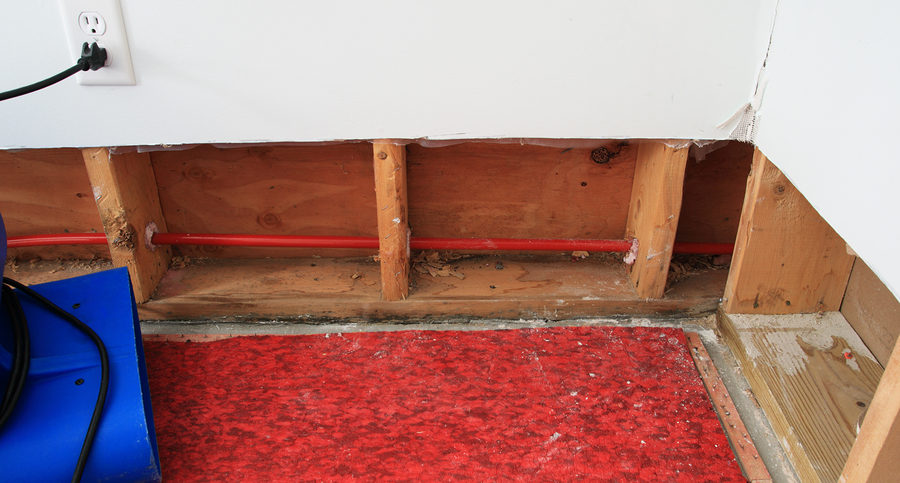
Once you begin drilling, the collar of the wall anchor should break free from the wall and automatically push itself out. Let it fall on the floor so that you are not tempted to grab it while the drill is rotating. Be careful not to let the bit push deep into the wall cavity, which can interrupt electrical wiring or plumbing pipes.
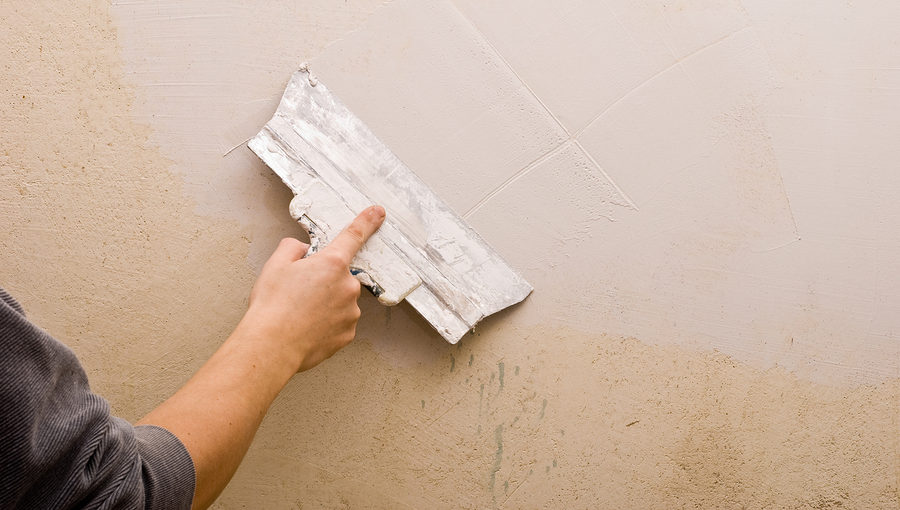
Push the residual drywall material back into the hole using your putty knife. You may have to fill this hole in stages for best results.
Now just sand, prime, and paint!
Does this project seem a little too challenging for your level of handyman experience? Contact Drywall by Local Builders at 317-269-7319 for professional drywall repair service in Indianapolis Indiana. We serve residential and commercial clients all throughout the central part of the state.
You Might Also Read:
How to Prep a Wall for a Heavy Mirror
How to Find Dry Wall Studs Without Stud Finder Tool
How to Get a Stripped Screw Out of the Wall