How to Repair a Hole in the Wall From a Door Handle

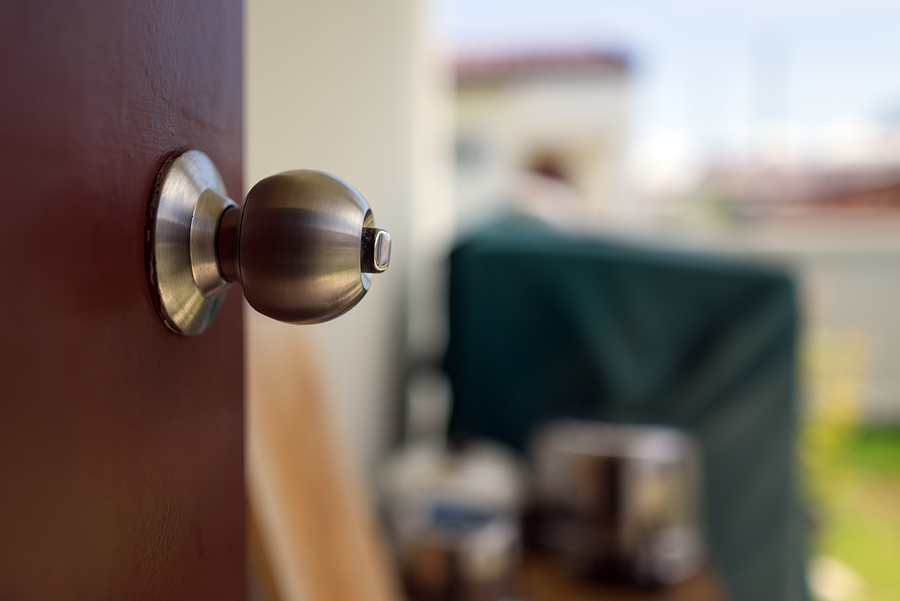
Doesn’t it seem like doors can sometimes just swing open at the faintest touch? And what’s left over? An unsightly doorknob hole. Whether you have kids running around your house on a daily basis, or a clumsy bone in your body, you need a quick solution to repair pesky doorknob holes in drywall. Continue reading to learn just that!

Indianapolis Drywall Repair
Indianapolis Drywall Repair 317-269-7319

What You’ll Need:

❏ Self-Adhesive Mesh
❏ Drywall Knife
❏ Utility Knife
❏ Lightweight Joint Compound
❏ Sanding Sponge
❏ Dust Mask
❏ Safety Goggles
❏ Drywall Saw
❏ Latex Primer
❏ Drop Cloth
❏ Paint

You can purchase all of the above tools and supplies at any local home improvement or hardware store at a reasonable price. But for small holes like those caused by doorknobs, you can also purchase a patch kit. Just ask a store representative for help locating one that’s right for your drywall repair project. Look below for a simple guide to patching a doorknob hole in your drywall.

Step 1

Later drop cloth on the floor beneath your work area. This will catch all of the loose dust and debris.

Step 2

Use your utility knife to scrape away any access debris along the edges of the hole.

Step 3

Apply the self-adhesive mesh patch on top of the hole.

Step 4

Use your drywall knife to apply the lightweight joint compound over the self-adhesive mesh patch. Use a crisscross pattern to ensure full and even coverage. Taper the edges as you go to blend the compound into the wall. To spread thinner coats of joint compound, simply increase the amount of pressure you use.

Step 5

Allowed the drywall joint compound to dry completely.

Step 6

Apply another coat of your lightweight joint compound.

Step 7

Once the compound is completely dry again, use your sanding sponge to smooth it all out into an even surface. This may take a few attempts to achieve a smooth-enough surface.

Time to Finish the Job!

Once you have finished sanding the dried joint compound, you are ready to prime and paint. Be sure to use a quality primer and paint, and also be sure that your paint color matches the existing color on your wall. A store representative can help you match your existing wall color, since it can be hard to do on your own. Sometimes a color chart displays a different shade than the one that appears once your paint has dried. Avoid this with some forethought.

Sometimes the job is just too big or complex for a DIY approach. Or perhaps you simply don’t have the time or budget for needed materials. In this case, contact a licensed contractor for professional drywall replacement.

Indianapolis Drywall Repair and Replacement at the Right Price

Call Drywall by Local Builders at 317-269-7319 for licensed Indianapolis drywall repair you can afford. We are experienced drywall contractors who offer a wide range of residential and commercial drywall service, including hole in the wall repairs, replacement, installation, new home construction, metal stud framing, custom drywall texture, grid ceilings, and much more. Call 317-269-7319 to request a free estimate, today.

Indianapolis Drywall Contractors
Indianapolis Drywall Contractors 317-269-7319

5 Steps to Properly Painting Over New Plasterboard

As one of the most widely applied in universal building materials of our day, plasterboard is a common commodity you will come across at some point in time as a homeowner. Also known as gypsum board, sheet rock, or drywall, fresh plasterboard requires a nice finish for optimal aesthetic appeal. In place of a skip trowel or texture design, homeowners can choose to paint over the new plasterboard. However, be sure you know the proper techniques and the right kind materials before getting over your head in a drywall painting project.

Continue reading to learn the 5 steps it takes to properly paint over new plasterboard, as well as, where to turn if you find yourself in need of some professional assistance or advice.

Indianapolis Drywall Contractors 317-269-7319

Let’s Get Started With What You Need

Visit your local department store or home improvement store, and pick up these supplies to properly paint over your freshly-installed and finished drywall:

✒ High Quality Paint and Primer
✒ 2.5 or 3 Inch Tapered Paint Brush
✒ Paint Rollers W/Covers
✒ Roller Extension Handle (Optional)
✒ Painters Tape
✒ Paint Pan
✒ Drop Cloths or Tarps
✒ Damp Sponge
✒ Screwdriver
✒ Ladder (Optional; Depending)

Once you’ve gathered all of your necessary supplies, organize them in a fashion so that your workspace is all set up and ready to go. This includes donning any protective gear, such as safety goggles, gloves, and painters’ apron, as well as, setting up drop cloths and furniture coverings to protect all surrounding areas and structures.

Now You Are Ready To Paint Your Plasterboard

Step 1

Using your damp sponge, give you our new plasterboard a wipe down to ensure all dust and solid matter are eliminated. During this process you might notice some imperfections or problem areas. In this case, make all necessary repairs, and finish by sanding and re-wiping your sheet rock.

Step 2

Apply your painters’ tape and all necessary areas of your workspace, including around electrical outlets, baseboards, window frames, door frames, ceilings, and more. Be sure that all of your drop cloths or plastic tarps, whichever one you’re using, are perfectly in place and covering any areas that might get paint splatter.

Step 3

If you need your ladder, get it ready to go. If you can reach all areas of your plasterboard with your paint roller, forget the latter. Just grab your paint rollers and paint brush. Pour your primer into your paint pan, and began applying your paint primer. Start with corners and edges first, creating a border. Then, starting at the center of the wall, fill in the rest of the space using straight and diagonal movements to ensure a streak free finish.

Step 4

After you have allowed the primer to dry, you may need to apply a second coat. But if not go ahead and move forward step four, which involves applying your finishing paint coats. First, apply your painters’ tape below the edges of the ceiling. Then pour your paint into your paint pan, and begin painting the ceiling first. Generally, ceilings are painted all white. After the ceiling has completely dried, remove your painters’ tape, and begin applying your finishing paint to the walls, which might be a different color than the ceiling.

Step 5

After the ceiling and walls have dried completely, you may need to apply a second coat. In fact, it is usually best practice to do so. Also during this step, go ahead and add in any touchups you need using your smaller tapered paintbrush. Finish by removing the rest of your painters’ tape from your workspace.

Professional Drywall Installation and Painting Services in Indianapolis

Call Drywall by Local Builders at 317-269-7319 for drywall installation and interior painting services in Indianapolis, Indiana. We are experienced drywall contractors who offer a wide range of residential and commercial drywall service, including painting, repair, replacement, installation, new home construction, metal stud framing, custom drywall texture, grid ceilings, and much more. Call 317-269-7319 to request a free estimate, today.

Indianapolis Drywall Contractors
Indianapolis Drywall Contractors 317-269-7319